/
Exporting Test Cases
Exporting Test Cases
- Kevin Pham (Deactivated)
Owned by Kevin Pham (Deactivated)
May 18, 2020
Exporting Test Cases
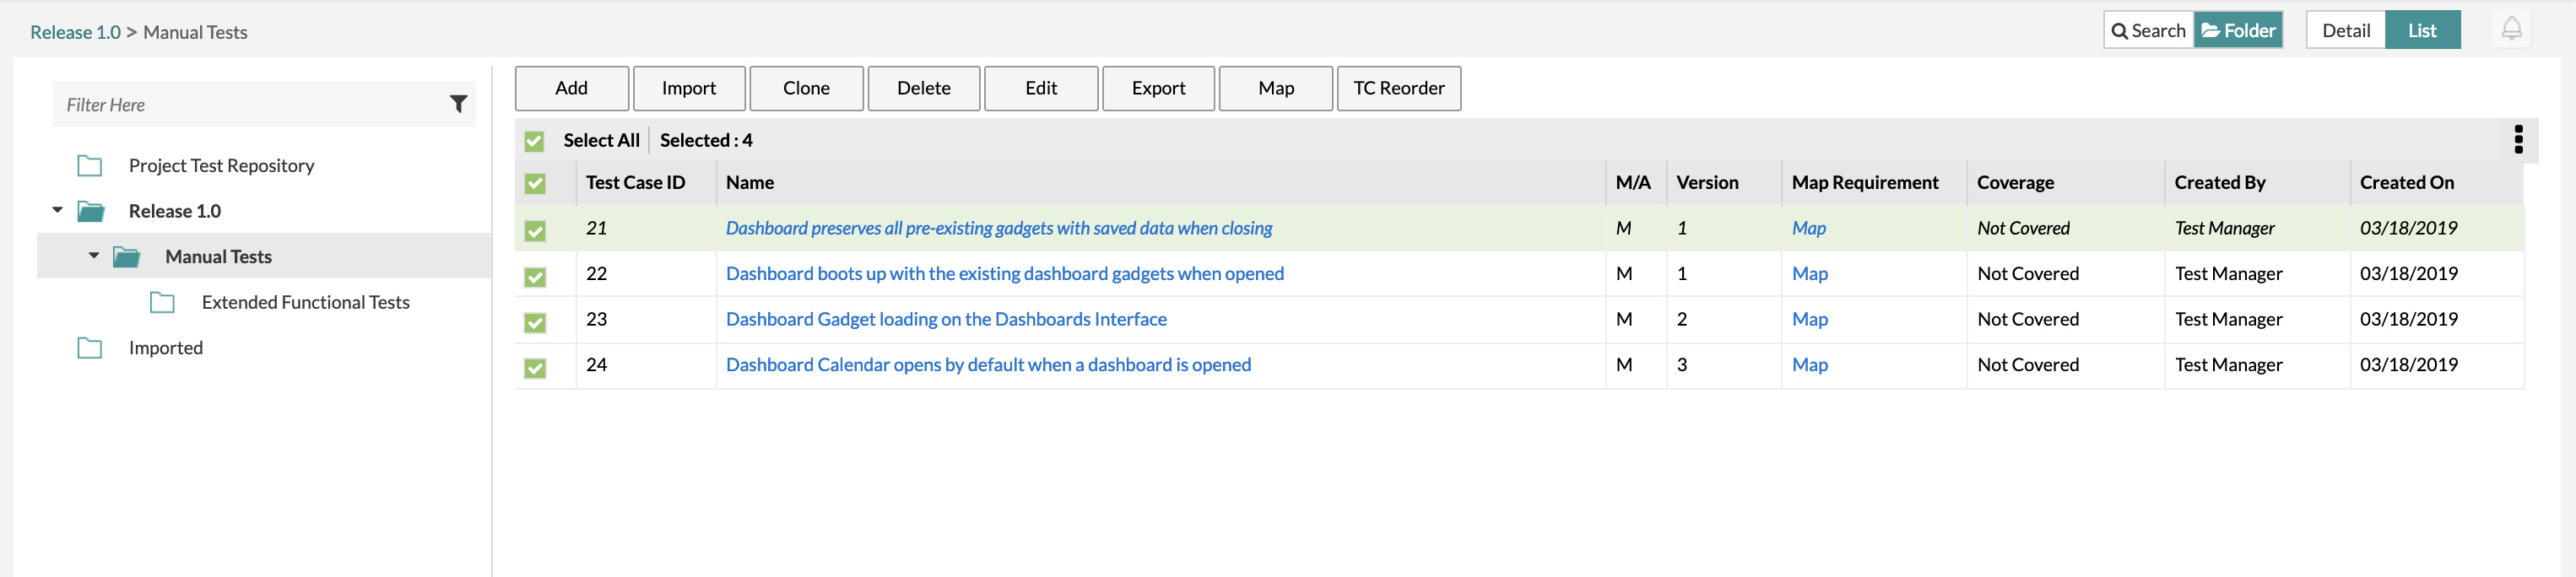
1. Select/check off any of the test cases that you want to export on the left hand side of the table.
- If you want to export an entire folder or release, simply click the
 button next to the folder and then click "Export Tests".
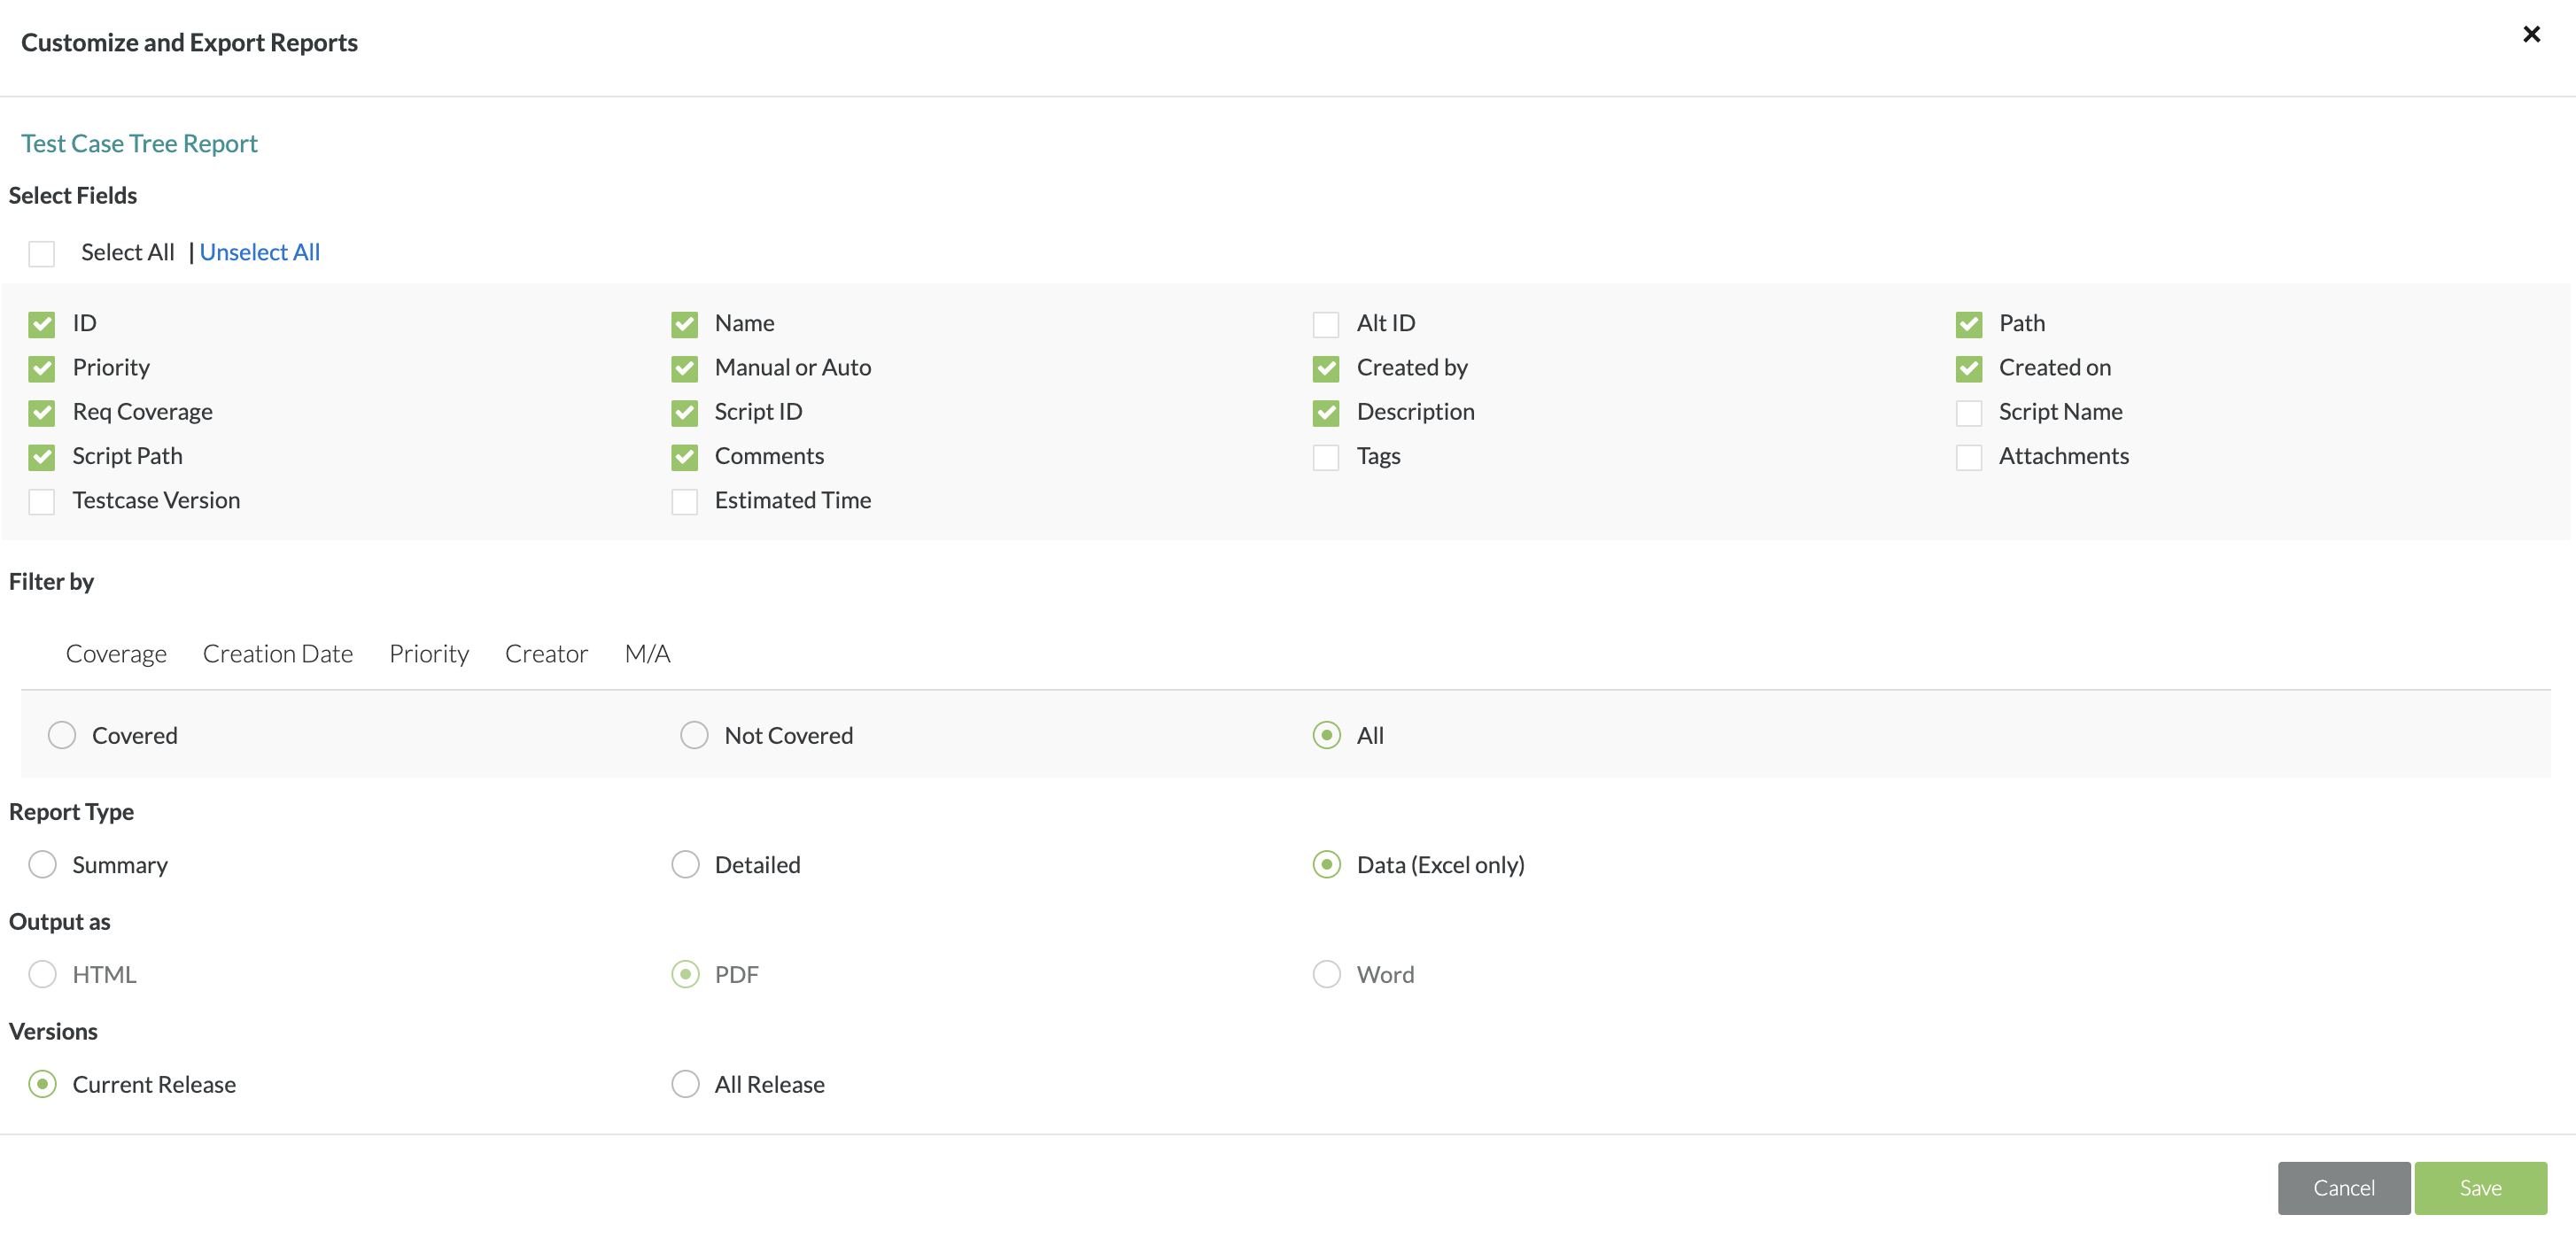
2. After clicking export, there will be a window that pops up where you can choose exactly which fields you want to export for the test cases, what kind of reporting type, what the output file the export should be, and naming the report.
- When users are selecting the report type, they have the ability to still use the Select Fields section to filter/select which fields they want to export. Users are able to select which fields they want for summary reports, detailed reports, and even data (Excel) reports.
- Previously, when users wanted to export to Excel, the Excel report would use all fields regardless of whether or not it was selected.
- Now, when users want to export to Excel, they have the option to select which fields are included or not in the Excel report by filtering and selecting the fields.
- The default name for an exported report is labeled as "Testcase Report".
3. After selecting your options, simply click the "Save" button and the export will begin.
4. You can then click "OK" and you will get a prompt to download the file.
5. Click on "Download" and the export file of your test cases will be downloaded to your computer.

, multiple selections available,
Related content
Exporting Test Cases
Exporting Test Cases
Read with this
Exporting Test Cases
Exporting Test Cases
More like this
Importing Test Cases
Importing Test Cases
More like this
Exporting Test Executions
Exporting Test Executions
More like this
Copying Test Cases
Copying Test Cases
More like this
Editing a Test Case
Editing a Test Case
More like this