Importing Test Cases
- Kevin Pham (Deactivated)
Importing Excel Test Cases
Additional Notes
When importing test cases, please note the following:
- Only test cases in Excel formats XLS and XLSX are supported
- Only the first tab is imported
- Special formatting is not supported (merged cells, formulas, etc.)
- If importing in bulk, all source test case files need to be located on the same machine on which the Zephyr server is installed or on mapped/network drives. If source testcase files are located on the same machine on which the Zephyr server is installed, then the import process should be run only from a desktop launched on the server machine. If located on mapped/network drives, care should be taken to enter the appropriate path correctly
- Individual files can be imported from a user's local machine
- Three discriminators supported to demarcate test cases: ID change, Name Change, or a blank line between test cases
Import Wizard
Copying the Excel files to the Zephyr Server or locate an individual file on the user's local machine:
1. For hosted SaaS users, please use the File Manager (http://<servername>.yourzephyr.com/filemanager) to upload the Excel files into the Imported directory
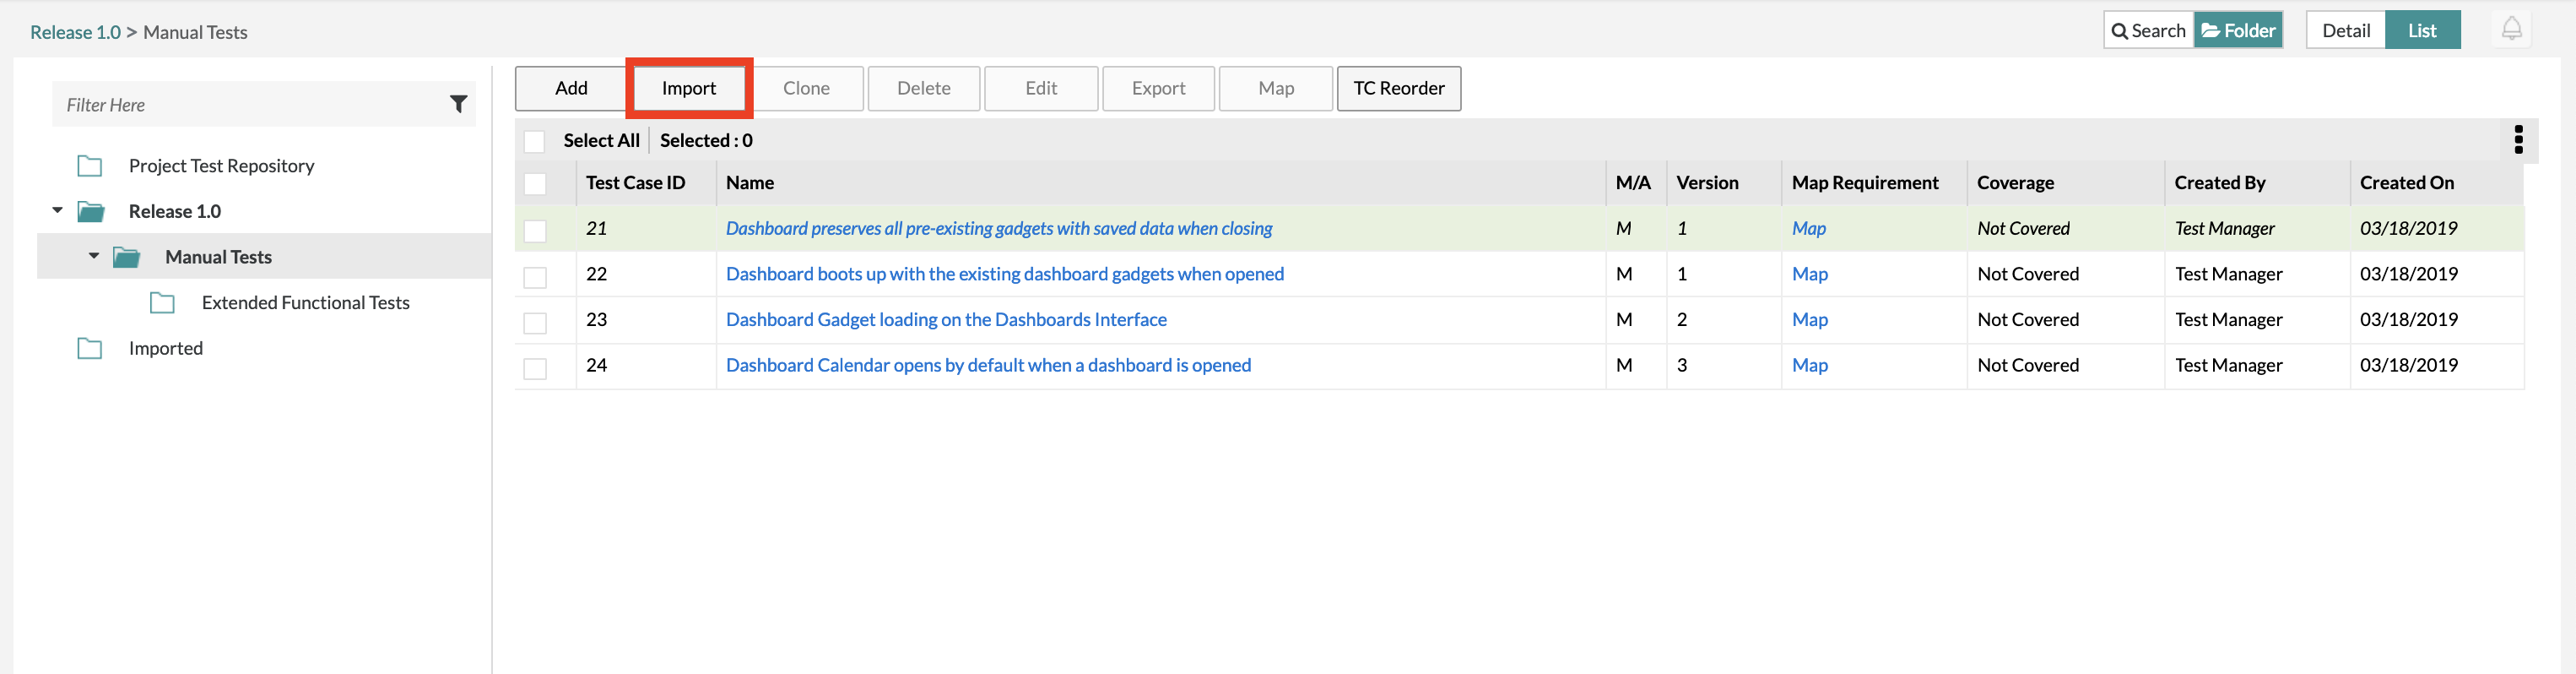
1. Click on the "Import" button at the top of the table.
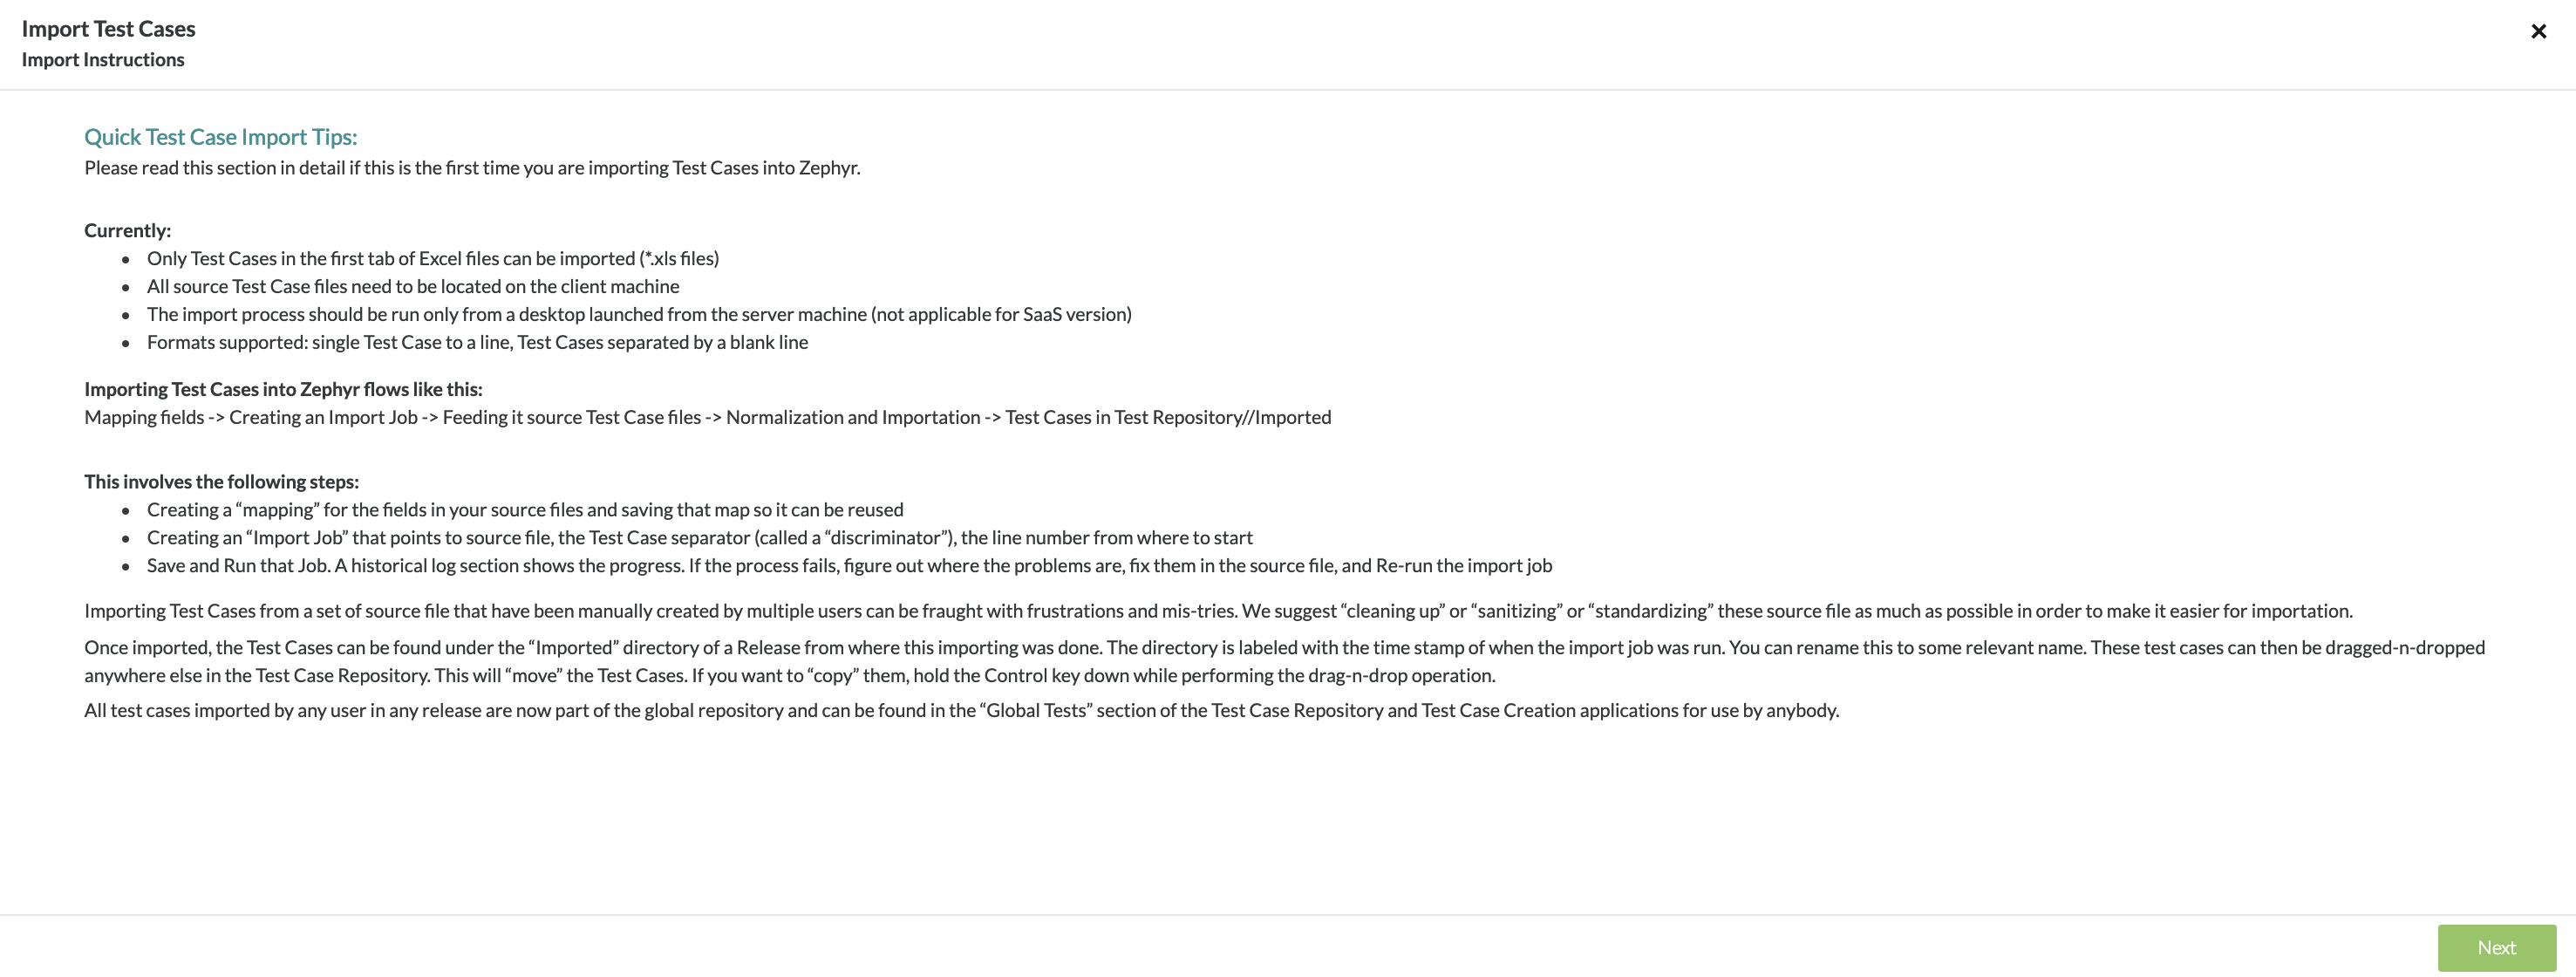
- You will be informed with further instructions to assist you with importing test cases from Excel.
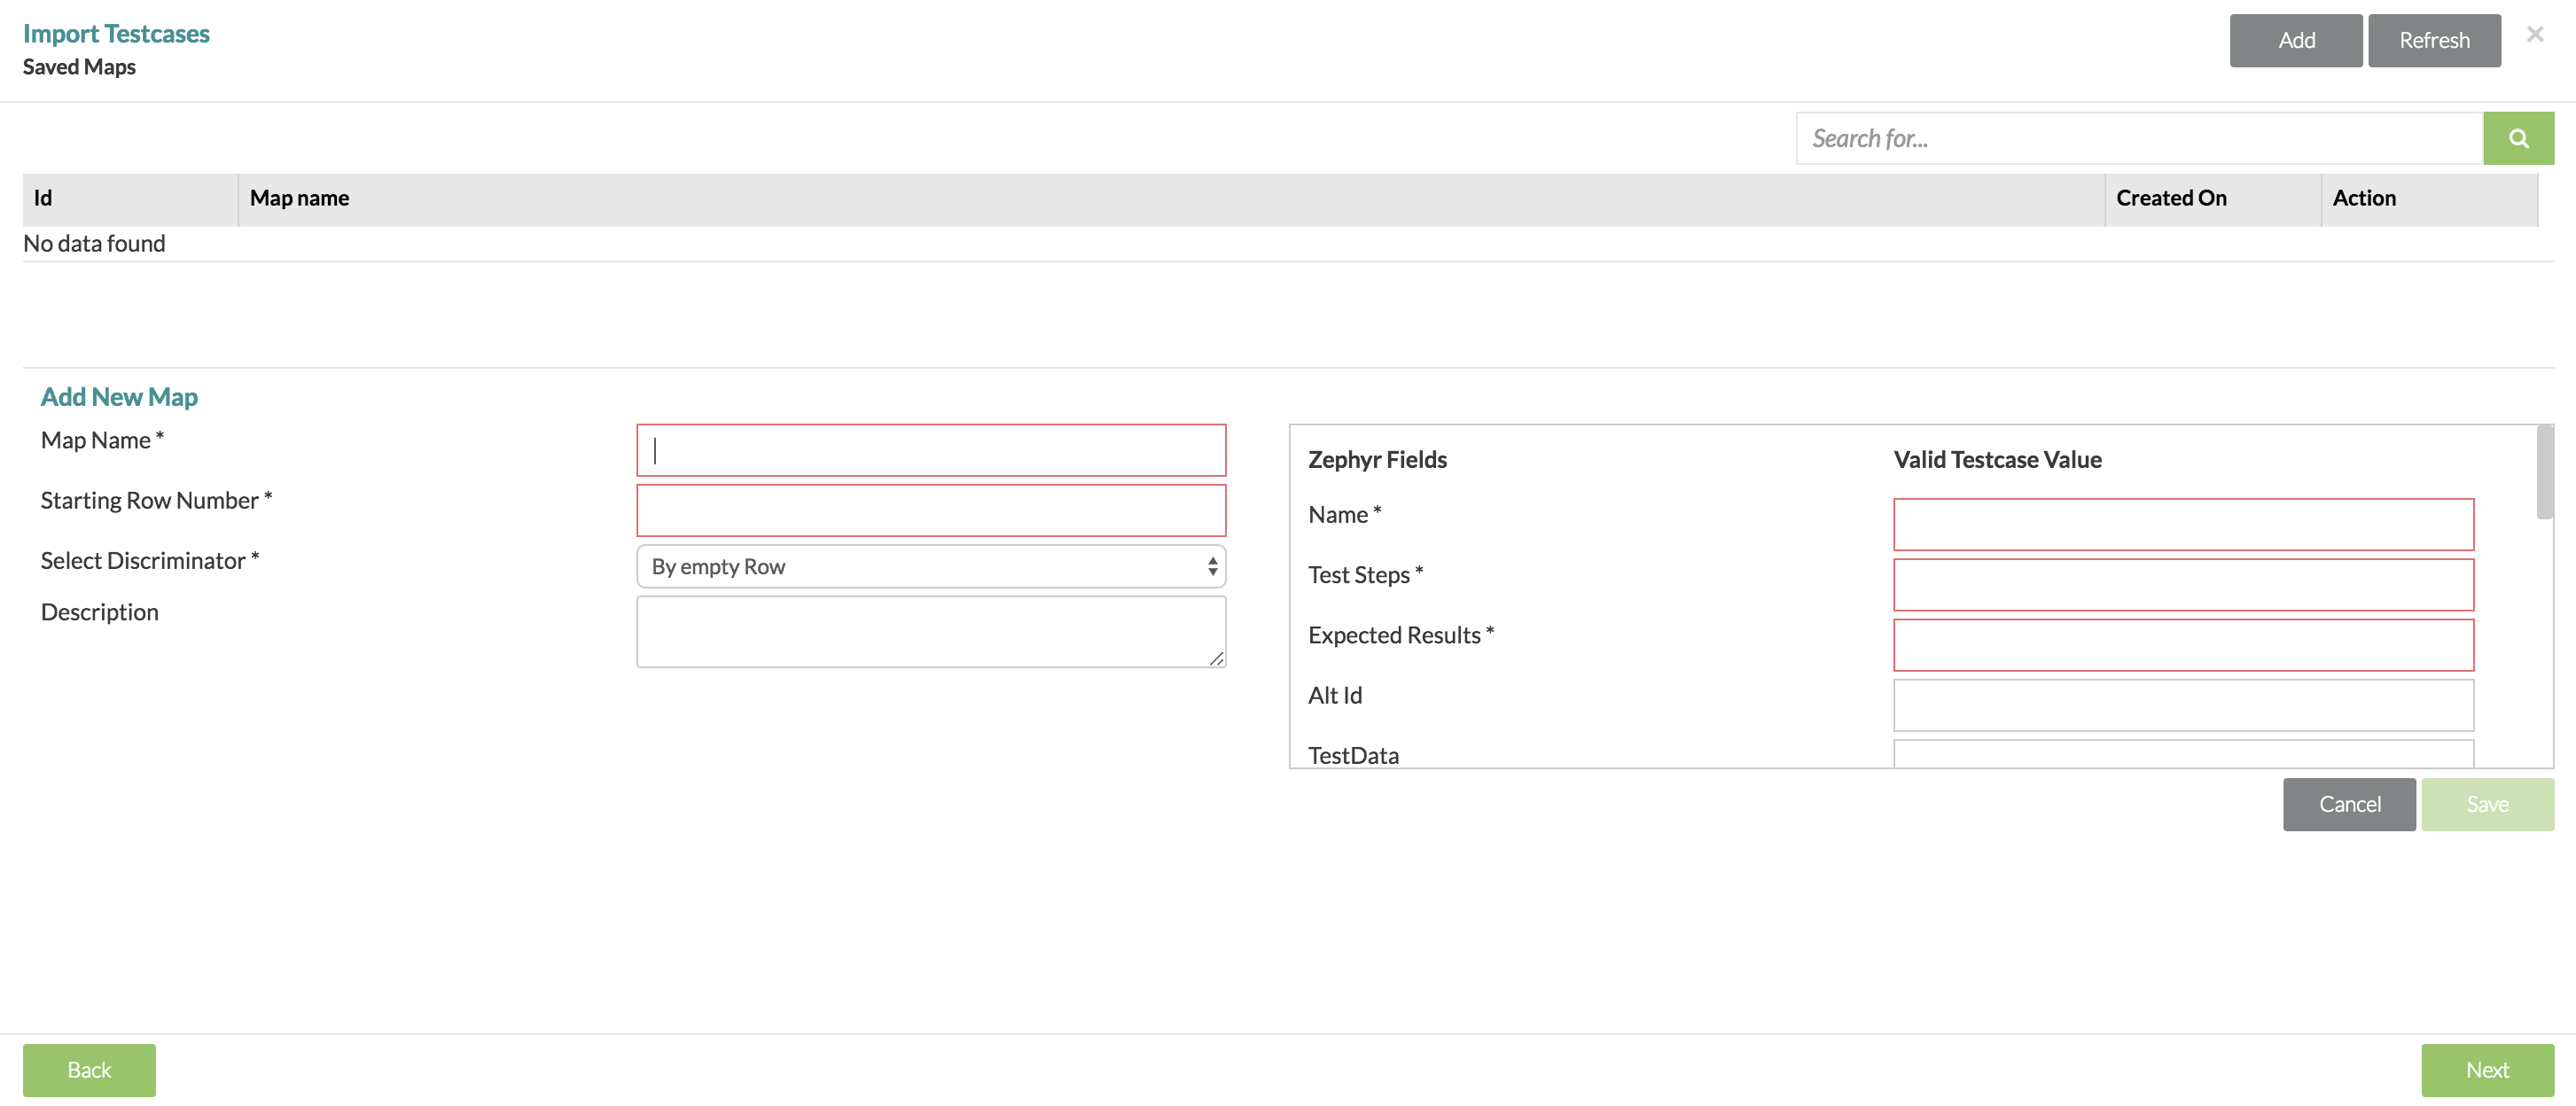
2. After clicking the "Next" button, you click the "Add" button at the top right of the interface.
- This is where you'll be mapping your Excel rows/columns to match the Zephyr fields.
- Creating a Map
- Create a mapping of the columns in the Excel file to the appropriate fields in Zephyr (which are Name, External ID, Priority, Created By, Created On, Attachment, URL, Details). This mapping can then be applied either to a single Excel file or multiple Excel files for bulk import
- Identifying which row in the Excel file the actual test case begins from since there might be some header rows that need to be ignored
- Selecting a discriminator that allows the import process to distinguish between multiple test cases, possible discriminators are: "By empty row", "By ID change", or "By testcase name change"
- Give the mapping a name and "Save"
- Creating a Map
- Once you're done mapping, you simply click the "Save" button at the bottom right to save your mapping for future references and future imports.
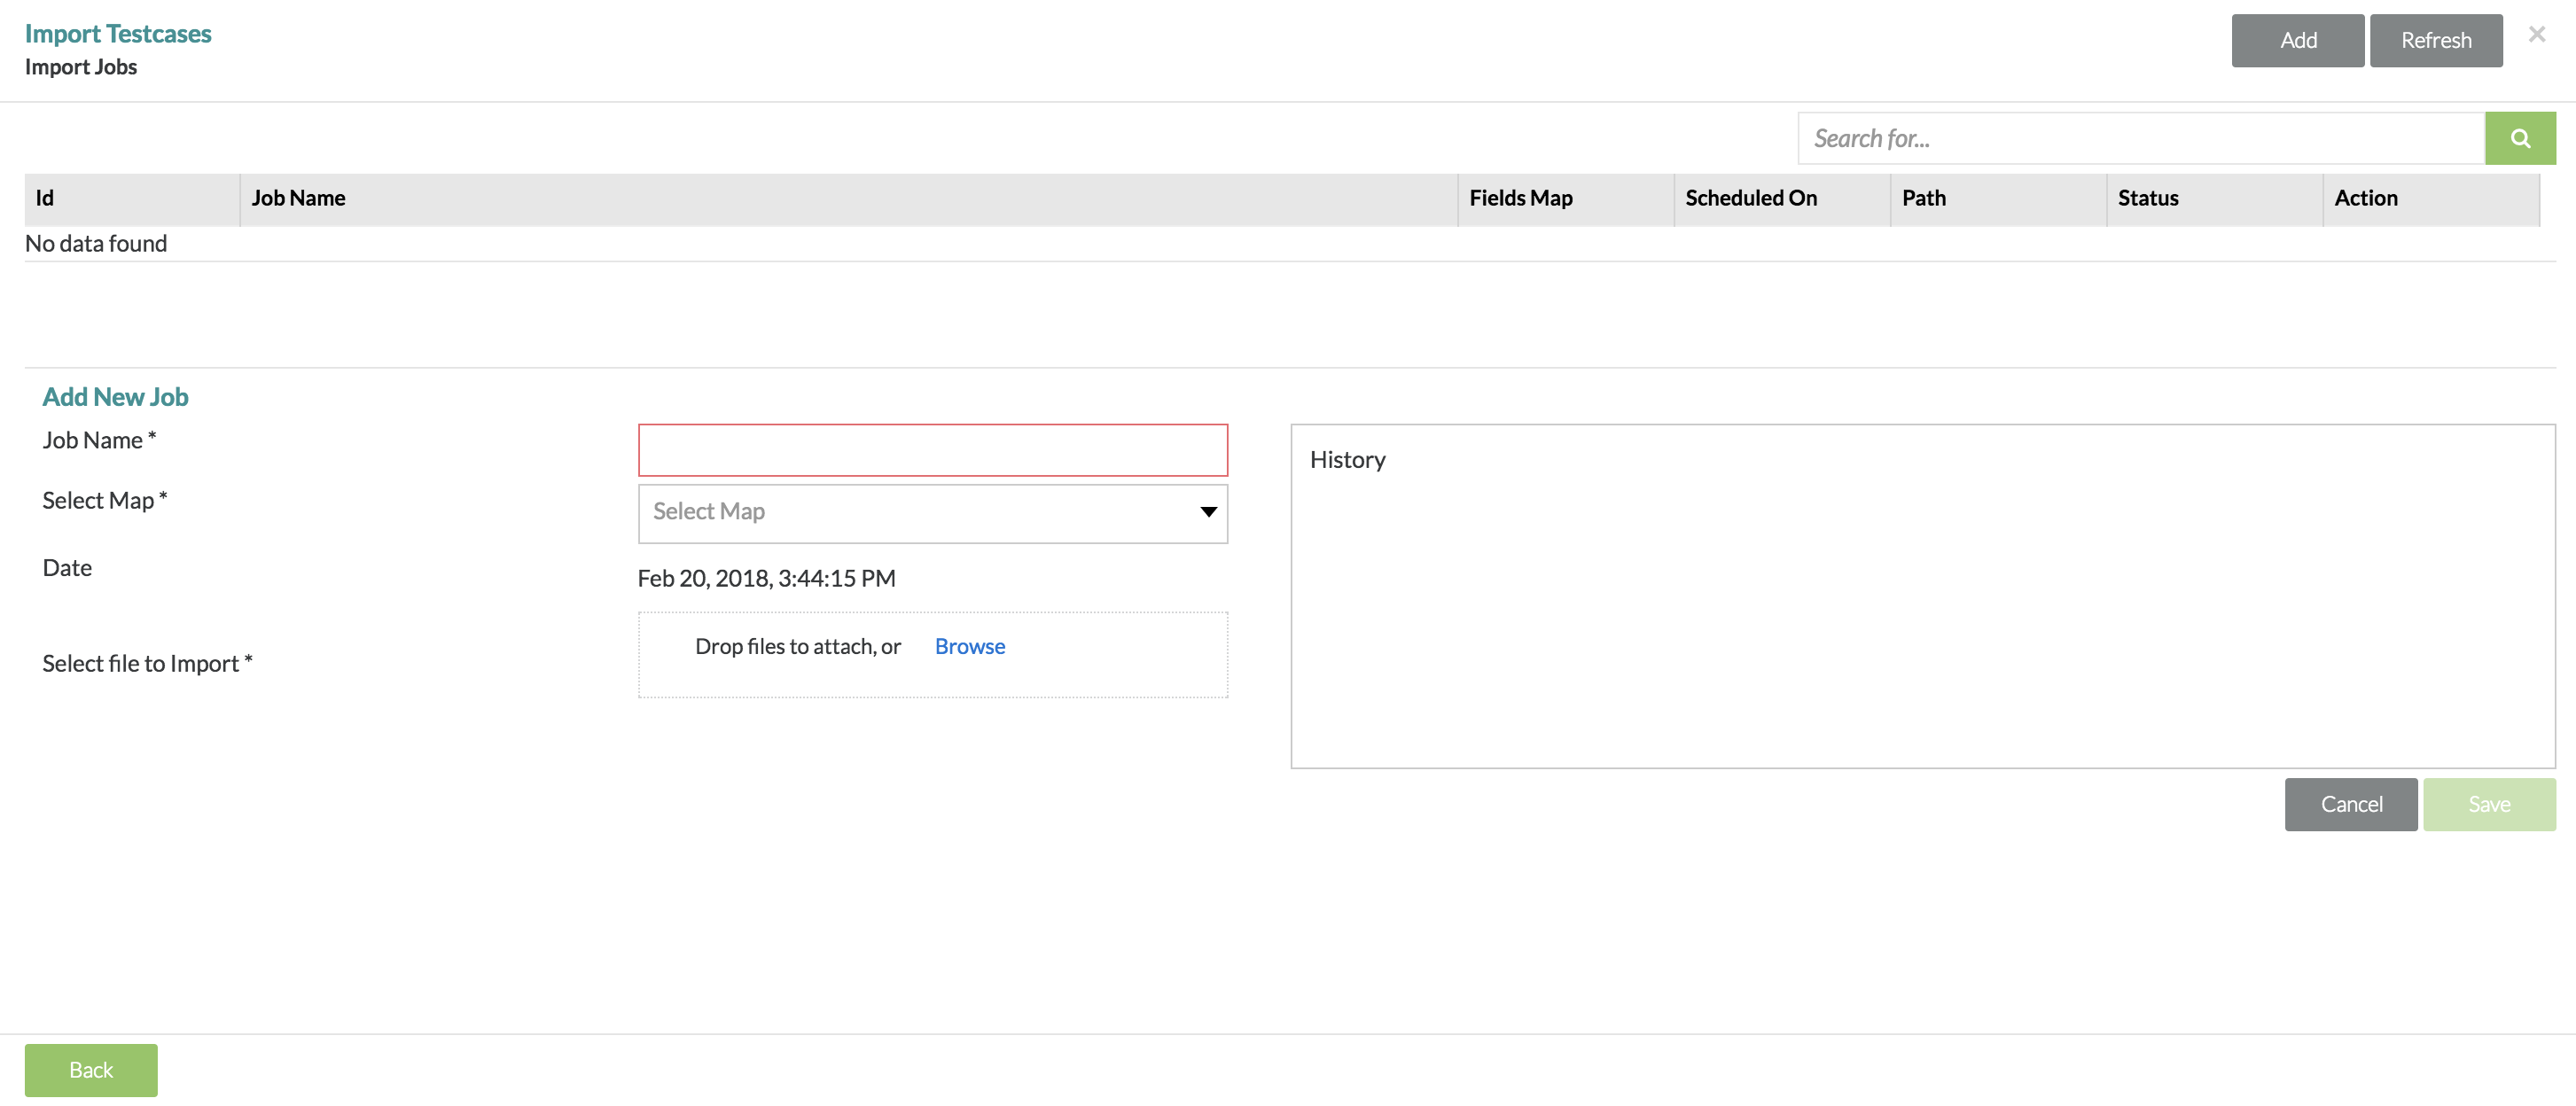
3. After mapping, you click the "Next" button and then click the "Add" button at the top right of the interface.
- From here, you'll create a Job Name for the import, Selecting the Saved Mapping that you just created or previously created, and then Attach the actual Excel document.
- Creating an Import Job and associate it to a Map
- Create an import job which involves selecting a map as created above, selecting a single Excel file or a directory of Excel files, and saving the job
- Select a job name and then select a map from the drop-down menu
- Enter the path for where the file(s) are located. If importing a single file from the user's local machine, select Browse. For SaaS users, please enter "/usr/local/zephyr/ftp/import" as the path
- Save the job
- Creating an Import Job and associate it to a Map
- Afterwards, you would click the "Save" button.
- You would then click the "Run" button to run the import job.
- Running an Import Job
- A saved job shows up in the grid above with a Run button next to it. Click on the Run button to kick off that import job
- The Excel file gets normalized and imported and the history window shows the progress of this process.
- If the status is displayed as "imported successfully", then close this window. The imported testcases can be found in the "Imported" folder. Imported testcases will be located in a folder bearing the date and time of the import job. This folder can be renamed and test cases can be drag and dropped anywhere in the tree. Hold the Ctrl key during this process to copy them to the desired location.
- If the import process is not successful, error messages are shown in the History window that will indicate that the source Excel file may need to be modified. A success folder is created that has all the files that have been successfully imported. Only the files outside of this directory need modifications. Once this is done and the files uploaded back to the Zephyr server, the import job can be re-run. Sometimes multiple such iterations are needed to get a successful importation to happen as Excel test case files may have been formatted incorrectly.
- Running an Import Job
4. Afterward, you can then view the imported test cases within the "Imported" folder in the test repository hierarchy to the left side of the navigation.
Once imported, the test cases can be found under the Imported directory of a release from where this importing was done. The directory is labeled with the date and time stamp of when the import job was run. This can be renamed to some relevant name. These test cases can then be dragged-n-dropped anywhere else in the Test Repository. This will move the test cases. If you want to copy them, hold the Ctrl key down while performing the drag-n-drop operation.
Best Practice
Due to the varied nature of the source Excel files and potential inherent format inconsistencies, run smaller import jobs (fewer test cases) to ensure greater importing success. When confident of the results, import larger groups of test cases.
Importing test cases from a set of source files that have been manually created by multiple users can be fraught with frustrations and failures. We suggest standardizing these source files as much as possible in order to make it easier for importation.