Customize Test Case Priority Field
- Kevin Pham (Deactivated)
- Dominik Trygar
Starting October 11, 2024 (Zephyr Enterprise 8.2), the Zephyr Enterprise documentation moved from its current location on Atlassian to a dedicated, standalone Zephyr Enterprise documentation page. Please see: https://support.smartbear.com/zephyr-enterprise/docs/en/zephyr-enterprise/zephyr-administration-guides/system-setup/customizations/customize-test-case-priority-field.html
Zephyr provides the option to customize and change the priority field for test cases. This is a field that marks that priority for a test case.
The priority field for test cases has a limit of 5 priorities. This cannot be exceeded but with this feature, the 5 pre-existing priority fields can be customized to fit your business and workflow.
By default, the priority fields for the test cases are:
- Priority 1 - P1
- Priority 2 - P2
- Priority 3 - P3
- Priority 4 - P4
- Priority 5 - P5
The Customize Test Case Priority Field is a feature specifically for test steps under the test repository. This does not apply to the priority for requirements under the requirements repository.
How to Customize Test Case Priority Field
The test case priority fields are set to the default Zephyr configurations for the priorities which can be customized with the following steps.
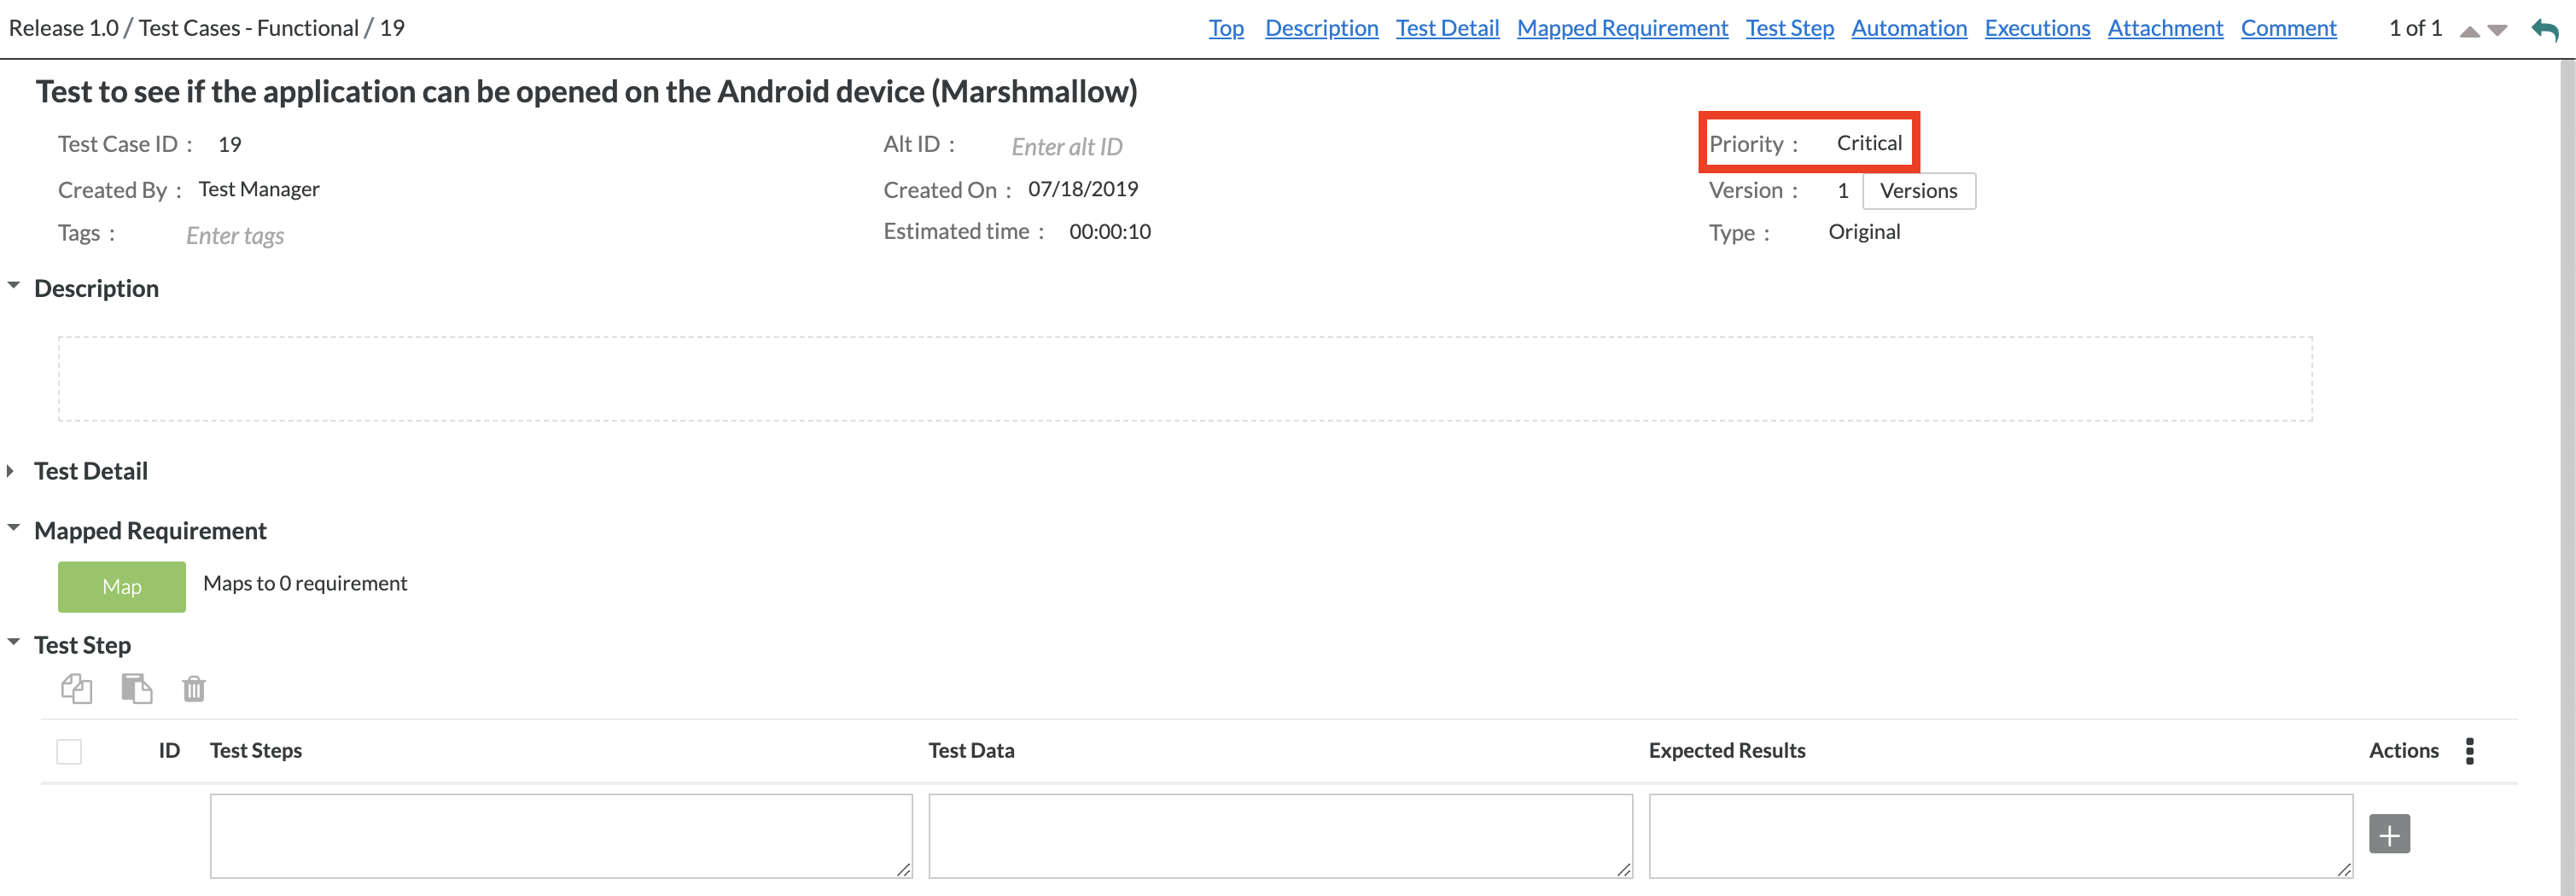
For example, the priority for the test case below is set to 'P1' and the priority field value of 'P1' can be changed to anything else that fits your workflow.

1. As an Administrator, access the Administration section of Zephyr and select the Customizations tab.
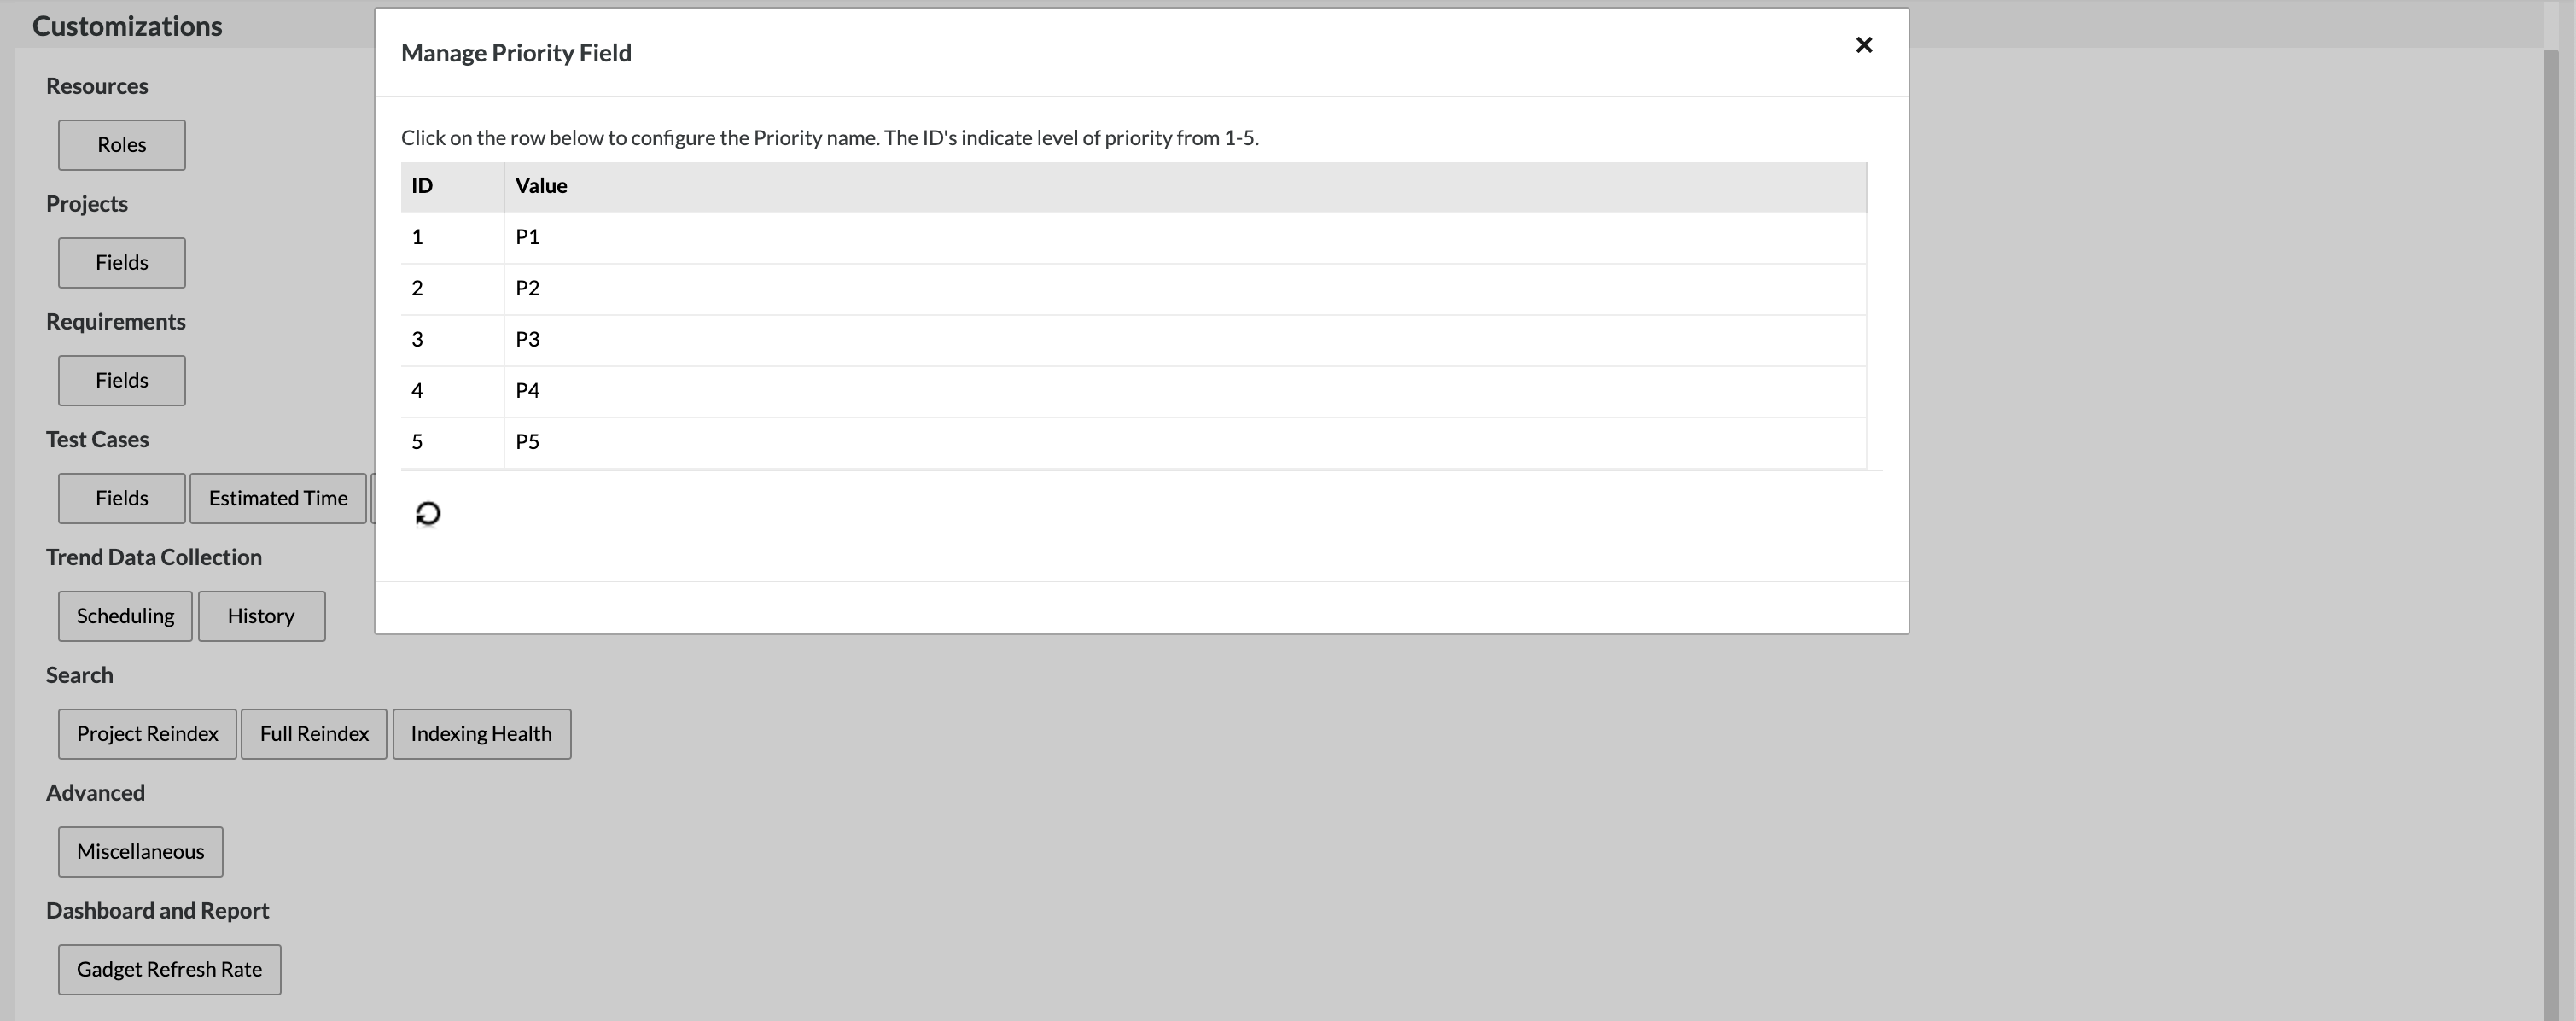
2. Now select the ‘Priority Field’ button to receive the following dialog.
- Here, you can see the 5 different priority fields that can be modified. To modify a priority, simply click on the priority that you want to manage.
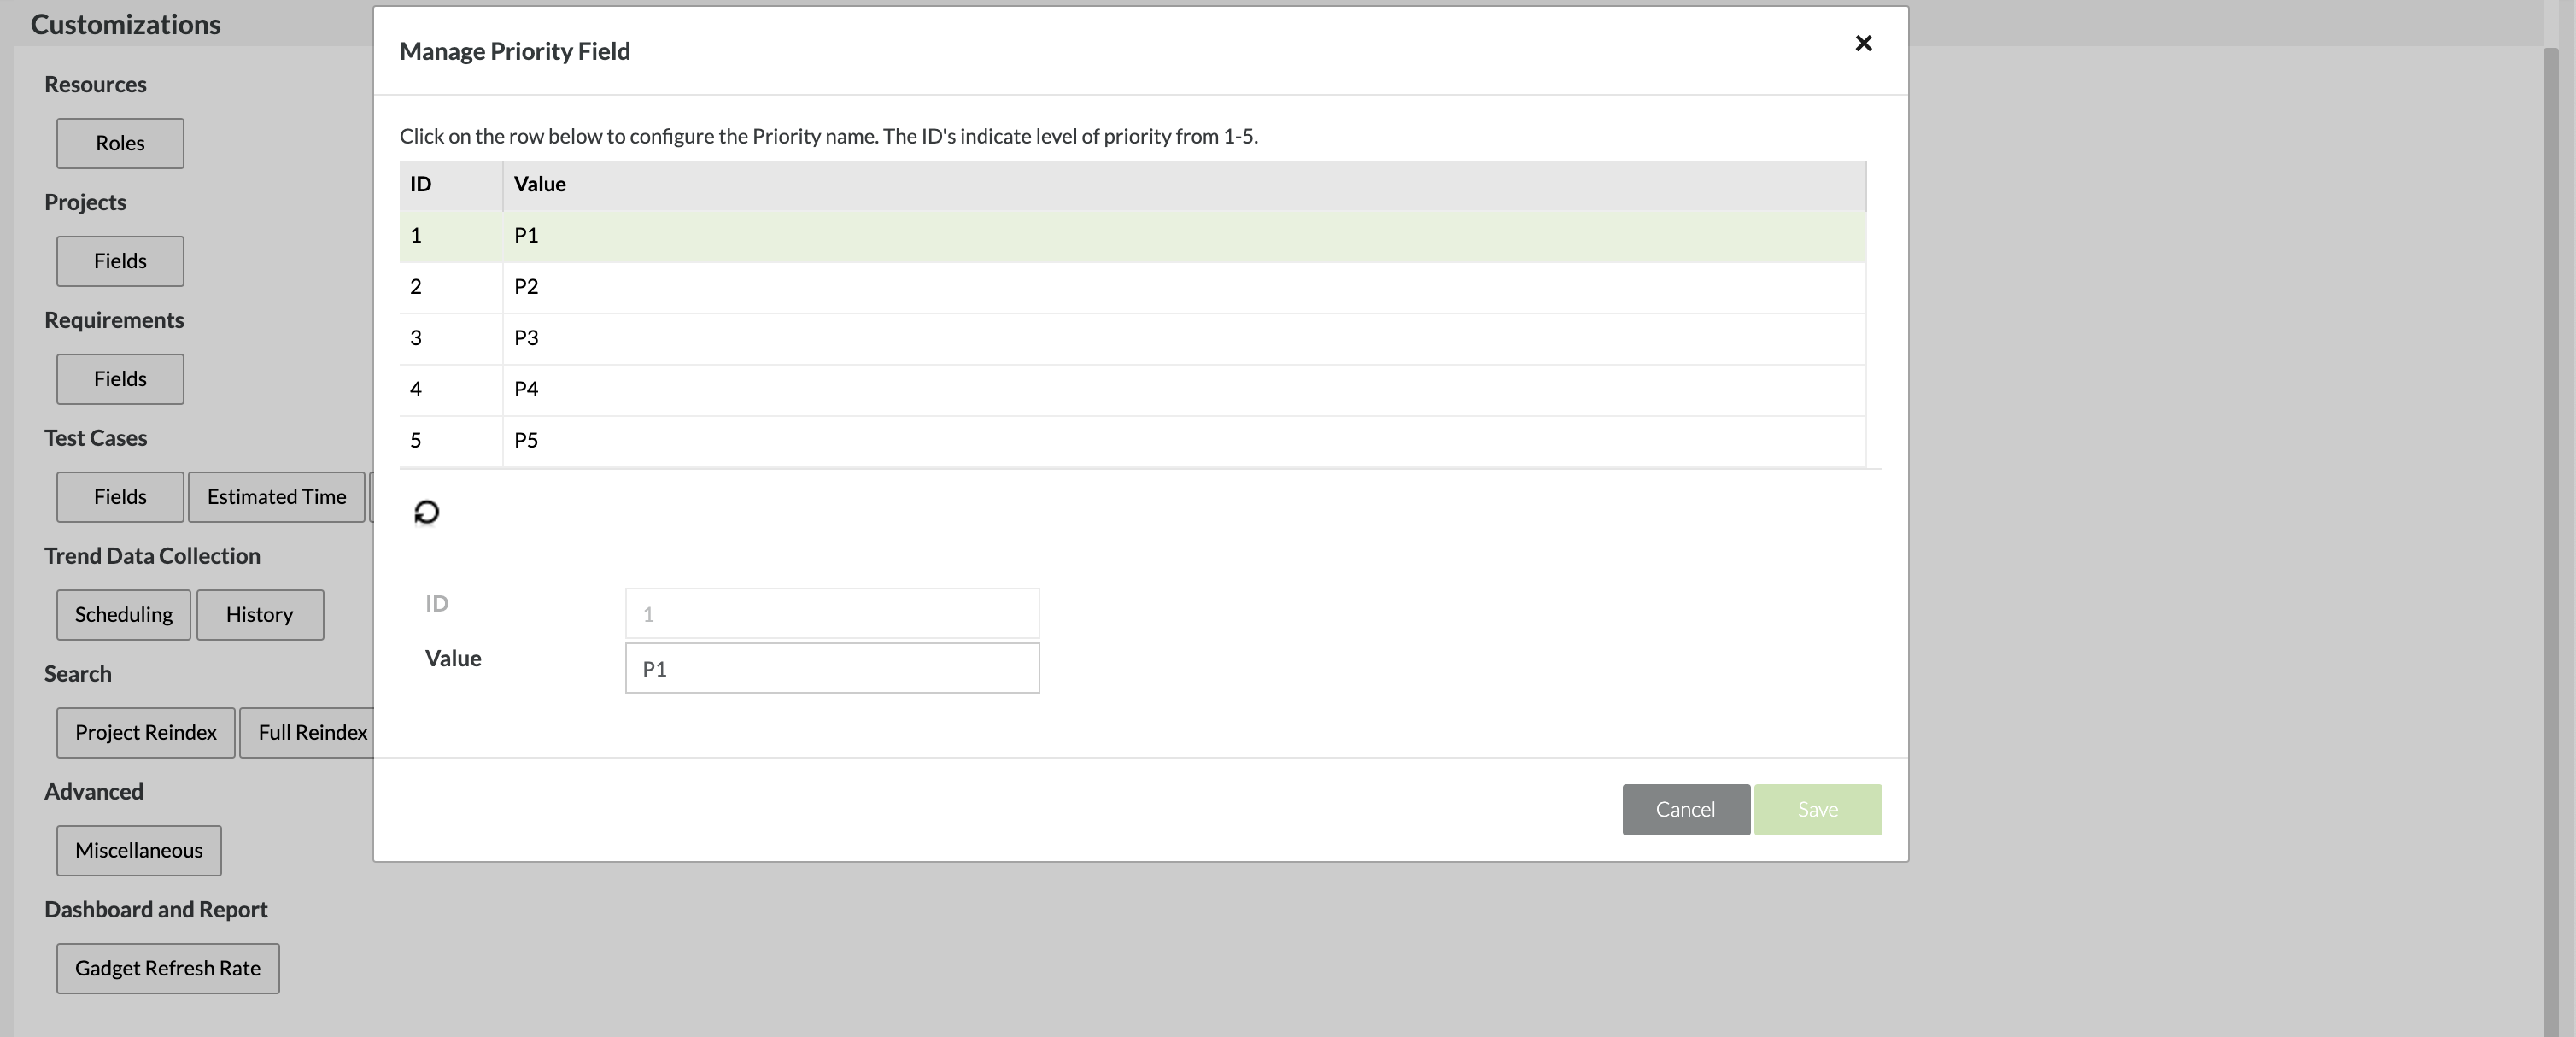
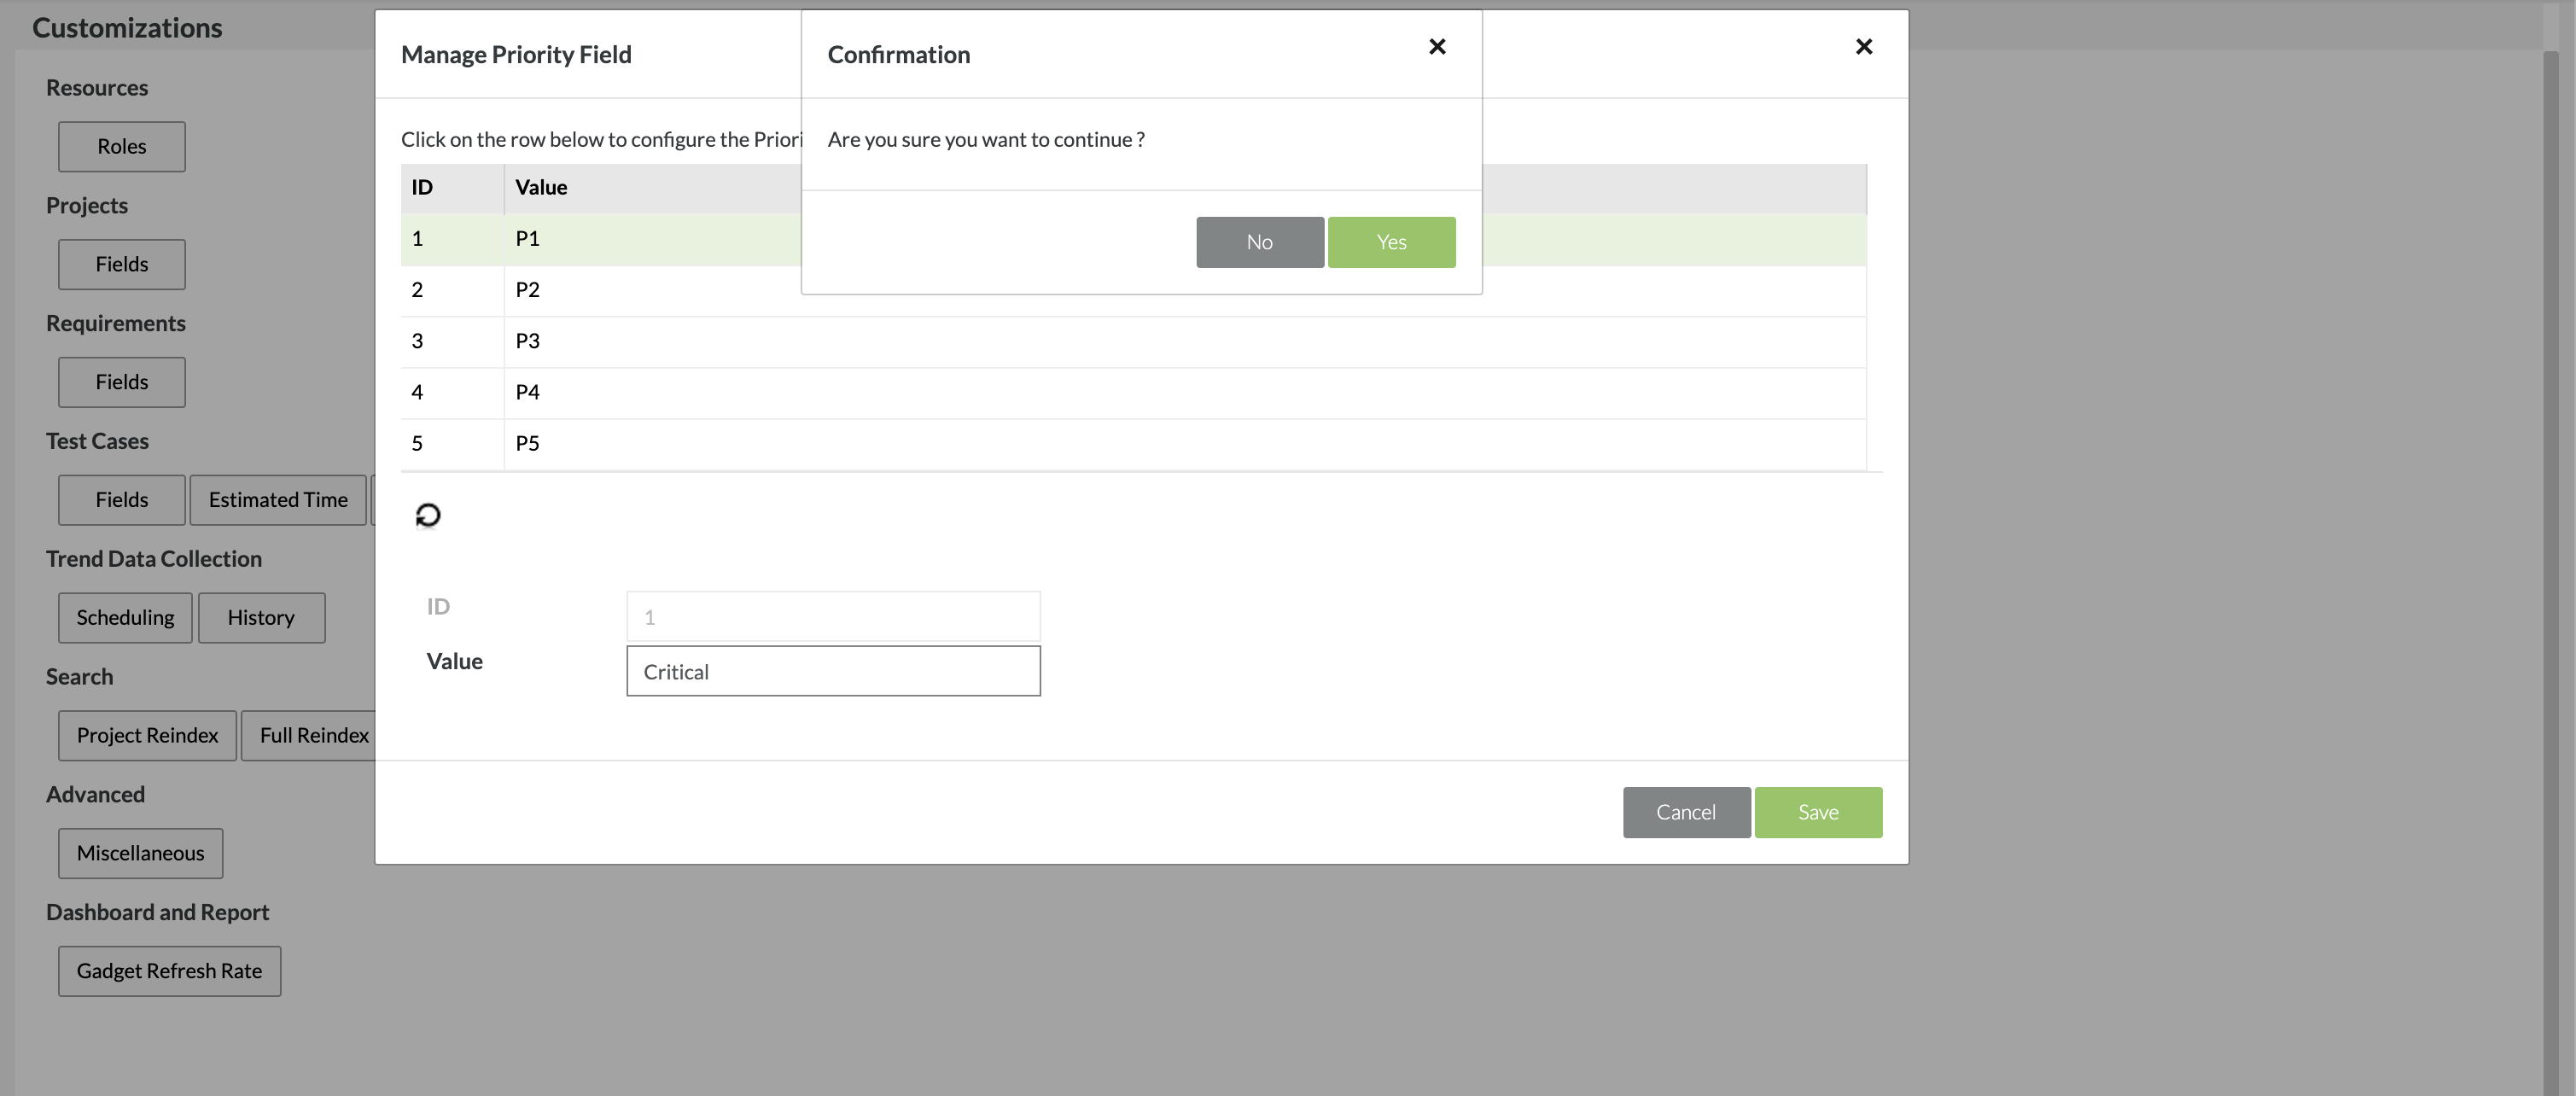
3. Once clicked, the priority field can be edited and changed by using the fields provided.
- The priority ID is the determine the ranking of the priority with 1 being the highest and 5 being the lowest. The ID is a field that cannot be edited or changed.
- The priority value is the name of the priority. By default, the values are P1, P2, P3, P4, and P5. This can be changed to match your business workflow. For example, you can change the value of priority 1 from 'P1' to be 'Critical' priority.
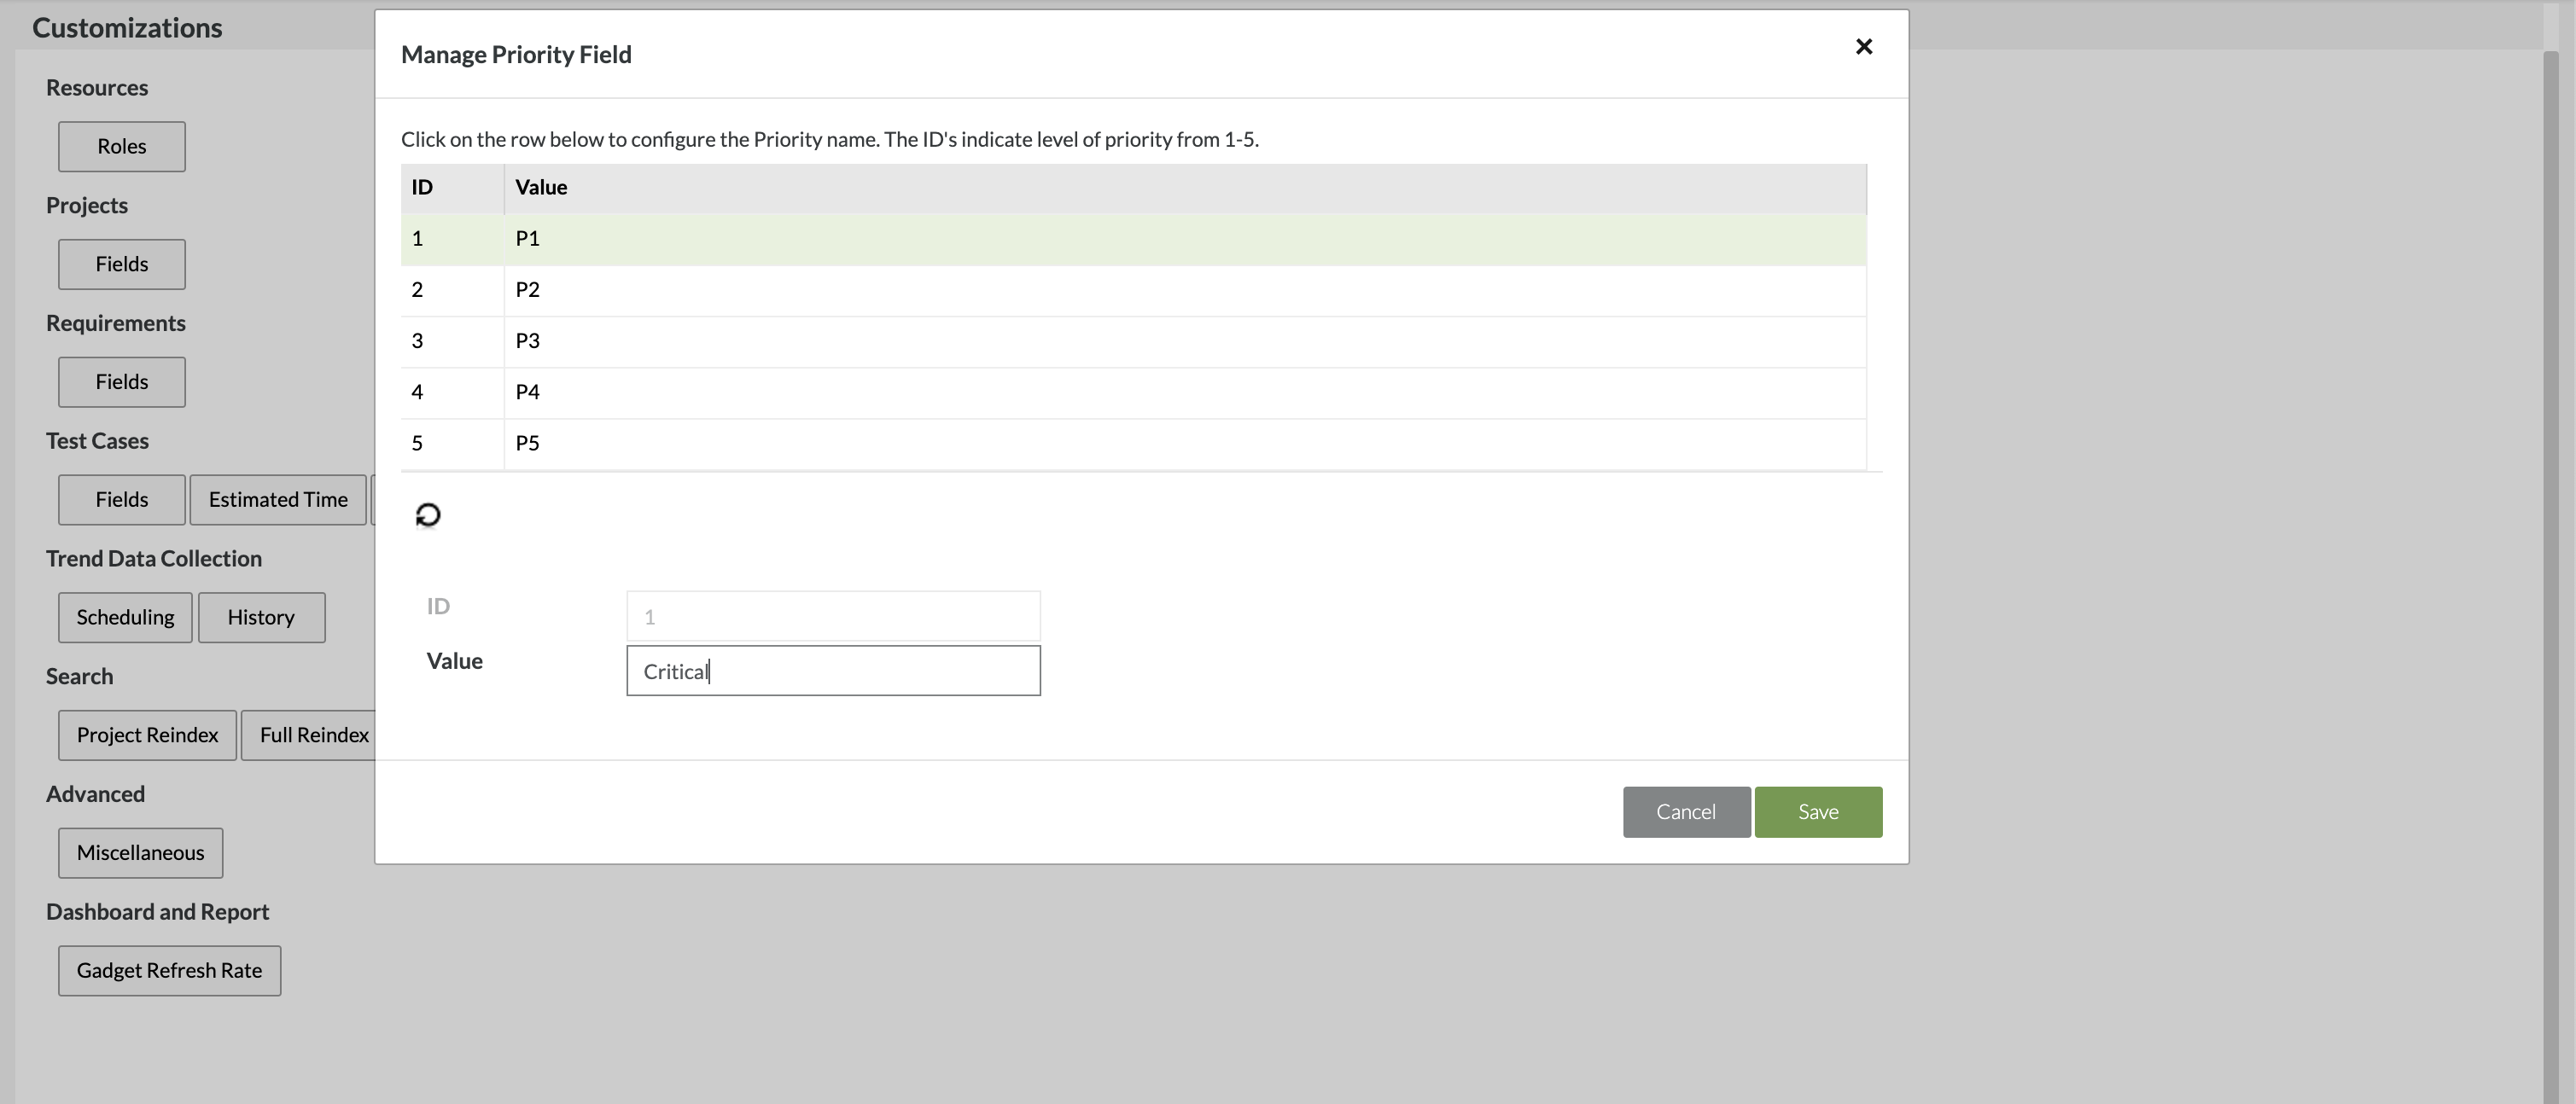
4. After editing the fields, simply click the 'Save' button.
- You'll be prompted to confirm the changes and continue. You can just click 'Yes' to proceed with the changes.
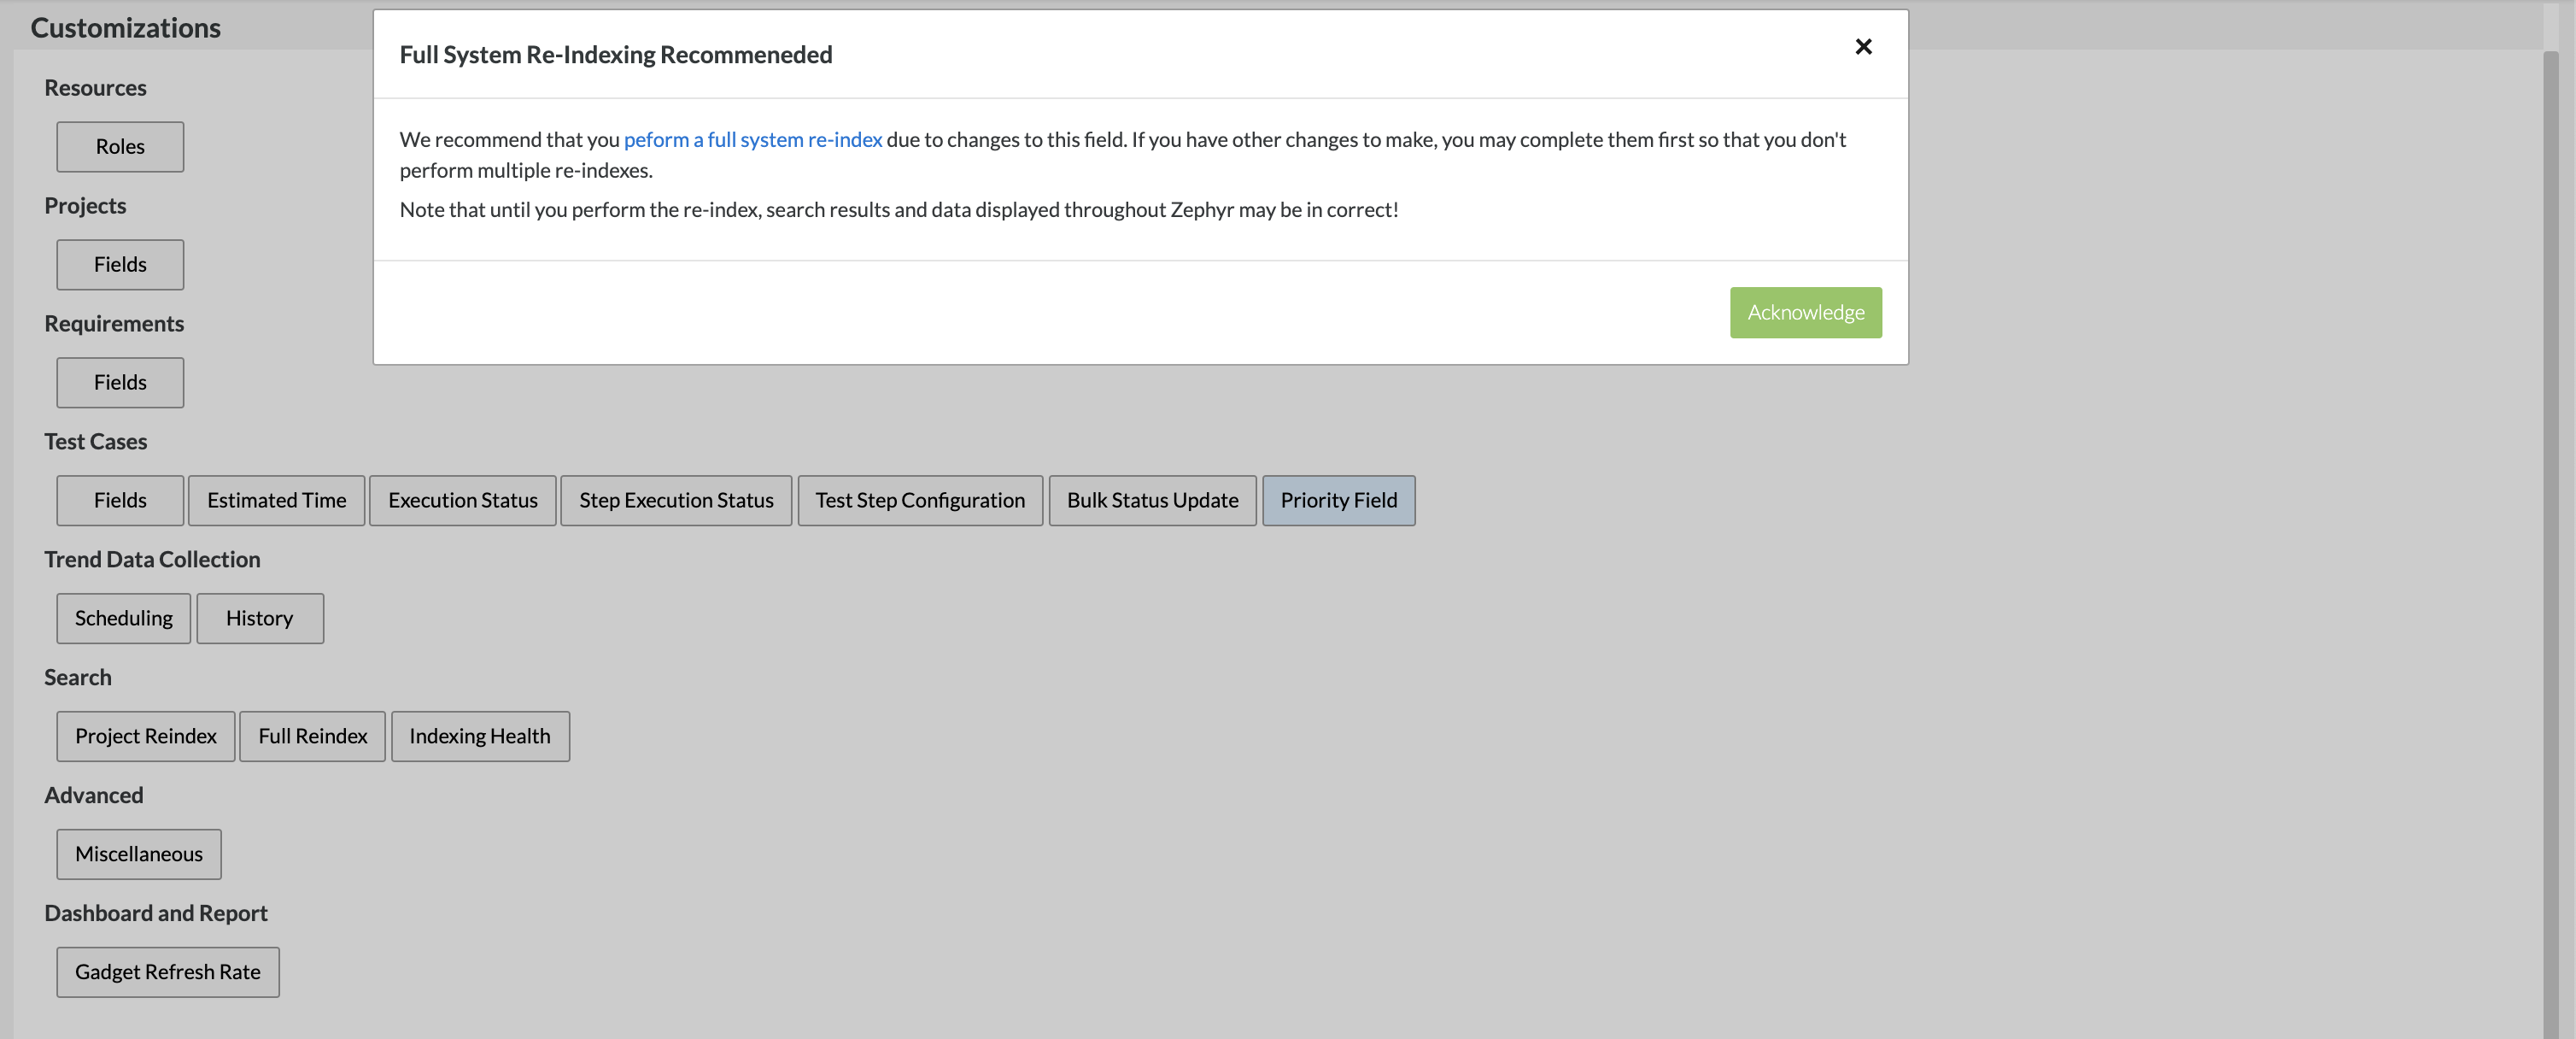
5. After clicking 'Yes' to continue, you'll be prompted with another module asking you to perform a Full System Re-Indexing as it is recommended due to the changes of the priority field. Simply click the 'Acknowledge' button to continue with changing the priority field and re-indexing the system. After the re-index is completed, the priority field for your test cases should be updated.
6. After performing the re-index, if we go back to the original test case to view the priority, the priority has now changed from 'P1' to 'Critical'.