Installation
- Samir Shah (Deactivated)
- Edward Stolyar (Deactivated)
- Kevin Pham (Deactivated)
- Helen Kosova (Deactivated)
|
Prerequisites
You must be a Jira Administrator in order to install Zephyr for Jira Cloud.
Install Zephyr for Jira Cloud
1. Log in to your Jira Cloud instance as an administrator.
2. From Jira menu, select Apps > Find new apps.
3. Search for Zephyr for Jira, then click the found app.

4. Click Try it free in the top right corner of the page.
This will result in the Zephyr for Jira Cloud add-on being installed and activated.
Verify that Zephyr for Jira is installed
After Zephyr for Jira is installed, you should:
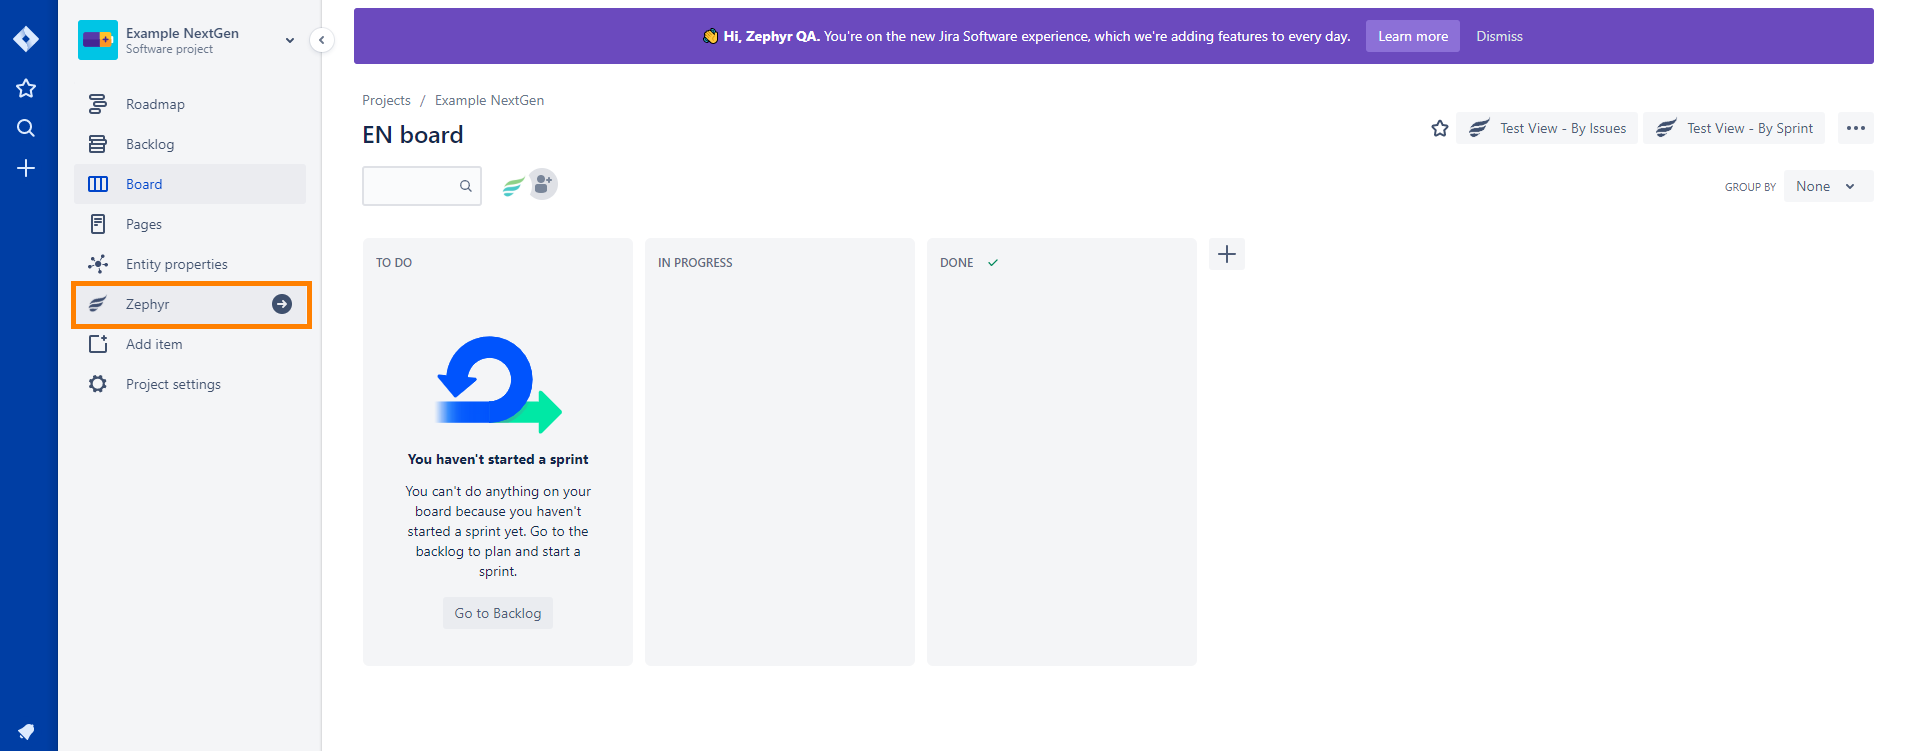
- see Zephyr in the Apps menu in Jira header,
- see Zephyr in project navigation menu (the sidebar on the left).
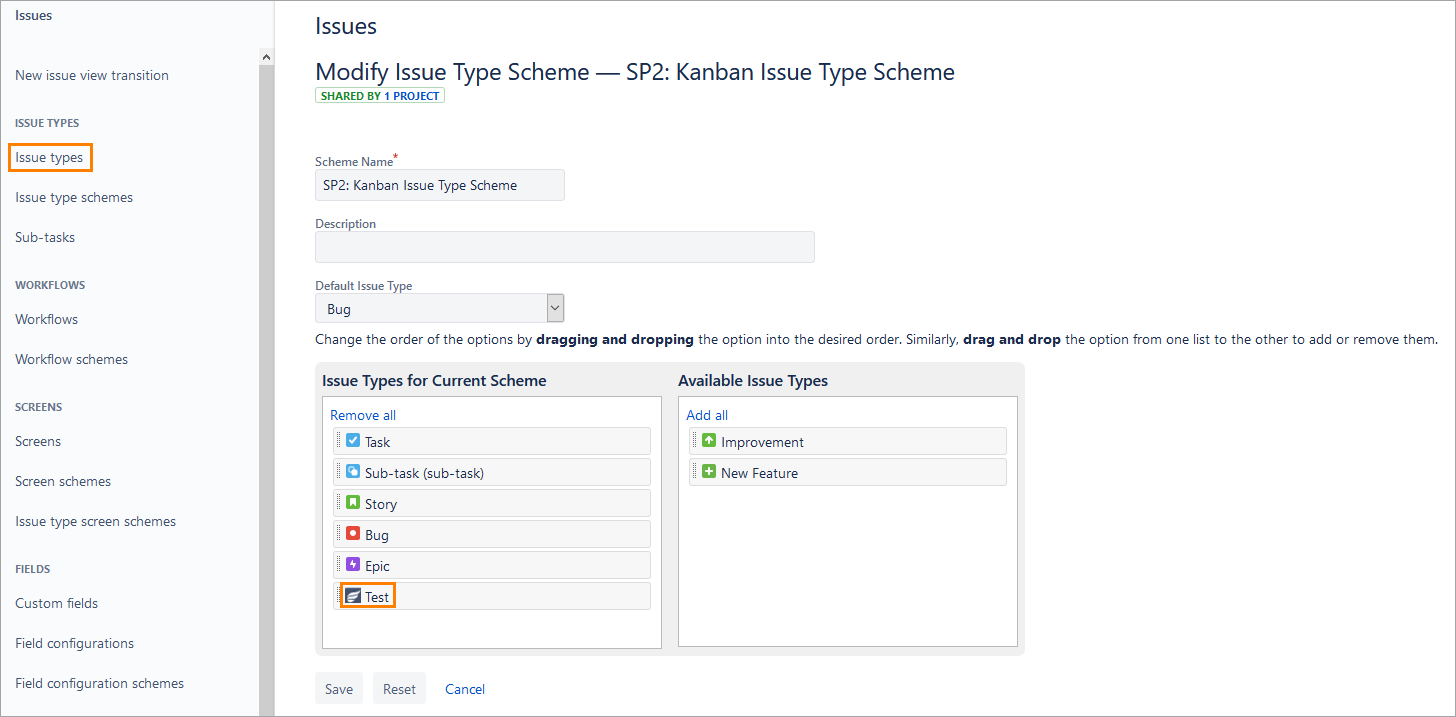
When you install Zephyr for Jira, the Test issue type is automatically added both to the default issue scheme and to the issue scheme of the existing projects. Also, the Test issue type is added automatically to newly created projects:
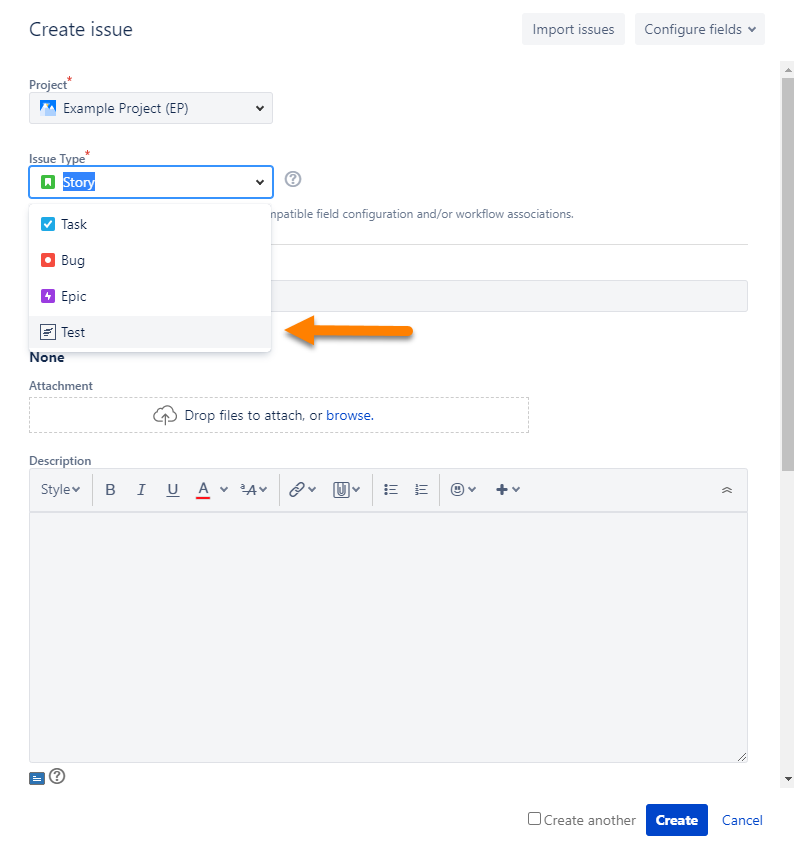
When creating a new issue, click the issue type drop-down list - the Zephyr Test issue will be available:
Review Jira permissions
User permissions in Zephyr for Jira Cloud are controlled by your Jira permission scheme. Review the User Permissions page and make sure your users have the necessary permissions to perform operations in Zephyr.
See Also
Zephyr for Jira Cloud Configuration