Adding a Release
- Kevin Pham (Deactivated)
- Dominik Trygar
- Aleksei Kuzin (Deactivated)
Starting October 11, 2024 (Zephyr Enterprise 8.2), the Zephyr Enterprise documentation moved from its current location on Atlassian to a dedicated, standalone Zephyr Enterprise documentation page. Please see: https://support.smartbear.com/zephyr-enterprise/docs/en/zephyr-enterprise/zephyr-user-guide/release-setup/adding-a-release.html
Add a Release
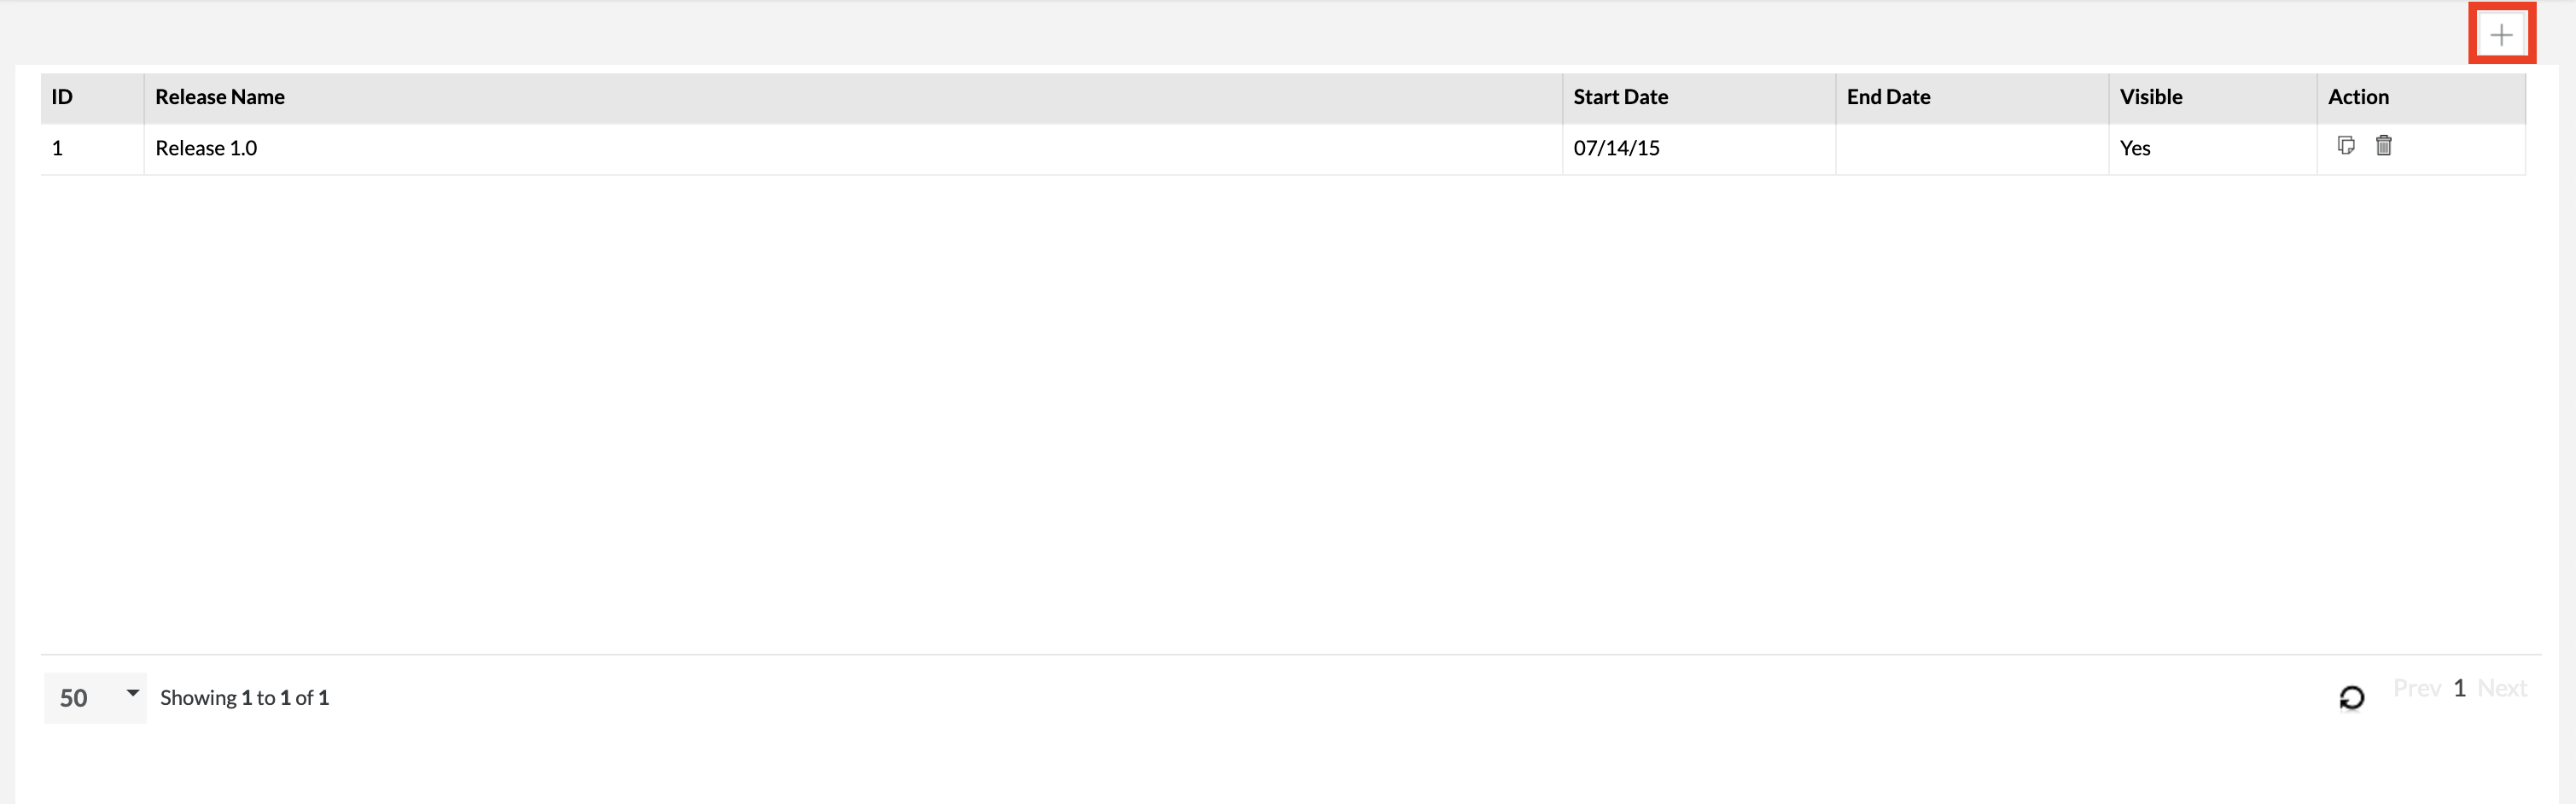
1. In 'Manage Release', simply click the "+" button that looks like icon to the right. ![]()
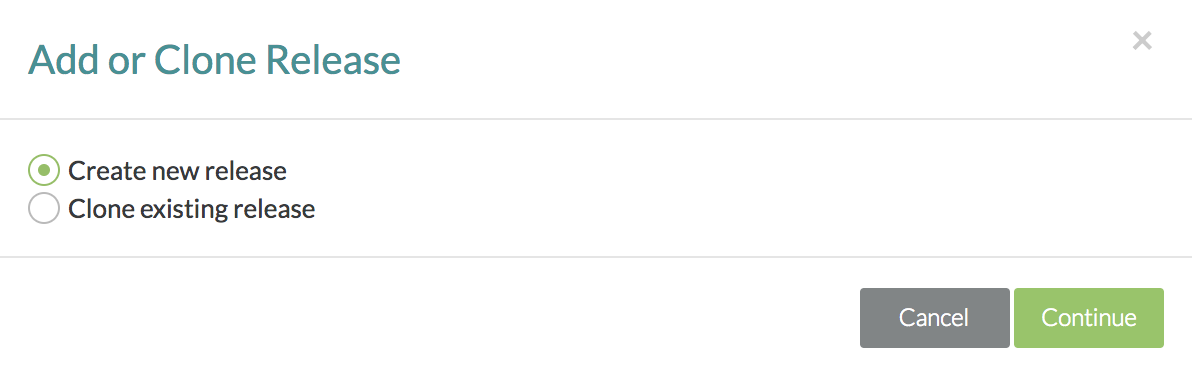
2. A module will pop up asking you to either "Create new release" or "Clone existing release" and after selecting, you will click on the "Continue" button. (In our scenario, we'll be selecting "Create new release")
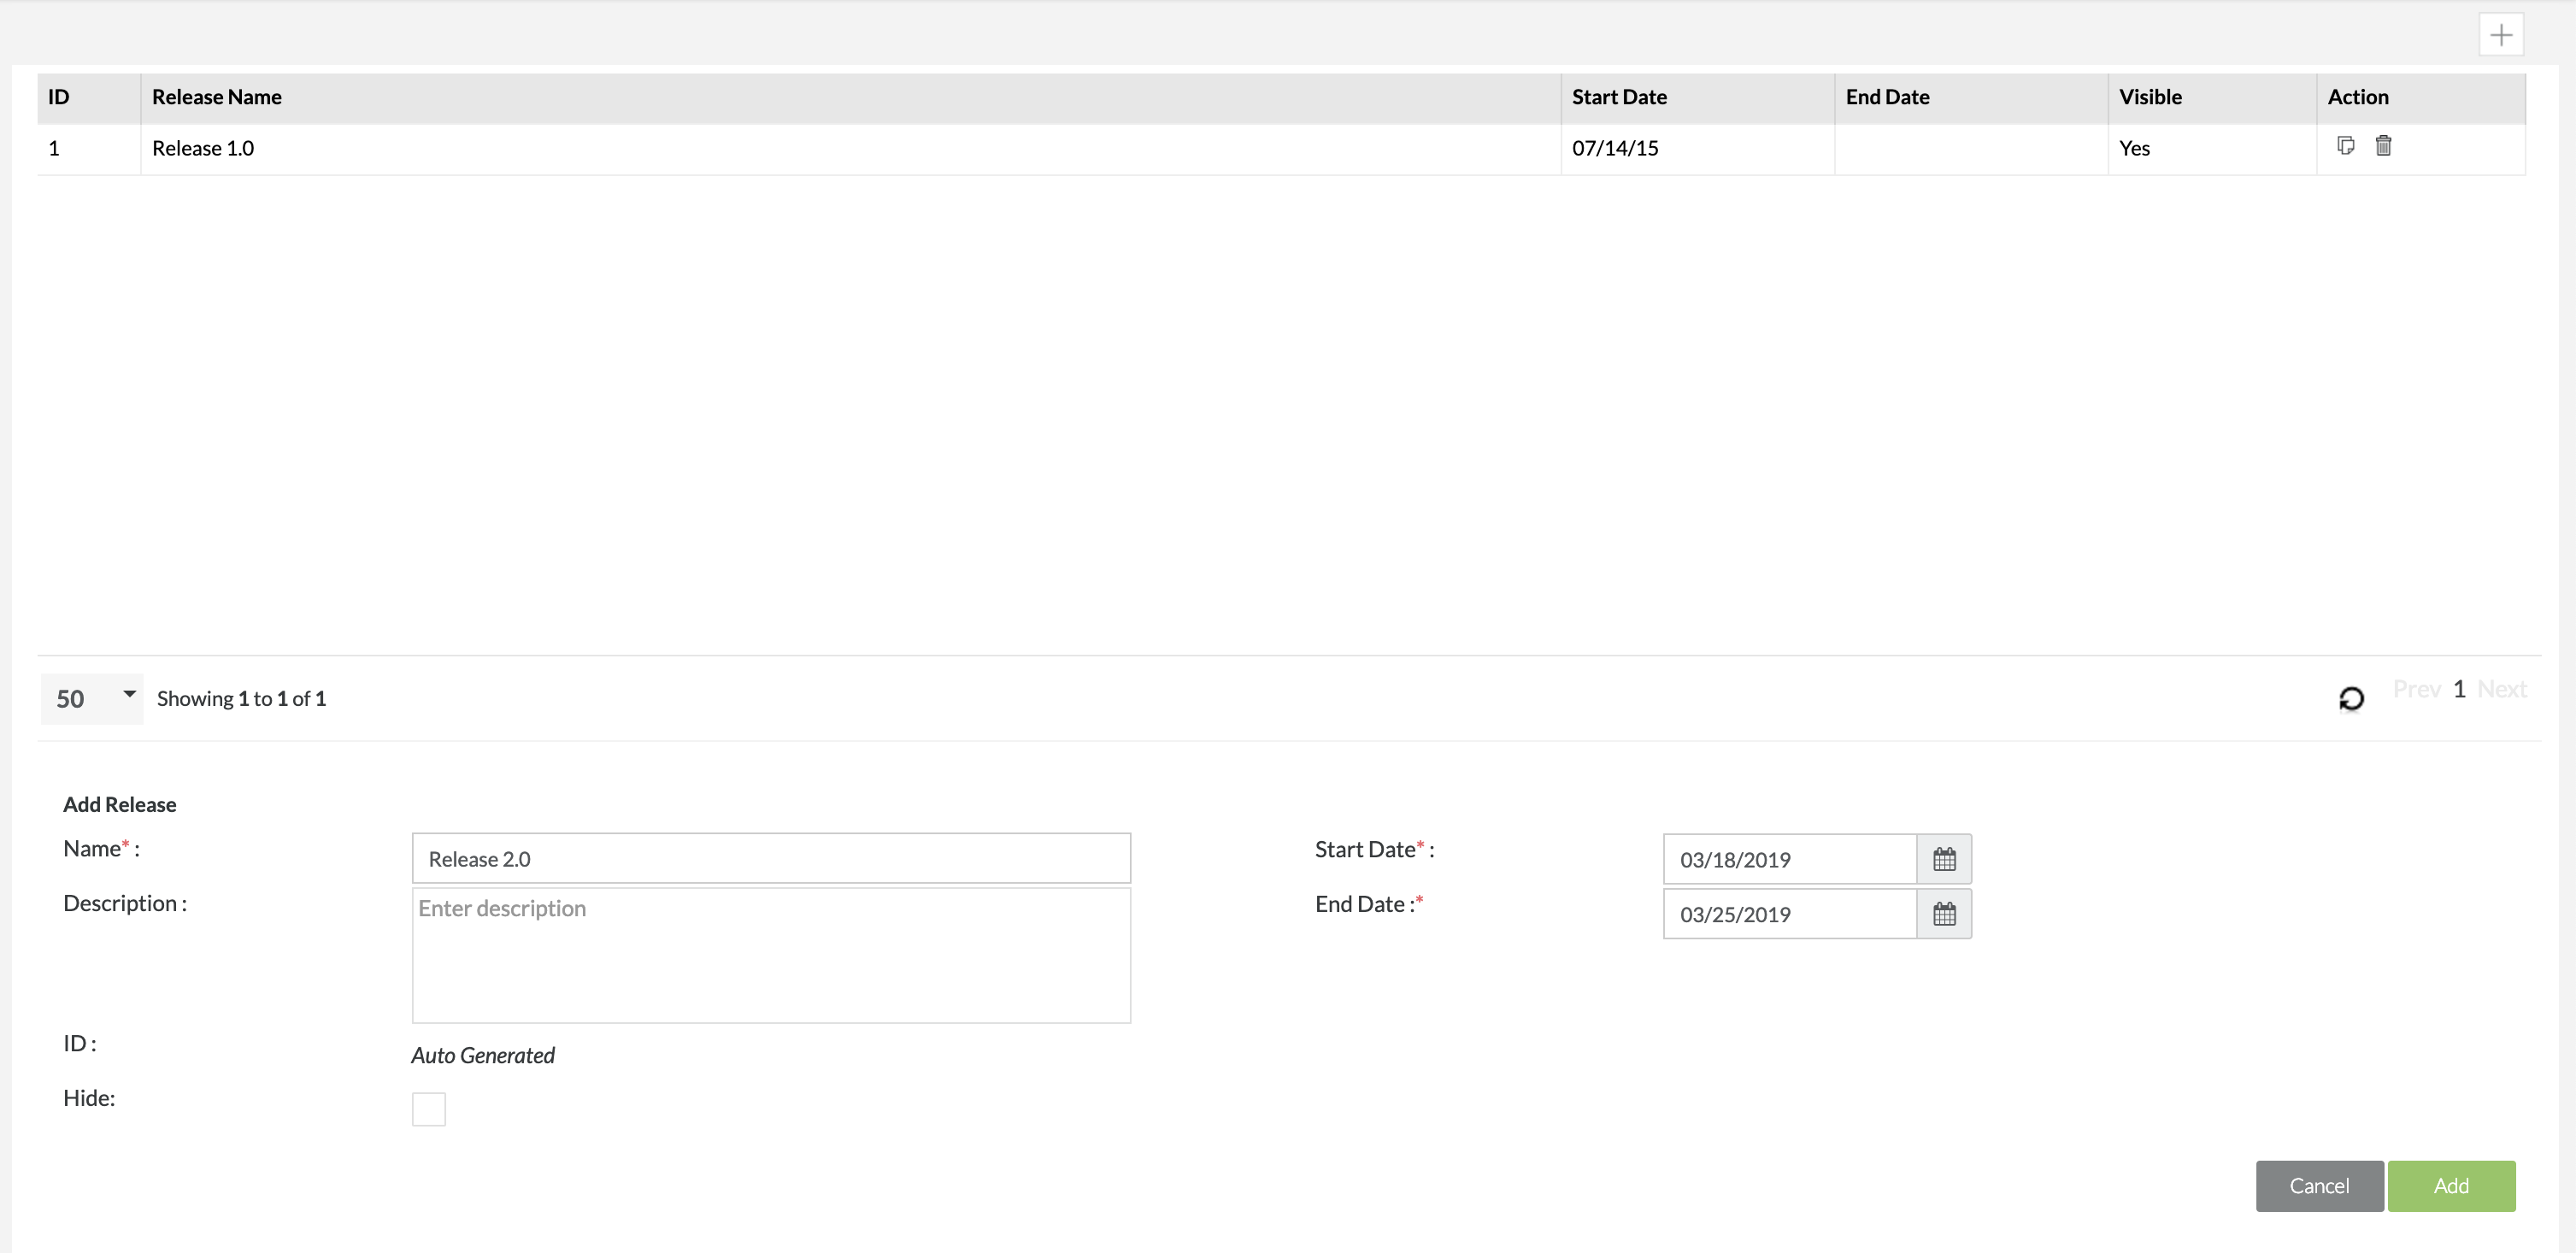
3. After clicking "Create new release", fill in the Name of the release, Start Date, and End Date for the release.
The other fields are optional that can be filled out. Optional fields are displayed below for further explanation:
- Description - A written representation to help provide an explanation for the release.
- Hide - A way to hide or suppress a specific release.
- Hiding a release will not delete any data.
- Hiding a release will cause the release to not appear in the project's release drop-down list.
- Users are able to access test cases via the Global Tree in the Test Repository.
- Users are able to access read-only execution statuses in the Test Execution section of Zephyr.
4. Simply click the "Save" button to finalize all the details of the release and the new release will be created.
5. You can immediately switch to the new Release and start using it right away.