Jira Cloud: Move from Basic Auth to OAuth
- Kevin Pham (Deactivated)
- Fernando Mattos (Deactivated)
Note: If customer is using multiple Jira instances (such as Jira Server and Jira Cloud), then both instances will need to be moved to OAuth authentication. In release 6.3, we will support multiple Jira instances with different authentication types.
Step 1: Perform updates on the Zephyr instance
SaaS customers:
Contact support to ensure the necessary changes have been done in your system.
On-Prem customers:
Support will guide you during a call to perform the necessary changes in your system.
These include setting the Jira Cloud configuration settings to OAuth and setting the private key for communication with Jira.
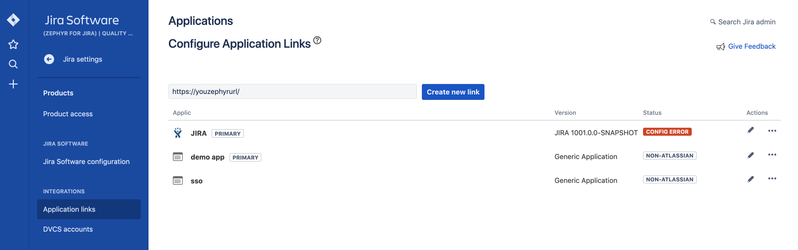
Step 2: Using a Jira Admin account, create an application for Zephyr in Jira
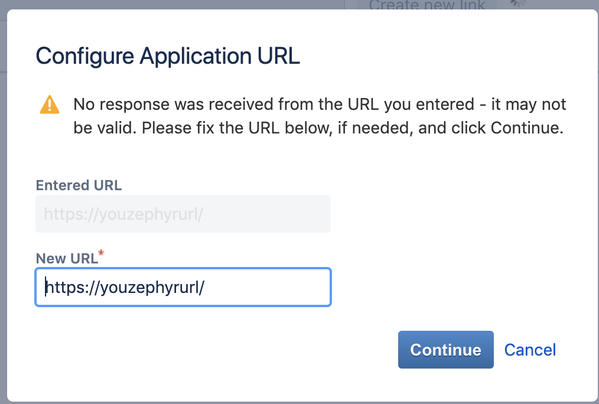
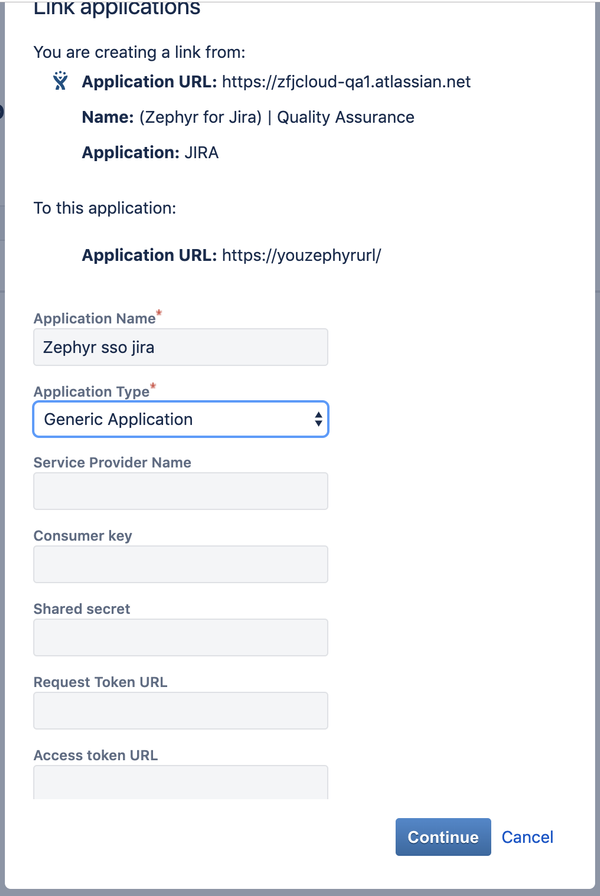
Step 2a: Configure the app as a consumer in JIRA, using the following application links:
- In JIRA, navigate to the cog icon (
 ) → Applications → Application links (click on the shortcut dot (.) and then enter in the application link).
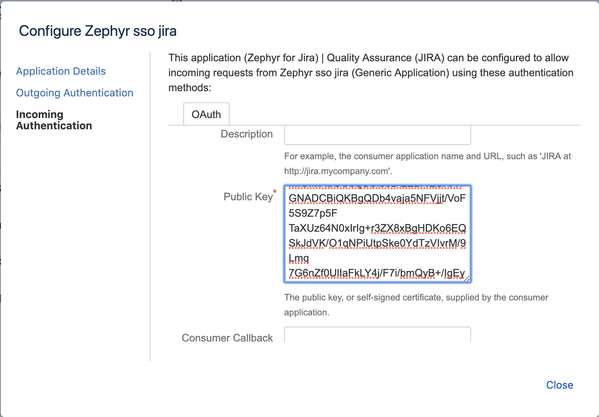
Step 2b: Paste the public key below in the "Public Key" field in Jira:
MIGfMA0GCSqGSIb3DQEBAQUAA4GNADCBiQKBgQDb4vaja5NFVjjt/VoF5S9Z7p5F
TaXUz64N0xIrIg+r3ZX8xBgHDKo6EQSkJdVK/O1qNPiUtpSke0YdTzVIvrM/9Lmq
7G6nZf0UlIaFkLY4j/F7i/bmQyB+/IgEy1SDWFipuFs/aJN8tURCEUNgcuZAjdSl
HsrQJhD0Ew53UjpLLwIDAQAB
Step 3: Configure Zephyr to connect to Jira via OAuth
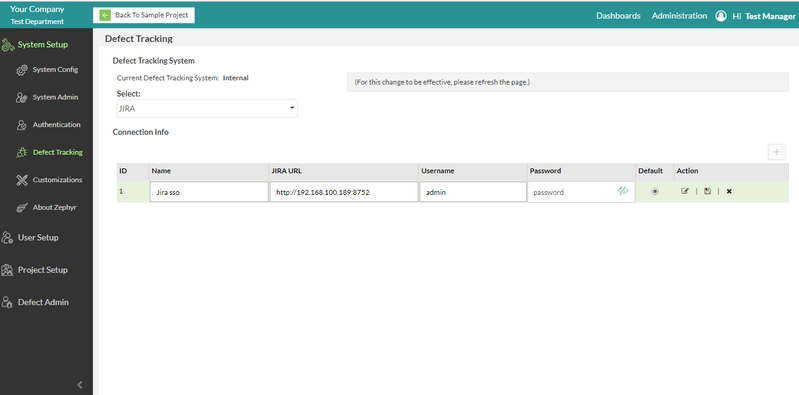
Step 3a: Log into the Zephyr instance → Click on Administration → Click on Defect Tracking → Set the Defect Tracking with the admin credentials from JIRA
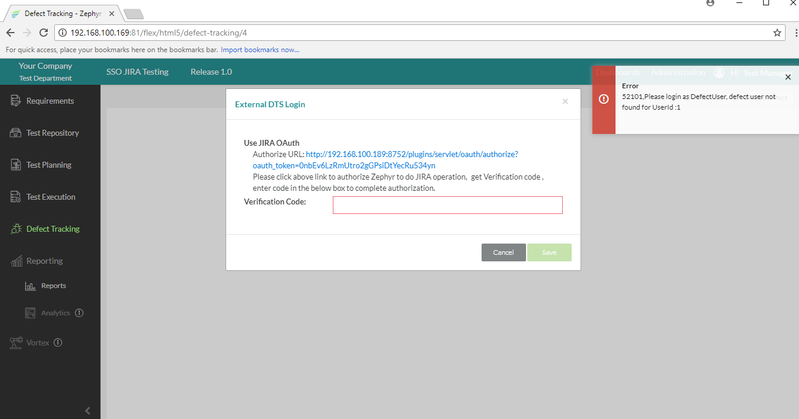
Step 3b: Go to the created project → Select a release → Click on Defect Tracking
(Note: The error message below is expected as there are no defect users)
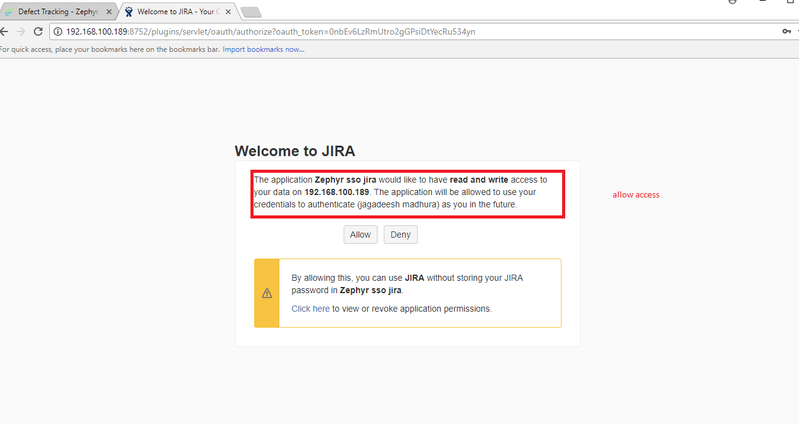
Step 3c: Click on the "Allow" button in the Jira OAuth page
Step 3d: Copy the Jira verification code into Zephyr to finalize configuration.
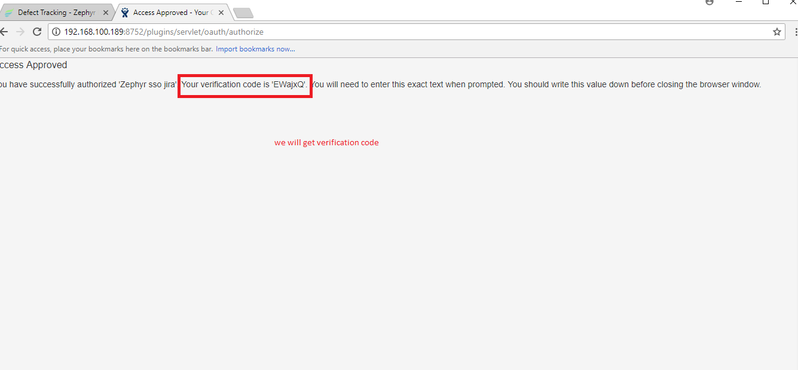
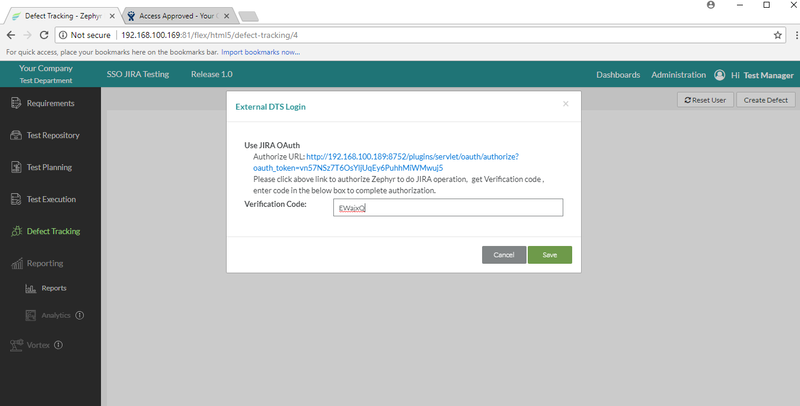
Once the external DTS login is saved, you have officially integrated JIRA Cloud via OAuth.
Starting Release 8.2, Zephyr Enterprise documentation is moving from its current location on Atlassian to a dedicated, standalone Zephyr Enterprise Documentation page. https://support.smartbear.com/zephyr-enterprise/docs/en/welcome-to-zephyr-enterprise.html