Editing a Project
- Kevin Pham (Deactivated)
- Dominik Trygar
- Manisha Khilaare (Deactivated)
Starting October 11, 2024 (Zephyr Enterprise 8.2), the Zephyr Enterprise documentation moved from its current location on Atlassian to a dedicated, standalone Zephyr Enterprise documentation page. Please see: https://support.smartbear.com/zephyr-enterprise/docs/en/zephyr-enterprise/zephyr-administration-guides/project-setup/edit-a-project.html
Editing Projects
1. Click the project you want to edit:

2. Change the field values you want to update. At that, keep in mind that all the required fields (marked with a red asterisk) must be populated:
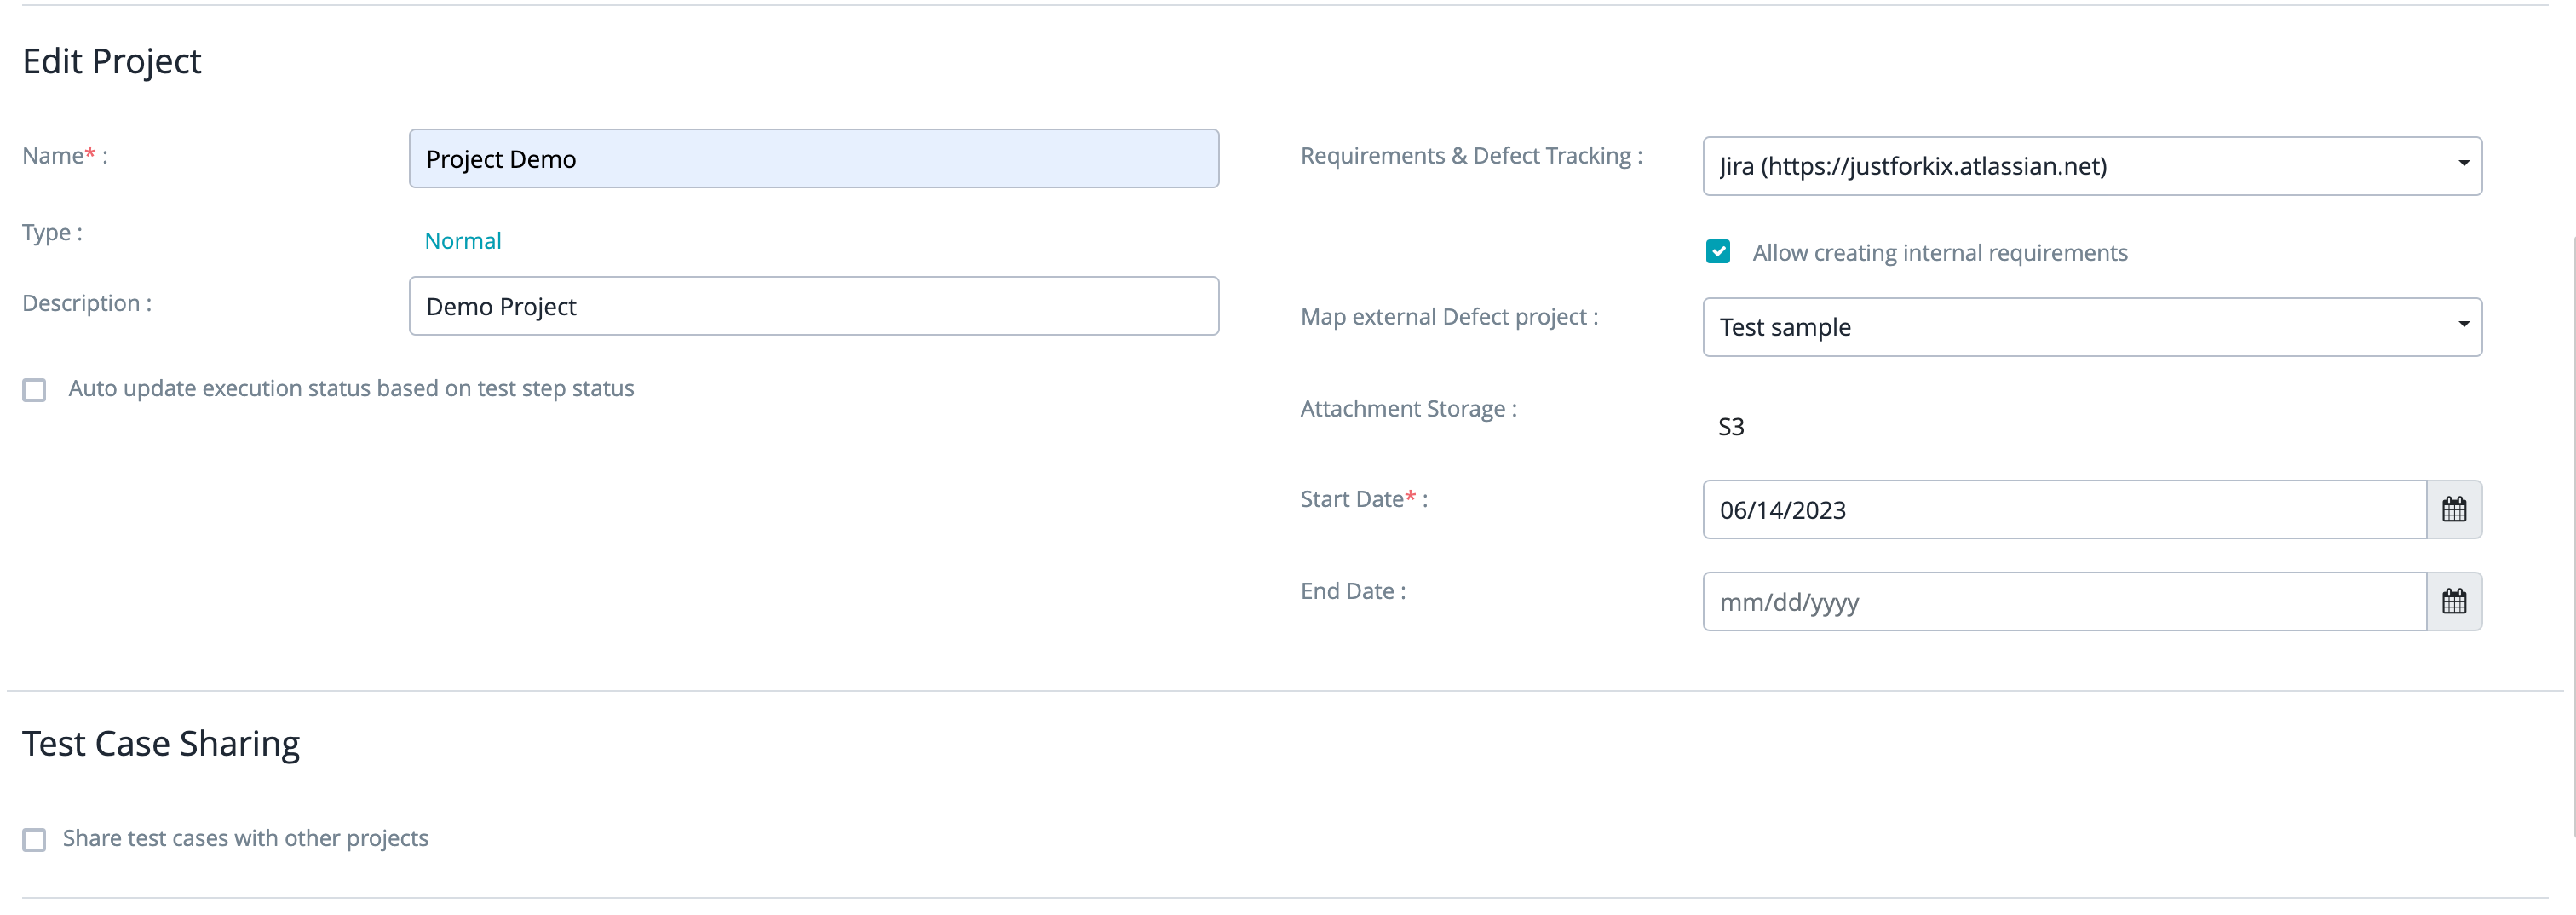
The Add Project dialog has the following fields:
| Field | Description |
|---|---|
| Name (required) | The name of the project. |
| Type | The project type. There are three project types:
|
| Description | The description of the project. |
| Requirements & Defect Tracking | Select the defect tracking system you will use for your project. You can choose either Zephyr Internal, or Jira:
|
| Allow creating internal requirements (check box) | If you select this check box, you will be able to create requirements in Zephyr even if you use Jira as a source of truth. When the check box is not selected, you cannot add requirements or import them in the Excel format. The check box appears when you select Jira as the defect tracking system. |
| Map external Defect project | Select a Jira project to map to your project. The field appears when you select Jira as the defect tracking system. |
| Attachment Storage | This is a non-editable field. You can migrate the attachments from internal storage to the external storage. Click here for more details. |
| Start Date (required) | The start date of the project. |
| End Date | The end date of the project. |
| Auto update execution status based on test step status (check box) | If this check box is selected, Zephyr automatically updates the execution status of the test case based on the test step status. |
| Share test cases with other projects (check box) | A project can be marked as shared, which allows test resources to be copied to other projects marked as shared. Project sharing is restricted to projects with the type "Normal". |
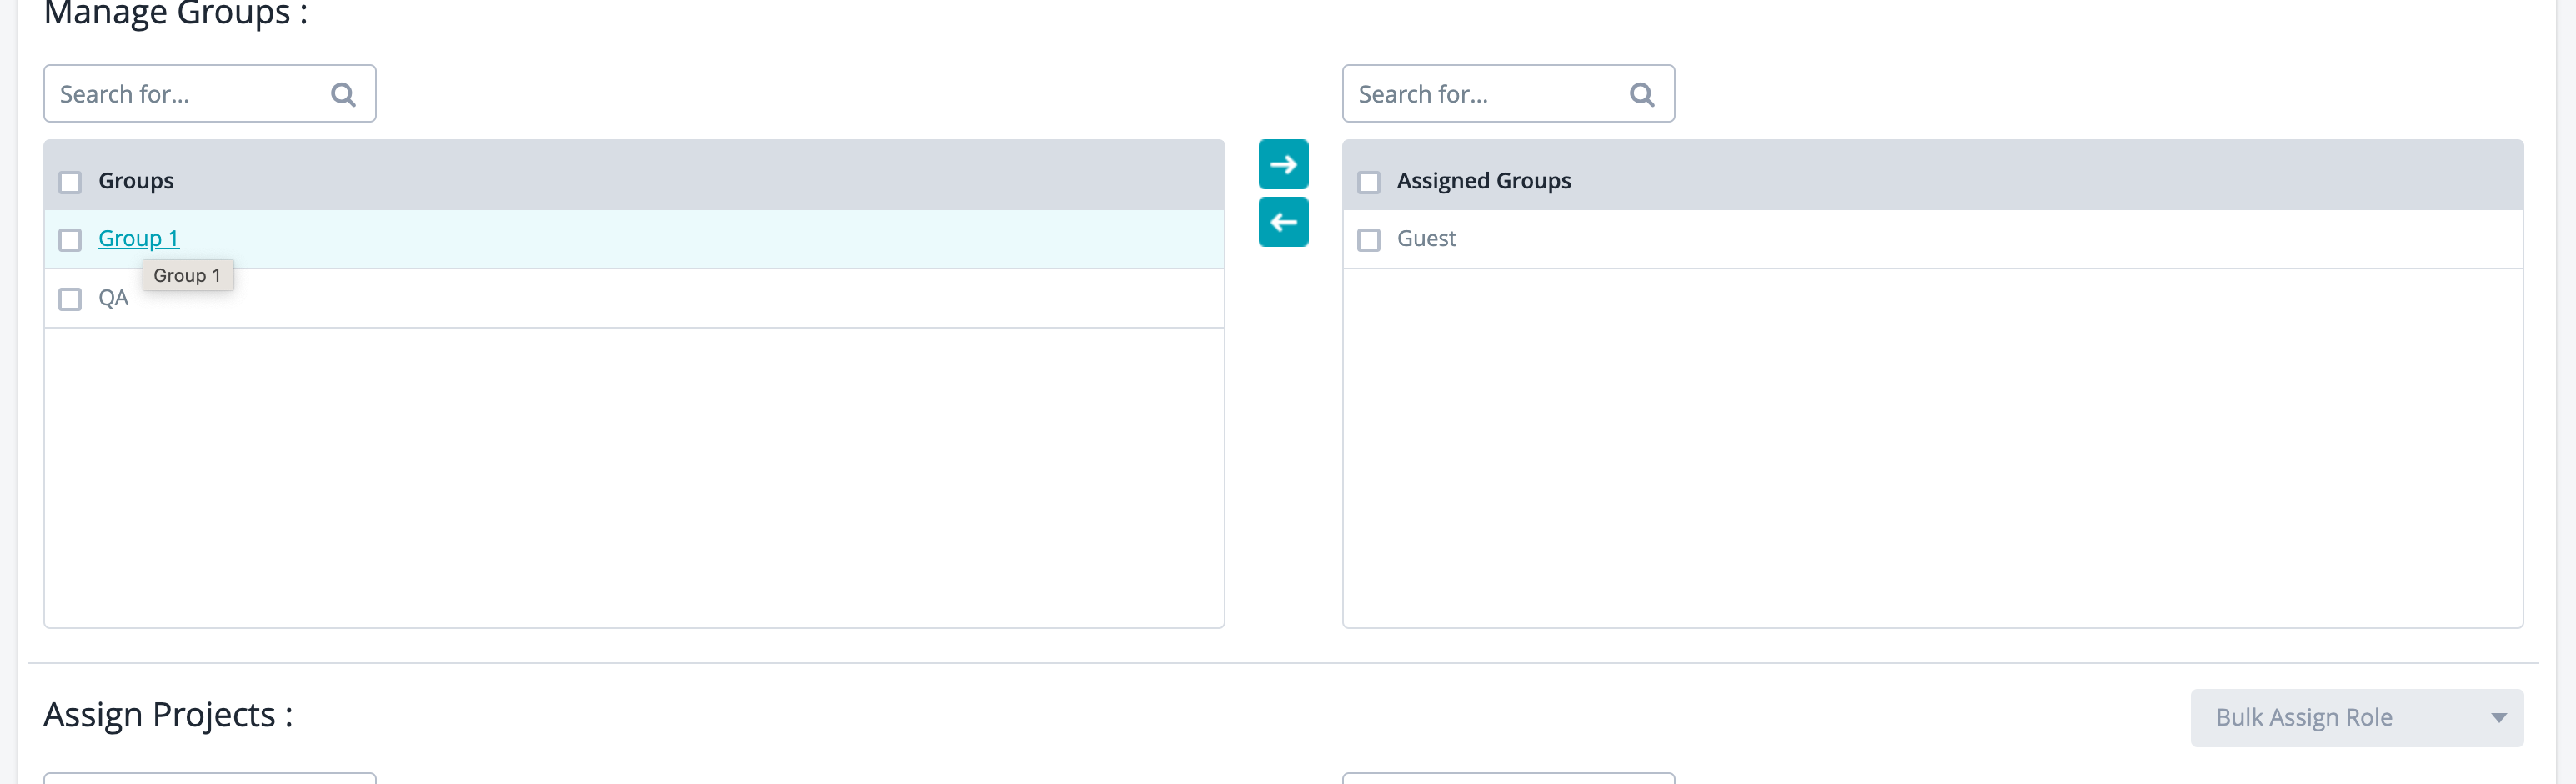
3. Assign groups to a project to allow users in the group(s) to have access to the project:
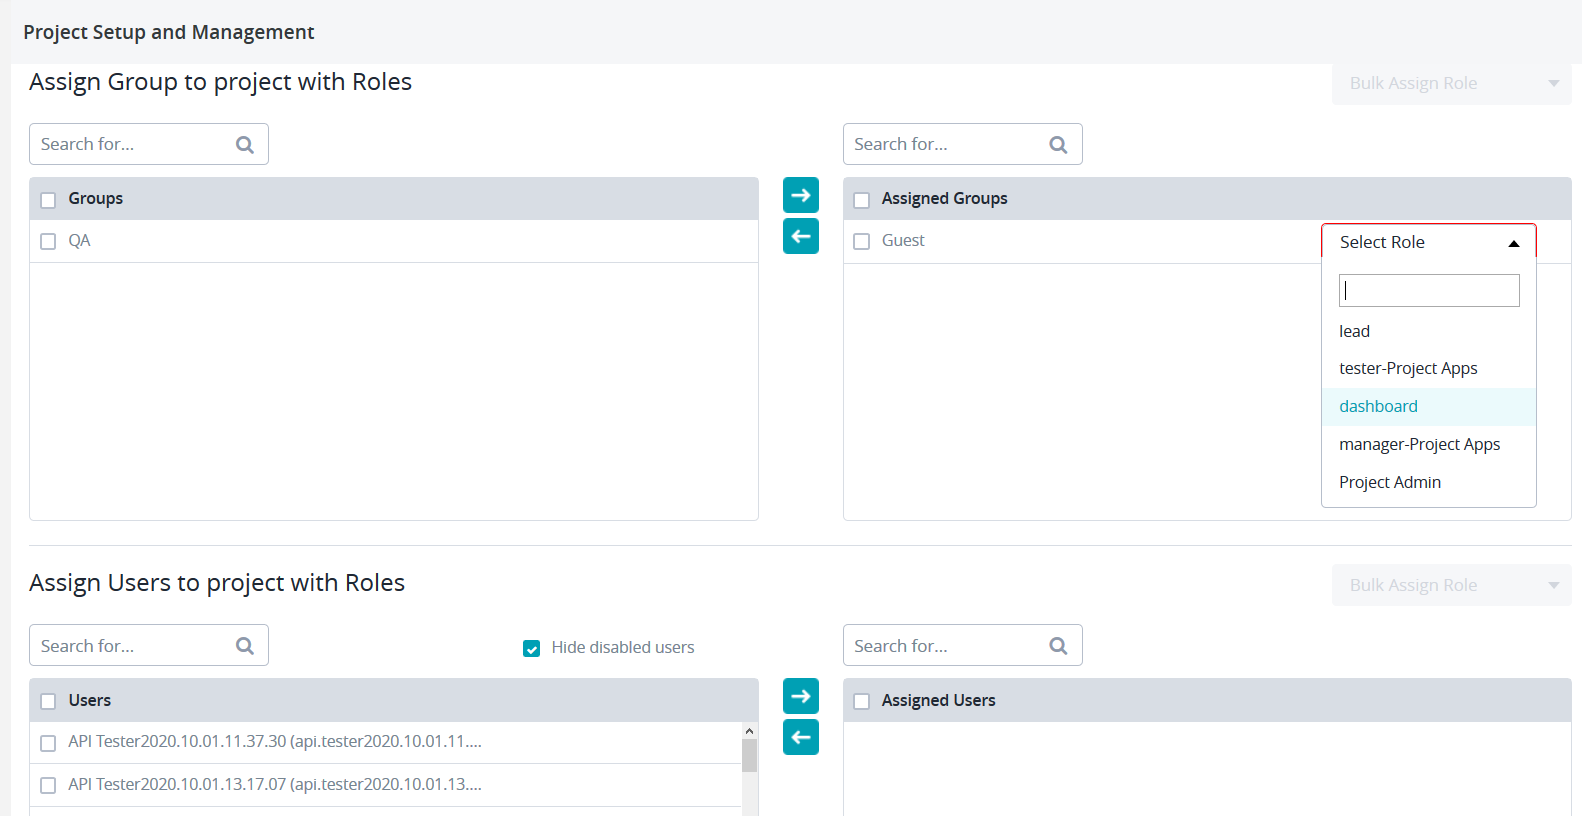
When assigning groups to a project, you can select a role for the group. This is done to grant a set of permissions for the group(s). Selecting a role is mandatory when assigning groups to a project. You can assign multiple groups to a project with a single role.
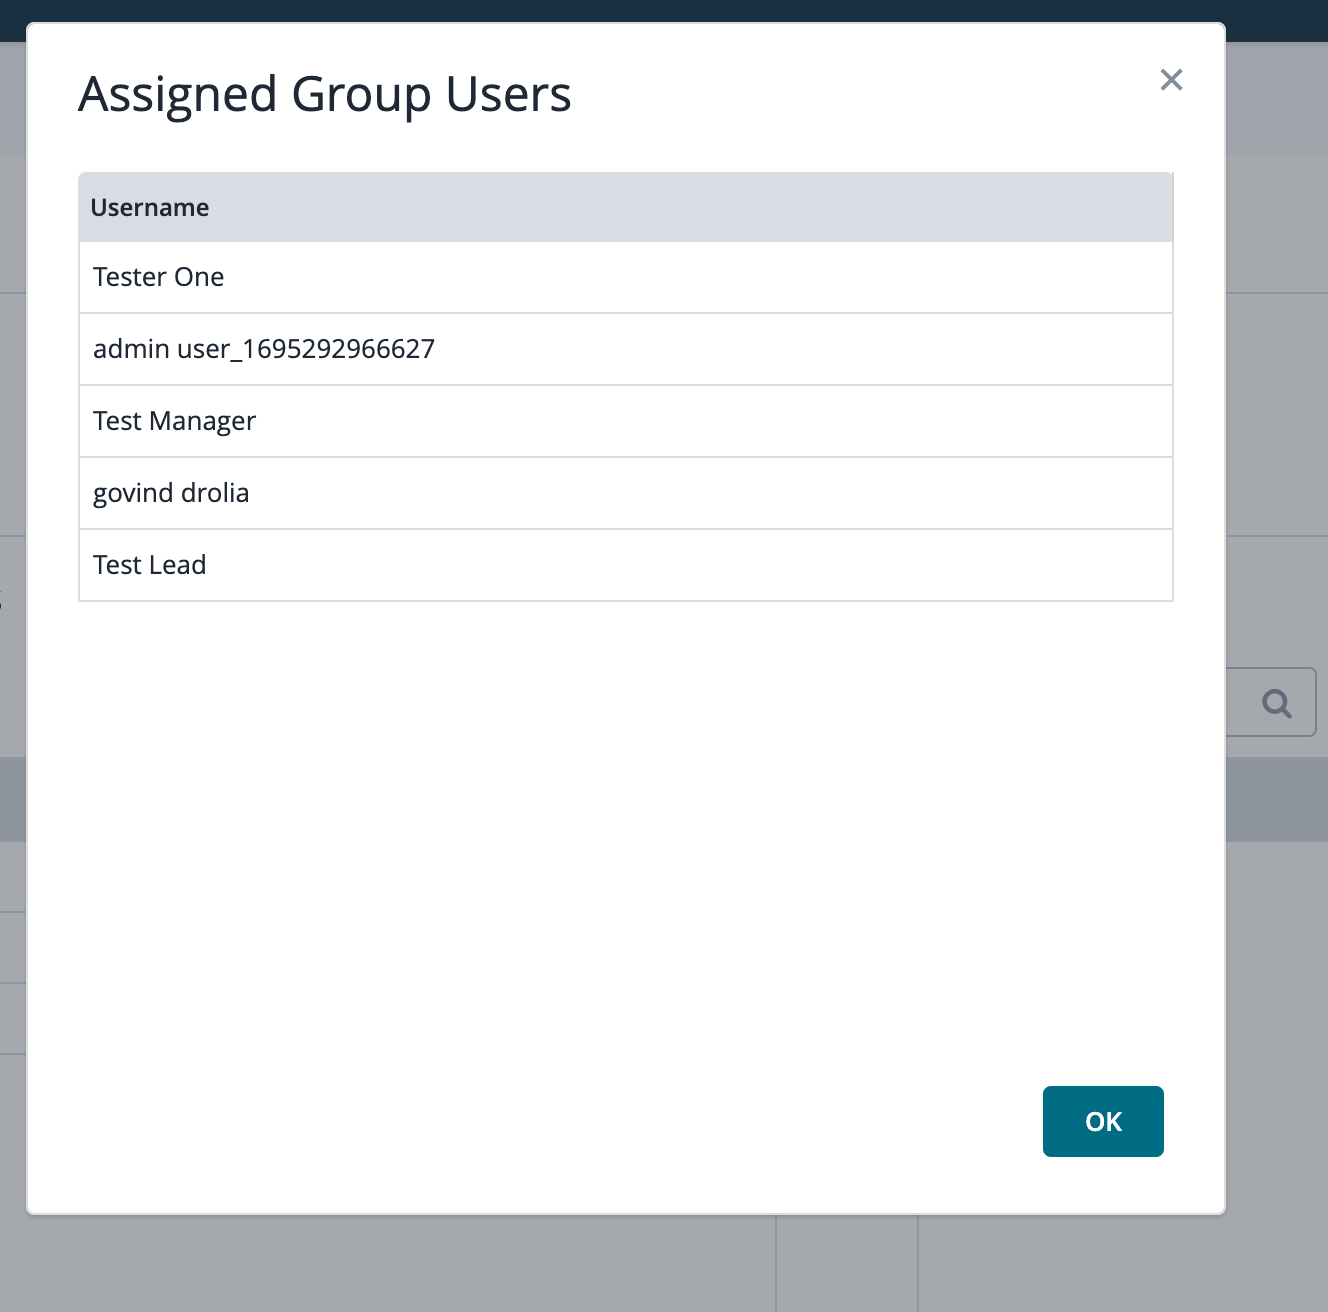
Clicking the group, a user can view the list of users assigned to that group:
4. Assign users to a project to allow those users to access to the project.
When assigning a user to a project, you can select a role for the user. This is done to grant a set of permissions for the user(s). Selecting a role is mandatory when assigning users to a project. You can assign multiple users to a project with a single role.
5. After making the changes, click Save.