Creating Issues
Capture for JIRA makes it quick and easy for you to create comprehensive issues directly in JIRA, without ever leaving your web application.
Attaching to a New Issue
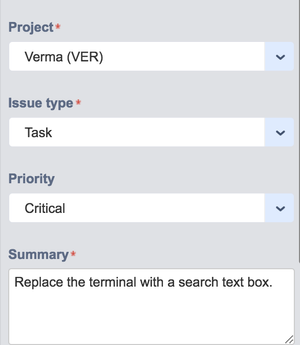
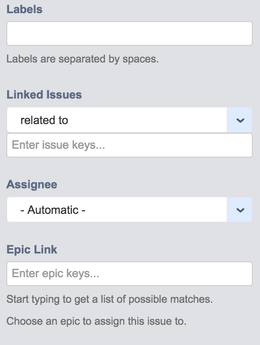
Creating an issue is done under the 'New Issue' tab in the Capture for JIRA browser extension. As you select the project and the issue type, Capture for JIRA will update the issue creation form to reflect the same fields that are available in JIRA's new issue interface. Capture for JIRA also allows you to quickly attach screenshots and videos to the issue you are creating with the attach and paste function at the bottom right of the interface.
For IE users, the user interface for attaching to a new issue may vary from other browsers. The second image for attaching to a new issue is displayed for the IE browser extension.
You can create issues faster by using Templates and Variables to pre-fill information.
Attaching to an Existing Issue
Attaching a screenshot or video to an existing issue is completed under the 'Existing Issue' tab in the Capture for JIRA browser extension. You'll be attaching the screenshot or video to an issue using the 'Issue Key' and then you can add any additional comments when attaching to the issue.
Creating Sub-Tasks
An issue can also be raised as a sub-task by selecting a task issue type in the new issue form and you can use the "Linked Issues" drop-down list
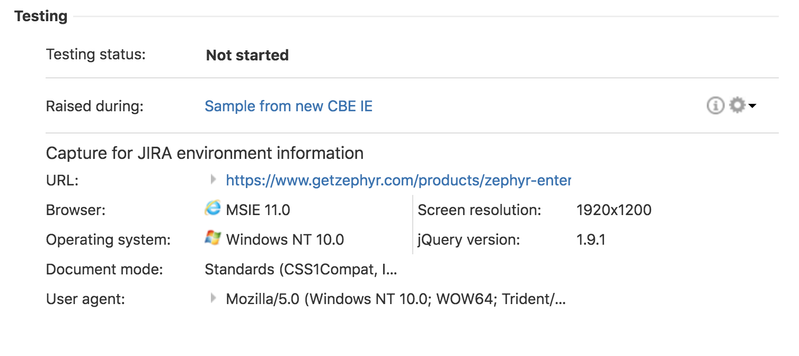
Contextual information for issues created using Capture for JIRA
When creating an issue using Capture for JIRA, useful contextual information is captured to assist in debugging the issue. This information can be viewed on the issue page.


