Linking Defects
- Kevin Pham (Deactivated)
Steps to Linking Defects
Linking to an Existing Defect
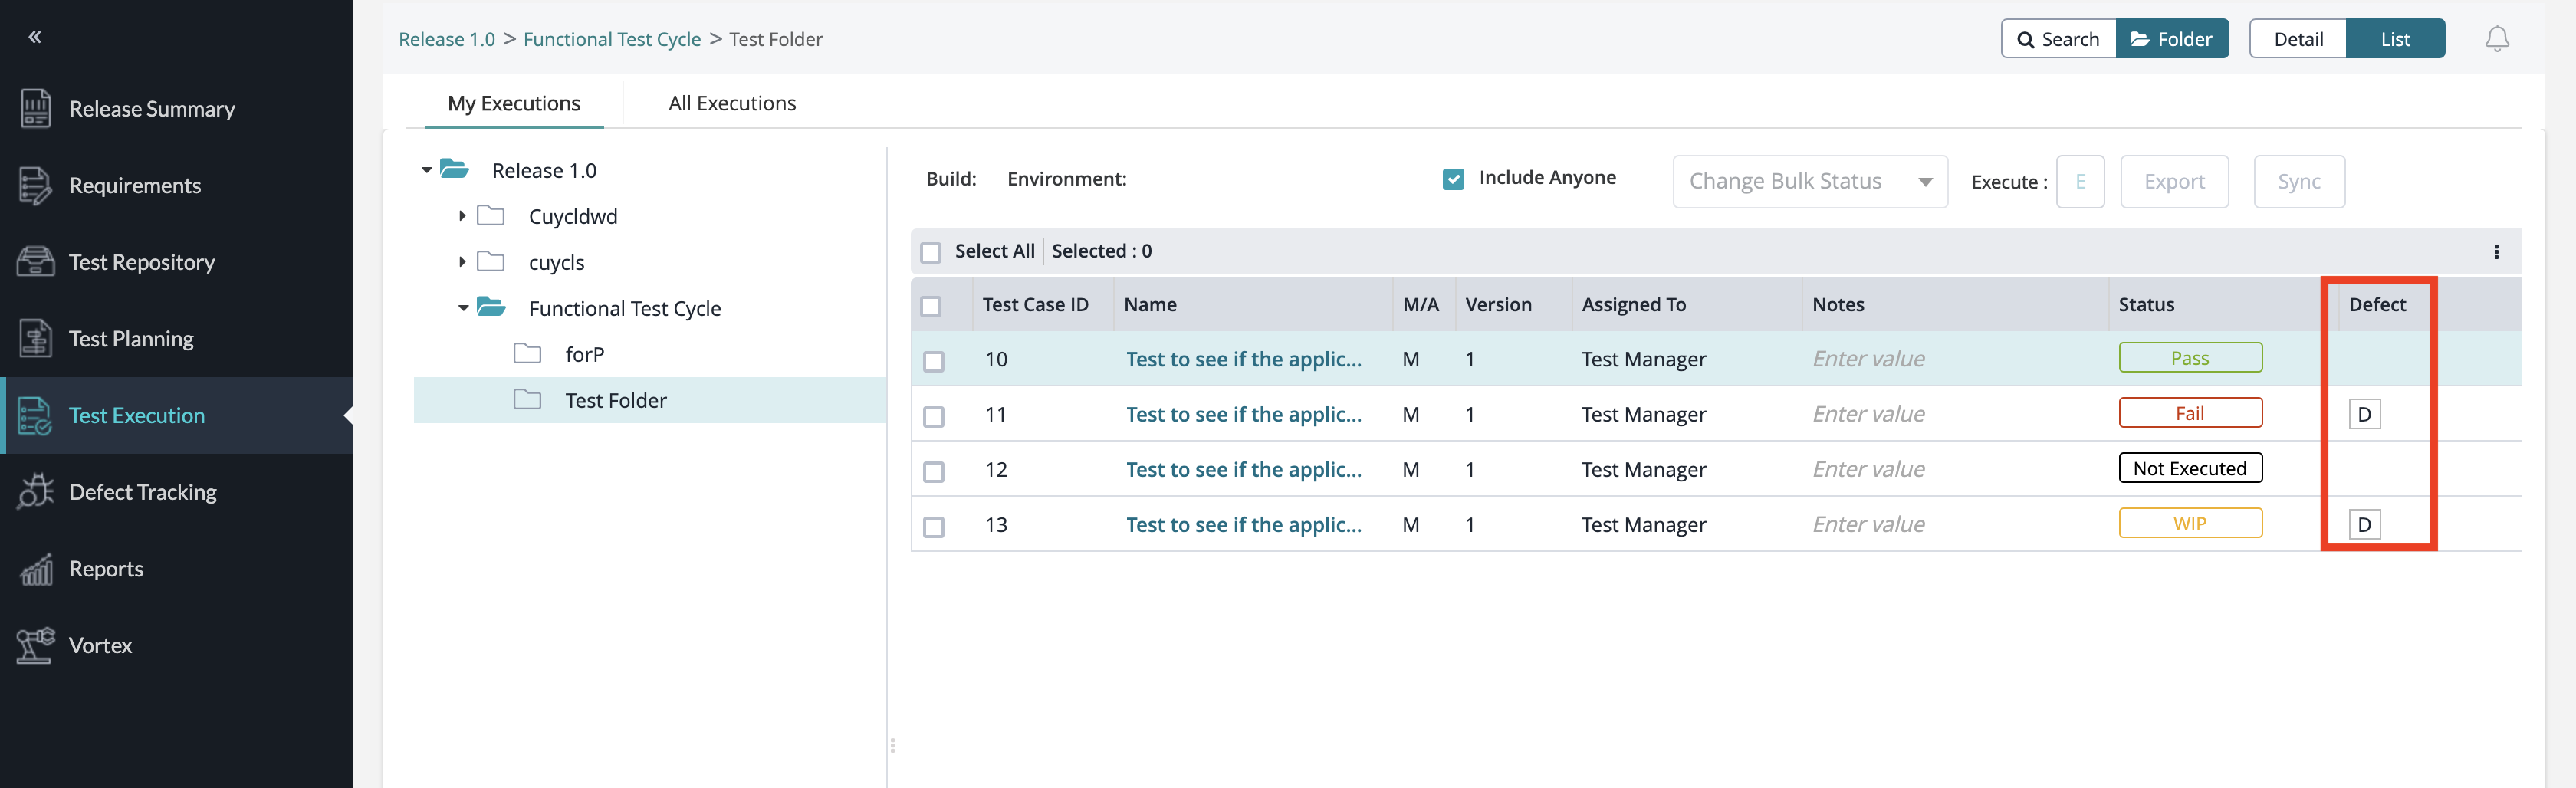
1. Choose which executed test case that you want to link in the test execution table.
2. Navigate to the "Defect" column and click on the ![]() button.
button.
3. Search for the defect that you want to link by using the following search methods:
- The Defect ID
- JQL Query
- Your Saved Filters
4. Click the ![]() button in the "Link" column for the particular defect that you want to link.
button in the "Link" column for the particular defect that you want to link.

5. You can view the linked defects for the test execution at the top of the interface.
6. If you want to remove a linked defect, simply select the defect from the "Currently linked defects" table and click on the "Delete" button at the top right of the interface.
- This should remove all the selected defects that are linked.
Linking to a New Defect
1. Choose which executed test case that you want to link in the test execution table.
2. Navigate to the "Defect" column and click on the ![]() button.
button.
3. Click on the "Create Defect" button.
- A pop-up/modal will appear prompting the user with the steps for filing a new defect.

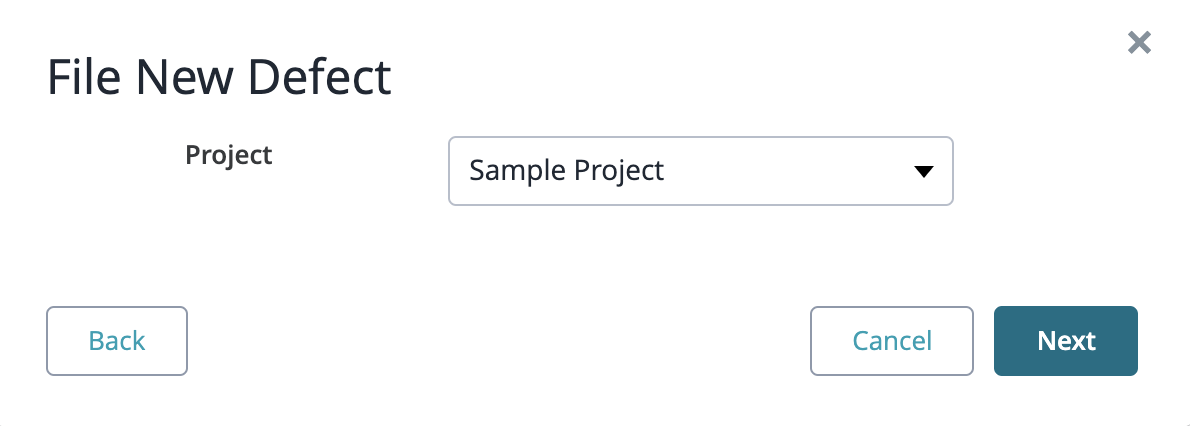
4. Choose a project to add the defect to and select "Bug" for the issue type.
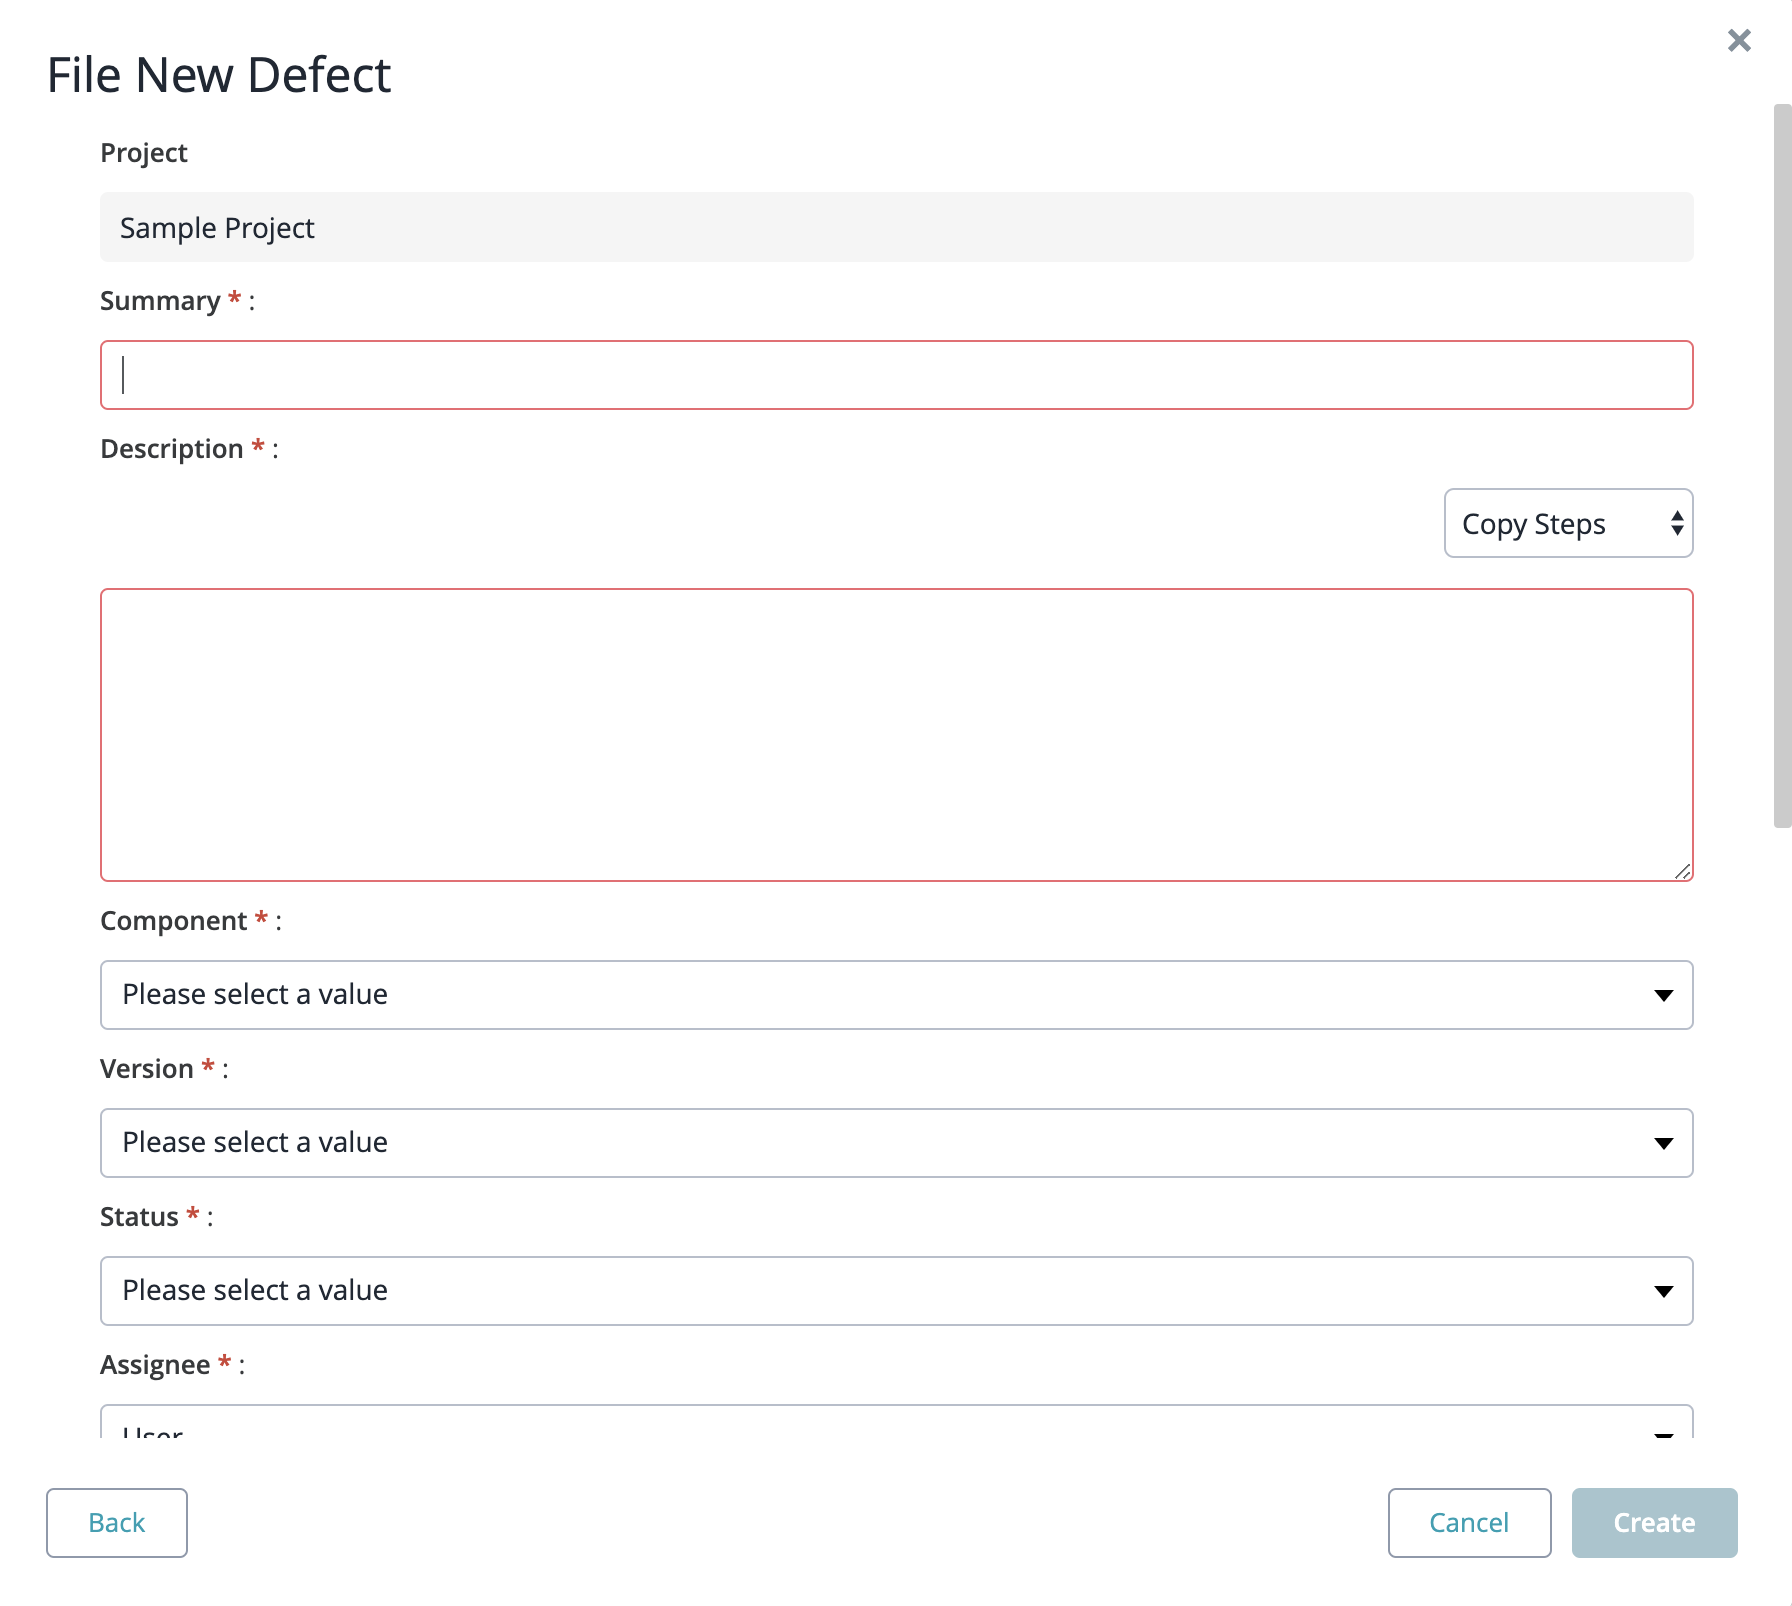
5. Fill in the following fields to file a new defect.
- The Summary and Description are mandatory fields.
- All other fields are optional fields and are not required to file the new defect.
6. After you've filled in the following fields to file a new defect, click on the "Create" button at the bottom right of the pop-up/modal.
- This will not only file the new defect but then automatically link your newly filed defect to the current test execution.
- After creating and linking the defect, you can click Cancel to navigate back to the link defects interface.
5. You can view the linked defects for the test execution at the top of the interface.
6. If you want to remove a linked defect, simply select the defect from the "Currently linked defects" table and click on the "Delete" button at the top right of the interface.
- This should remove all the selected defects that are linked.
Viewing Defects
1. Choose which executed test case that you want to view the defects for.
2. Navigate to the "Defect" column and click on the ![]() button.
button.
3. Click on the "ID" of the defect that you want to view in the "Currently linked defects" table.
- This will redirect you to the defect tracking page to view further details on the defect selected.
