Cloning a Release
- Kevin Pham (Deactivated)
Analytics
Cloning Releases
The following items can be cloned and can be selected for the cloning process:
- Test Repository
- Attachments
- Cycles
- Cycle-phase assignments
- Execution Results
- Comments
- Defect Mapping
- Attachments
- Step Results
- Comment
- Attachments
- Requirements Repository
- Mapping between requirements and test cases
- Attachments
- Documents
Additional Notes on Cloning a Release
- If you only need the Cycles, Phases, and Assignments, exclude cloning the execution results.
- Pick the user who should be assigned test cases and their executions in the cloned release if a particular user in the original release is not a part of this project (e.g. if "Joe" was on release A and is no longer a part of the project that contains release B (which was cloned from release A), then all test cases and executions assigned to him in release B will now be assigned to a new user that is picked here.)
- The Release Start Date is important.
- The cloned release will have the same offset for all cycles and cycle-phases as in the original release (e.g. if cycle A started 1 week after the Start Date on the original release, then the cycle A-clone will start 1 week after this Release Start Date and so on. The length of the cycles remain the same.)
Steps to Clone a Release
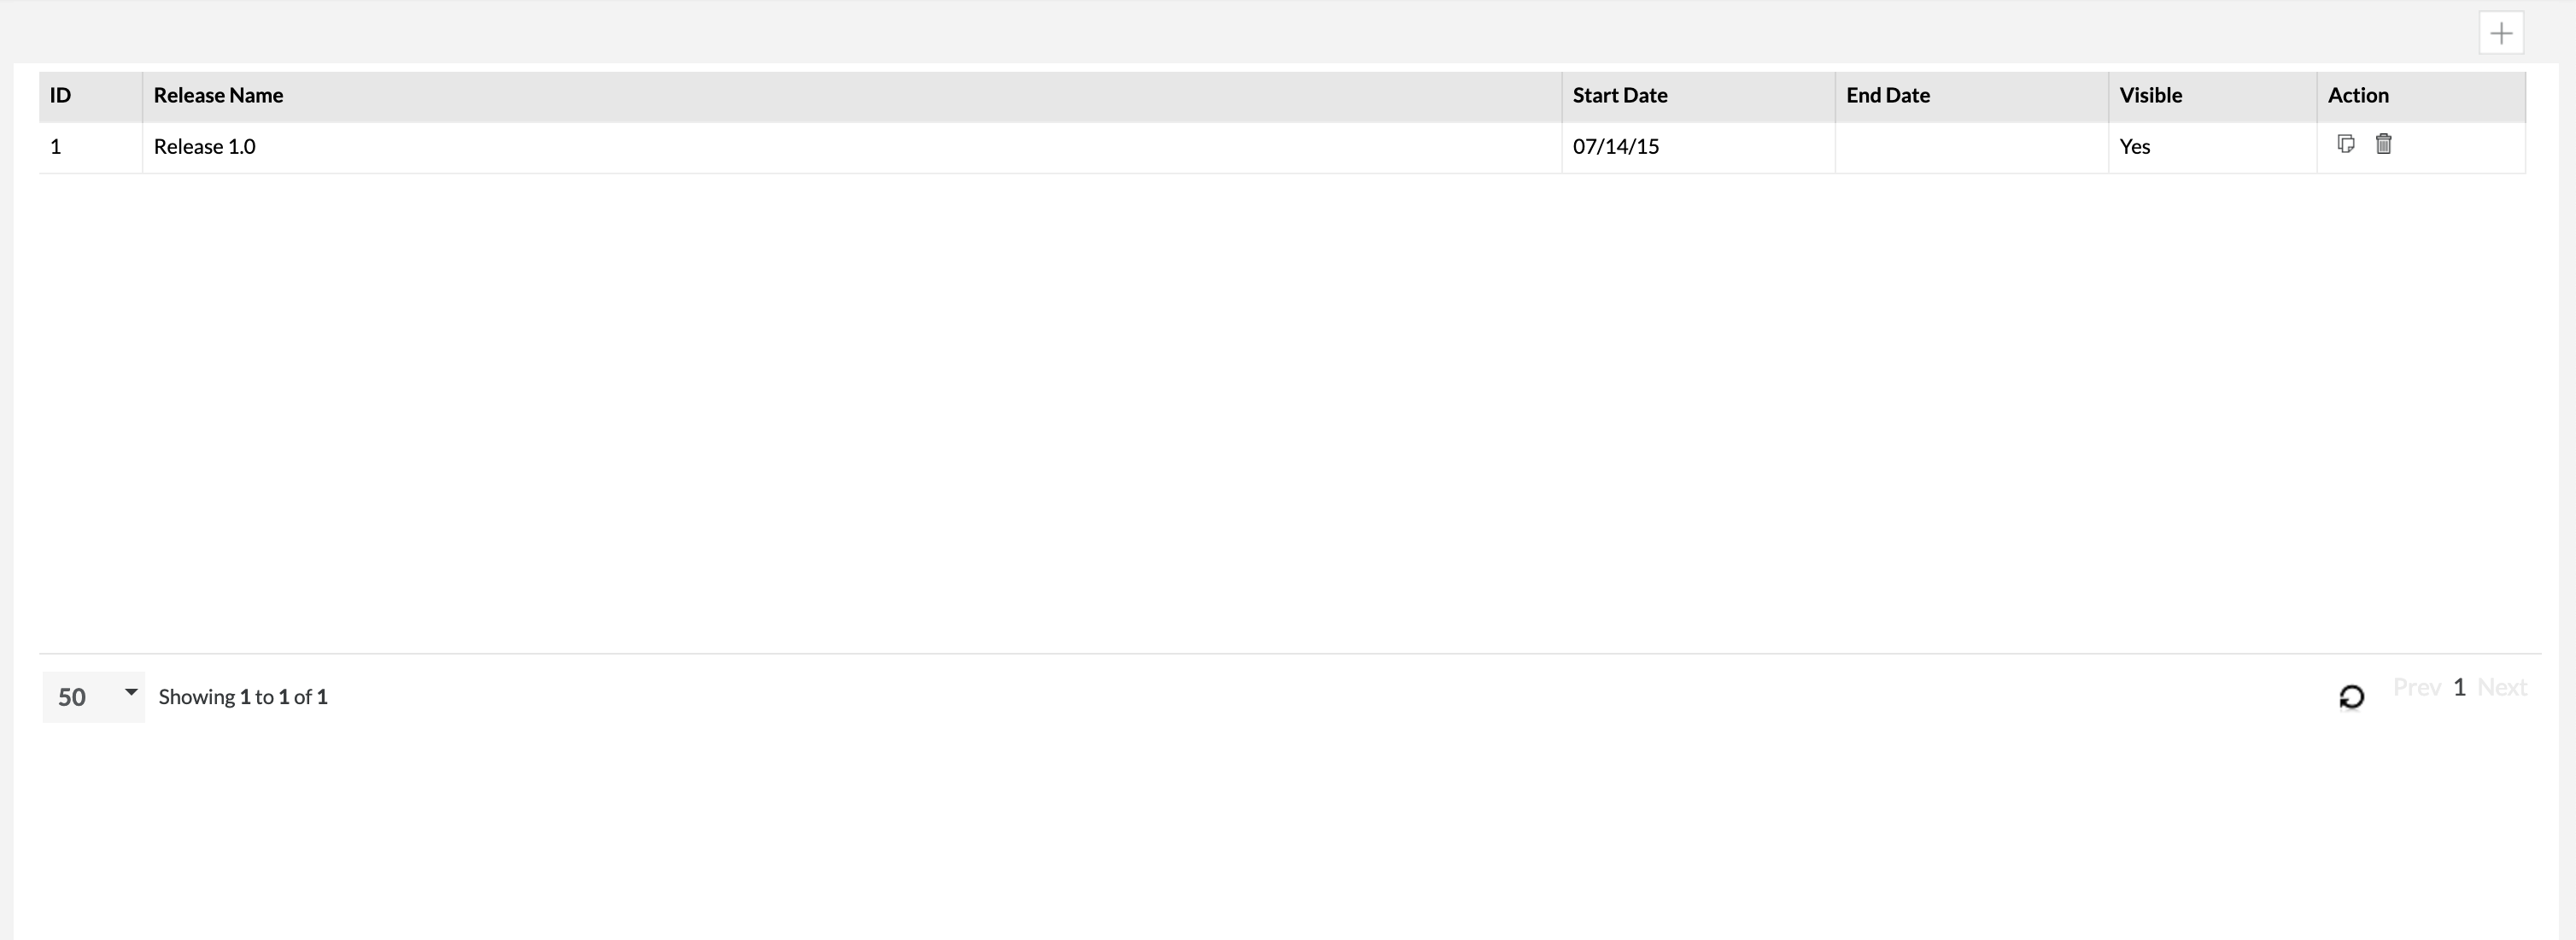
1. In 'Manage Release', ![]() icon at the top-right side of the interface or click on the
icon at the top-right side of the interface or click on the ![]() icon at the right side of the table for the release that you want to clone.
icon at the right side of the table for the release that you want to clone.
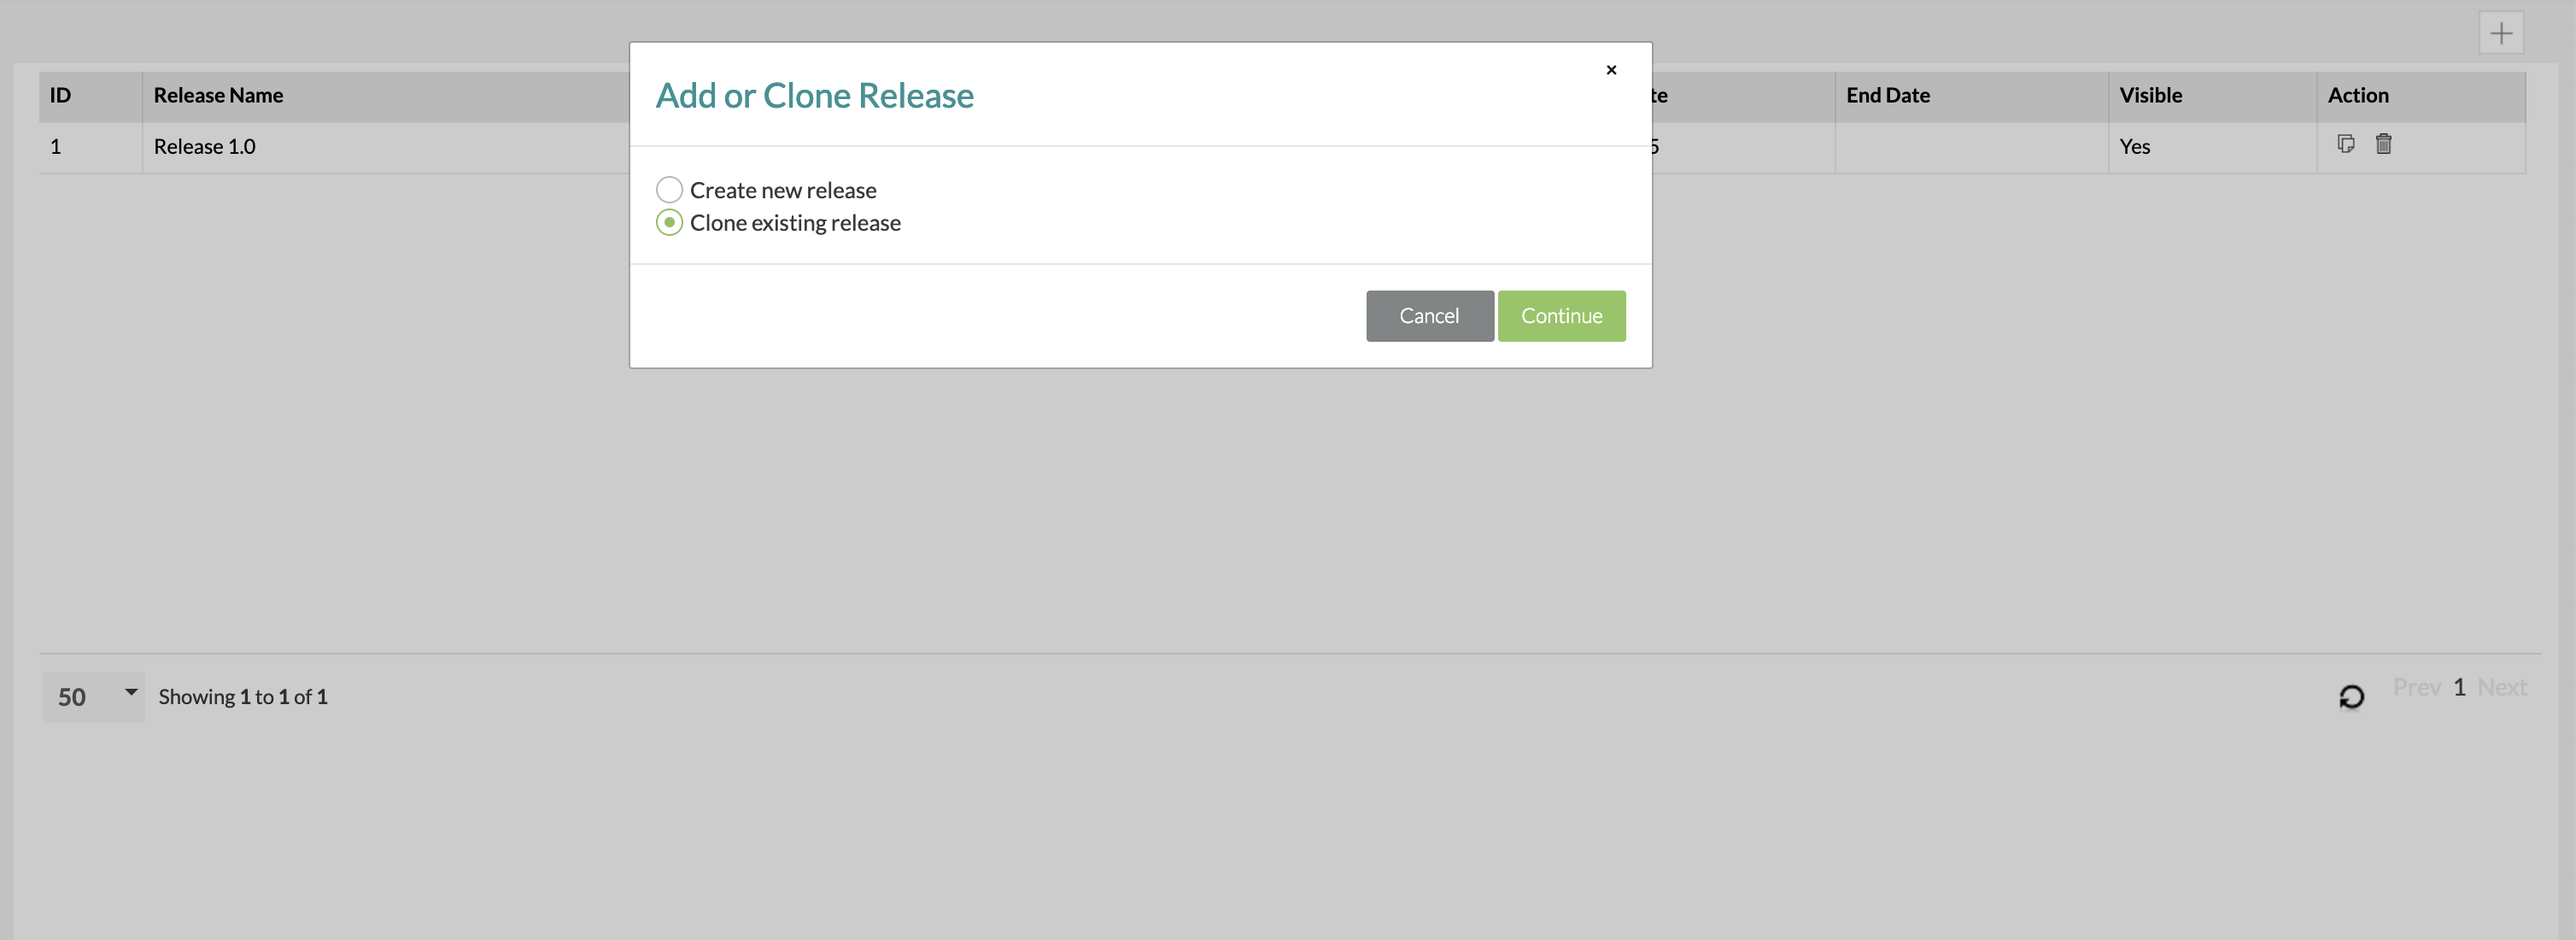
- If you clicked the
 icon, a module will pop up asking you to either "Create new release" or "Clone existing release" and after selecting, you will click on the "Continue" button. (In our scenario, we'll be selecting "Clone existing release")
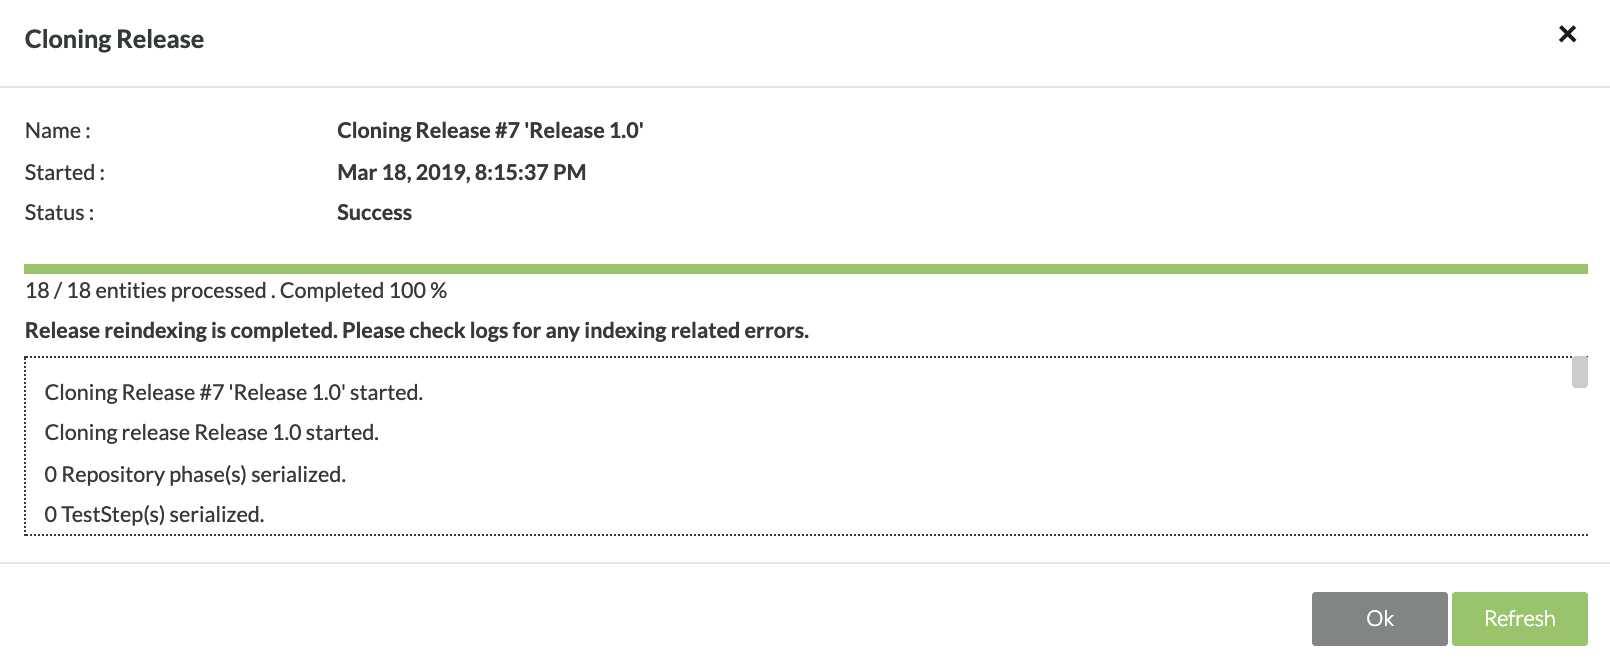
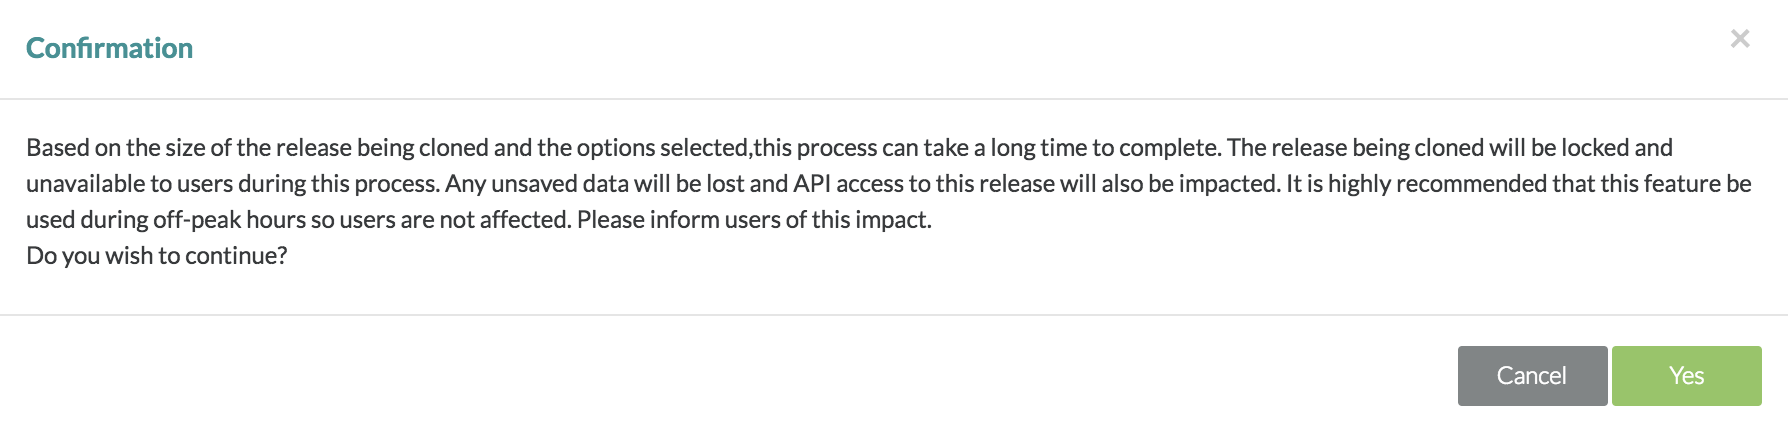
The Release clone process can take a significant amount of time to complete depending on release size. During the process, the original release will not be available. It is strongly recommended that this feature be used during off-peak hours and for you to notify the users. Once the process has begun, it cannot be stopped, paused or cancelled. Any attempt to have data created in the original release during the cloning process will be lost.
2. A warning module will pop up and you can click the "Yes" button.

3. Select the Project and Release to be cloned as well as a user assigned to the release.
4. Use the checkboxes to select if you want to clone the Testcase Repository, Requirement Repository, and the Cycles.
5. Choose the Start Date for the cloned release.
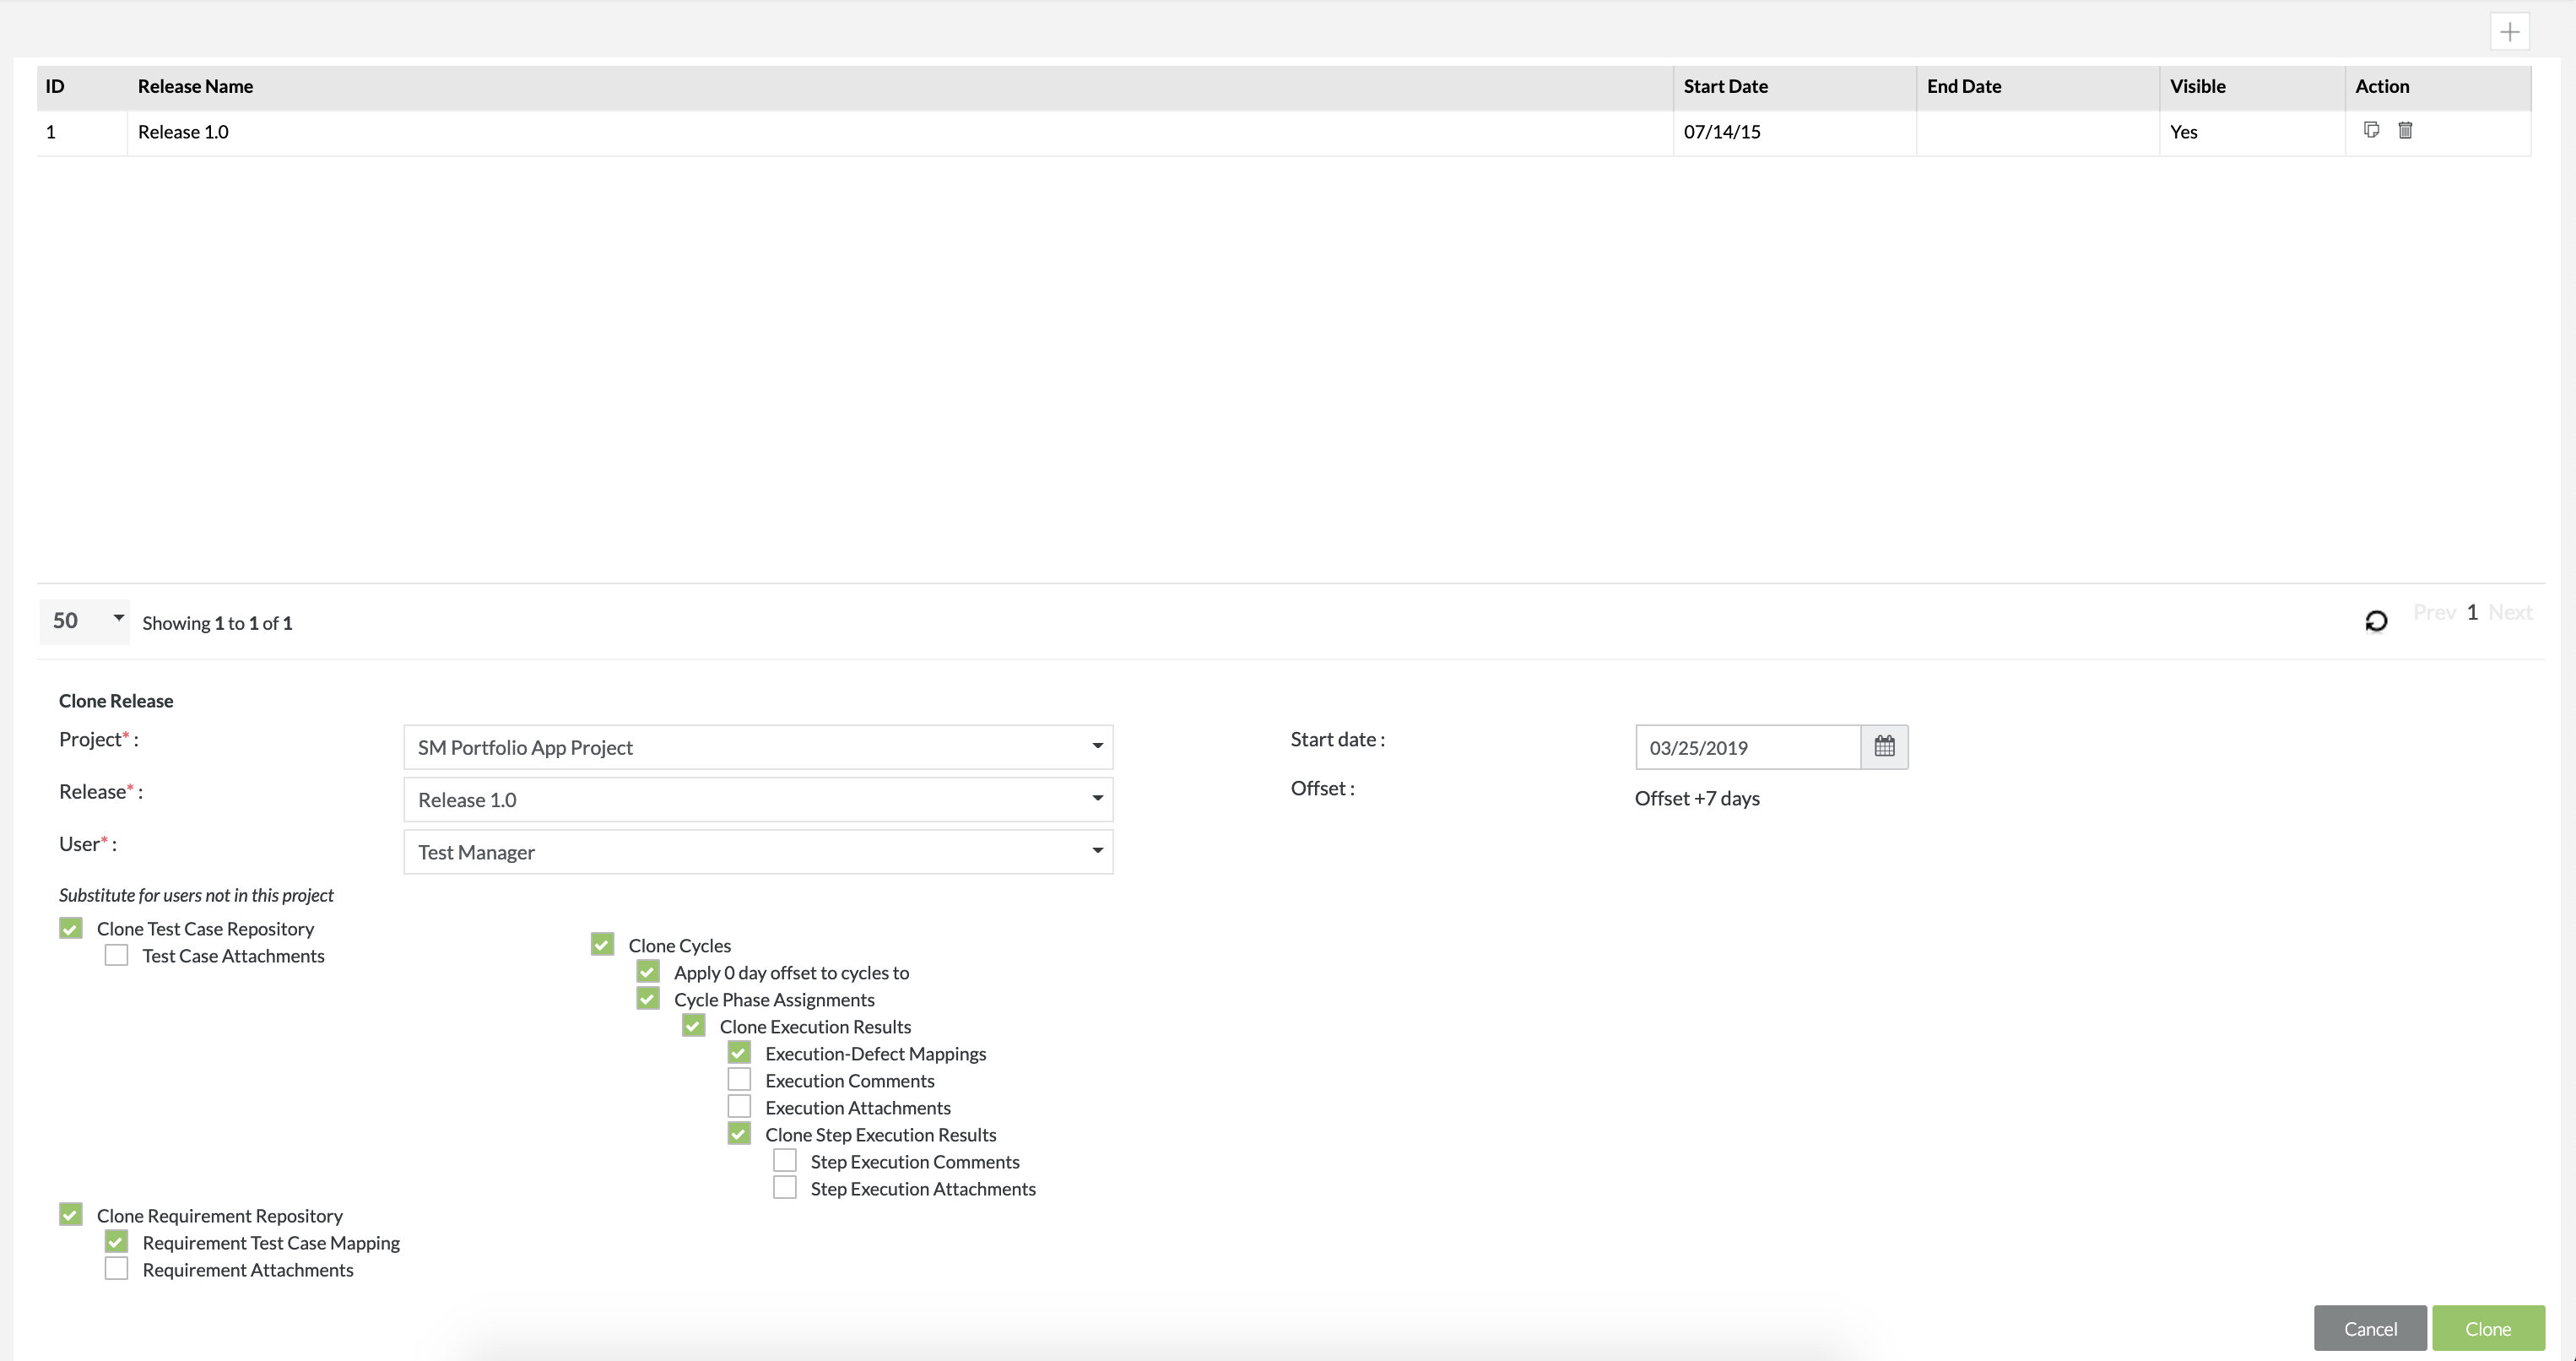
6. After you have your options selected, click the "Clone" button at the bottom right of the interface.
7. A module will pop up asking you to confirm and then you can click the "Yes" button to confirm the cloning.
8. From here, you will see the cloning progress and once it is complete, you can click "Ok".