/
Zephyr Upgrade Instructions
Zephyr Upgrade Instructions
- Kevin Pham (Deactivated)
Owned by Kevin Pham (Deactivated)
Last updated: Mar 26, 2019
Table of Contents
Best Practice Before Upgrading
As a best practice before upgrading, we strongly recommend performing a backup of your database to ensure data integrity and to make the upgrade as seamless as possible during the transition.
- Database backups are extremely ideal when you are upgrading your Zephyr instance to retain your data if any issues occur during the upgrade process.
For any upgrade, ensure that a database backup is performed.
Pre-Upgrade Process
Step 1: User needs to delete the existing folder in elastic search (folder present in "\elasticsearch-5.5.0\data\nodes" or "/var/lib/elasticsearch/nodes" ) before starting the upgrade process.
- Users may need to install elastic search if not already there (elastic search)
Step 2: Take the backup of the database (zephyr data). Steps to take database backup.
Step 3: Take the backup of the backup attachment.
Upgrade for Linux
Step 1: Stop the Zephyr Service.
sh /opt/zephyr/tomcat/bin/shutdown.sh

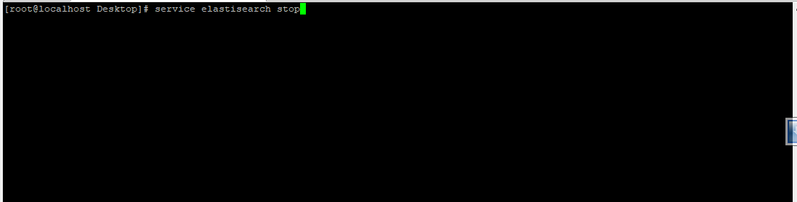
Step 2: Stop Elastic search.
service elasticsearch stop
Step 3: Delete the folder present in "/var/lib/elasticsearch/nodes"
rm -rf/var/lib/elasticsearch/nodes/*

Step 4: Start Elastic search.
service elasticsearch start

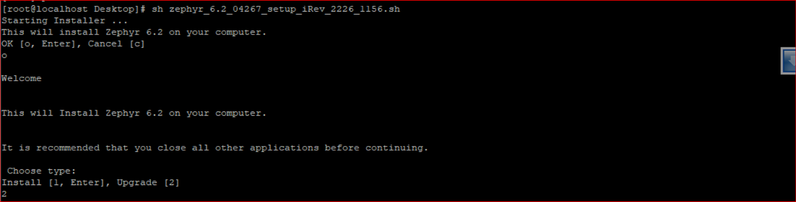
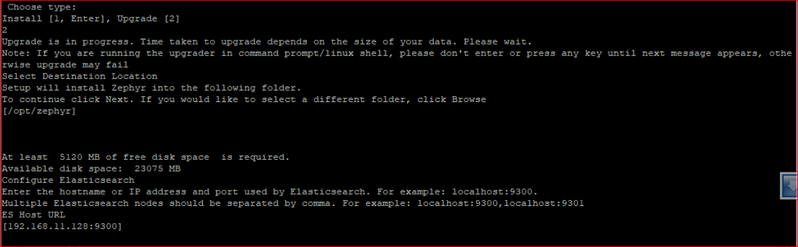
Step 5: Run the 6.2 Zephyr installer.
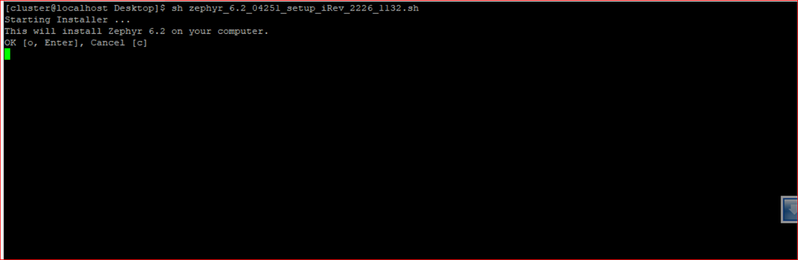
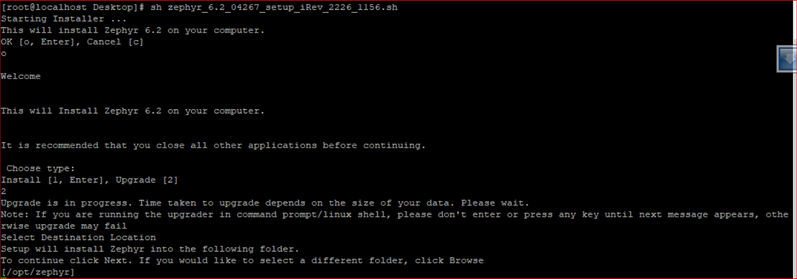
Step 6: Select the upgrade option.
Step 7: Select the Zephyr installation folder where Zephyr was installed.
Step 8: Enter the elastic search ip with the transport port and then the upgrade should be completed successfully.
Upgrade for Windows
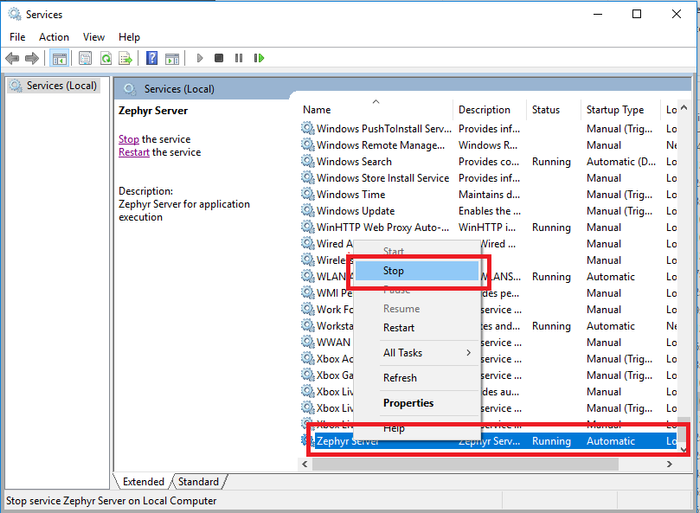
Step 1: Stop the Zephyr Server
Step 2: Stop the Elastic search
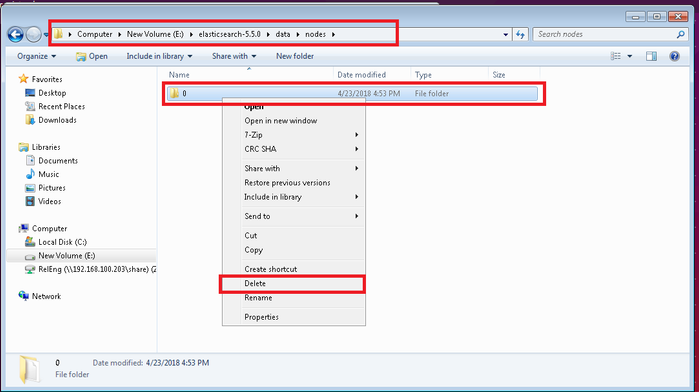
Step 3: Delete the folders present inside "\elasticsearch-5.5.0\data\nodes"
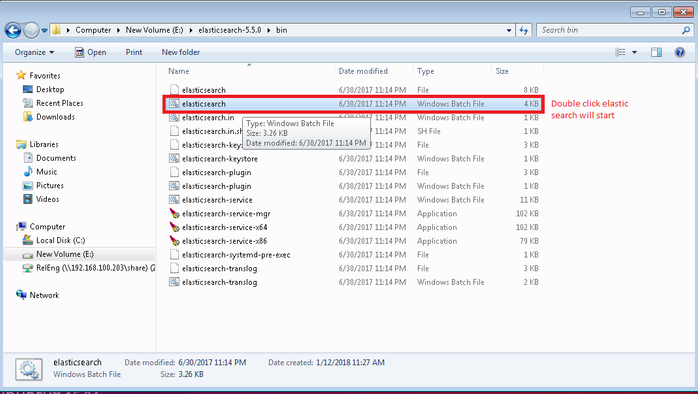
Step 4: Start the Elastic search
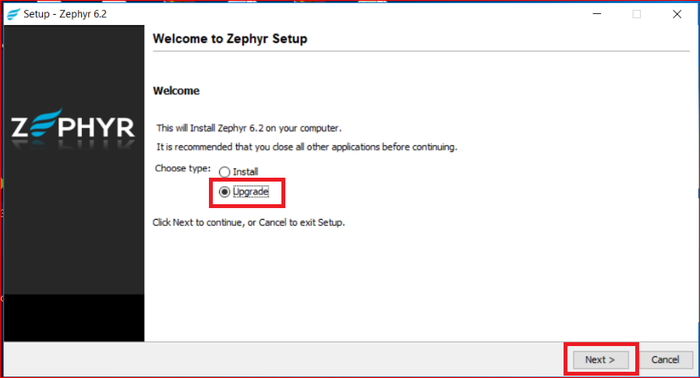
Step 5: Launch the Zephyr installer and select "Upgrade" → Then click "Next".
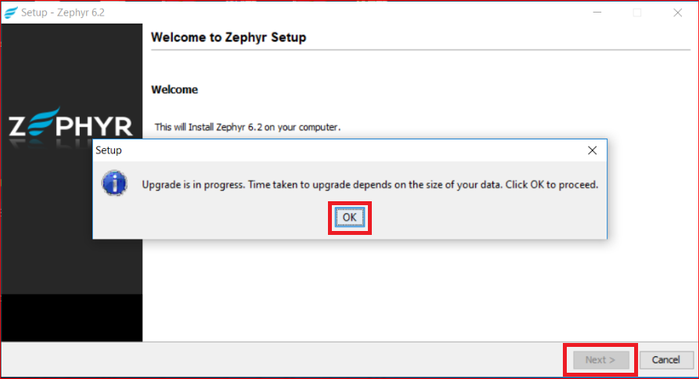
Step 6: Click on "OK".
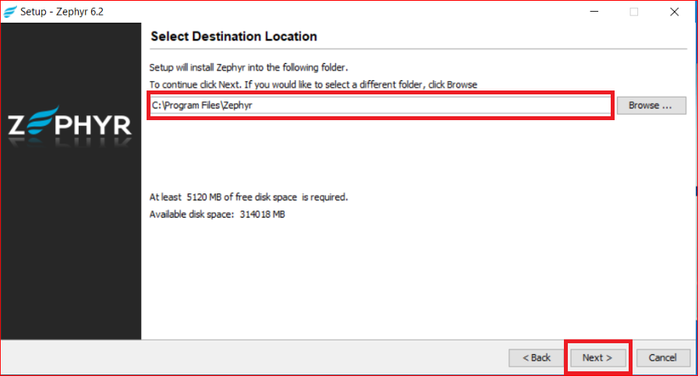
Step 7: Click on "Next" after selecting the destination folder.
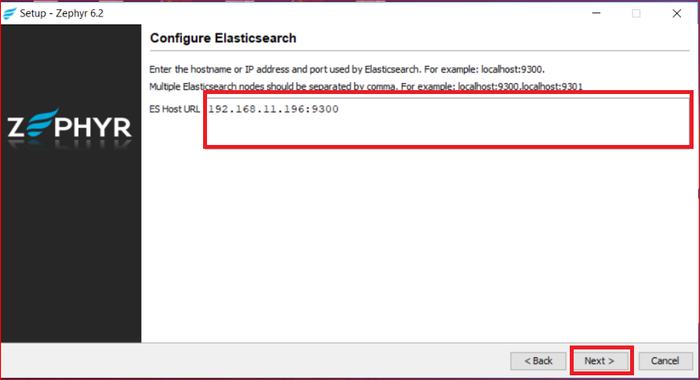
Step 8: Ensure the Elastic search IP with the transport port is correct before clicking "Next".
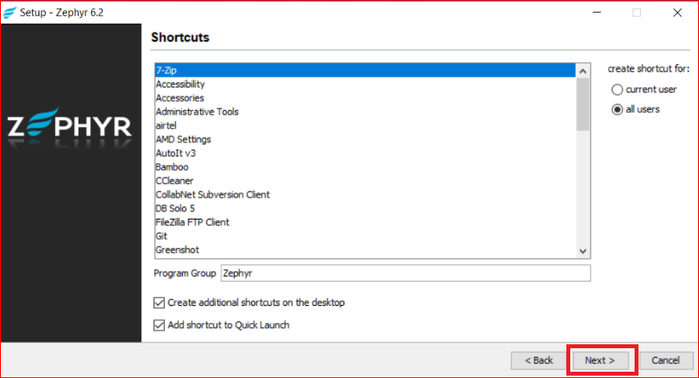
Step 9: After choosing if you want to create or add a shortcut, click on "Next".
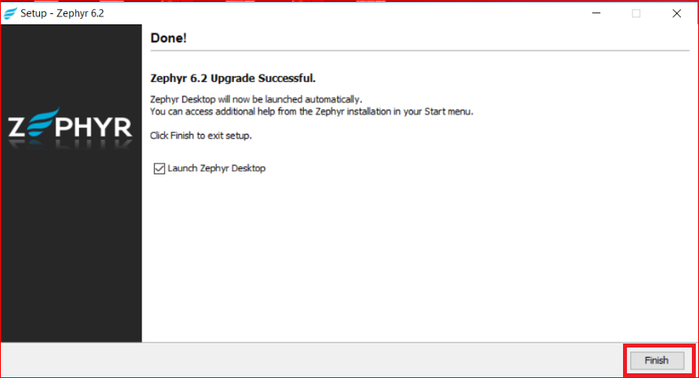
Step 10: Once the upgrade is complete, click on "Finish".
Post-Upgrade Process
If the SSL is setup in the 6.2 version of Zephyr, then after the successful upgrade to 6.2.0.1, the user has to manually uncomment the security tag in the web.xml files which are present within zephyr directory and then needs to restart the server.
a. Zephyr directory\tomcat\webapps\flex\WEB-INF\web.xml
b. Zephyr directory\tomcat\webapps\zephyr\WEB-INF\web.xml
NOTE
When an upgrade is rolled back but the DB is present, follow the steps for:
, multiple selections available,
Related content
Zephyr On-Premise Upgrade Instructions
Zephyr On-Premise Upgrade Instructions
More like this
Upgrading Zephyr Enterprise
Upgrading Zephyr Enterprise
More like this
Zephyr Production Installation for Windows
Zephyr Production Installation for Windows
More like this
Welcome to Zephyr
Welcome to Zephyr
Read with this
Upgrade Steps on Windows
Upgrade Steps on Windows
More like this
Upgrading Data Center
Upgrading Data Center
More like this