Creating a Sub-task
- Kevin Pham (Deactivated)
- Marc Ray (Deactivated)
Create a Sub-task
Prior to Creating a Sub-task
Prior to creating a new sub-task for a defect, there must be an existing project with defects in Zephyr. The project must be selected and the user must be under the Defect Tracking section. Also, the user project should be connected to an instance of JIRA. This can be configured in the Project Setup page under the administration section of Zephyr.
Scenario: You are a testing manager in Zephyr. As a testing manager, you want to create a sub-task within the system in the defect tracking section of Zephyr.
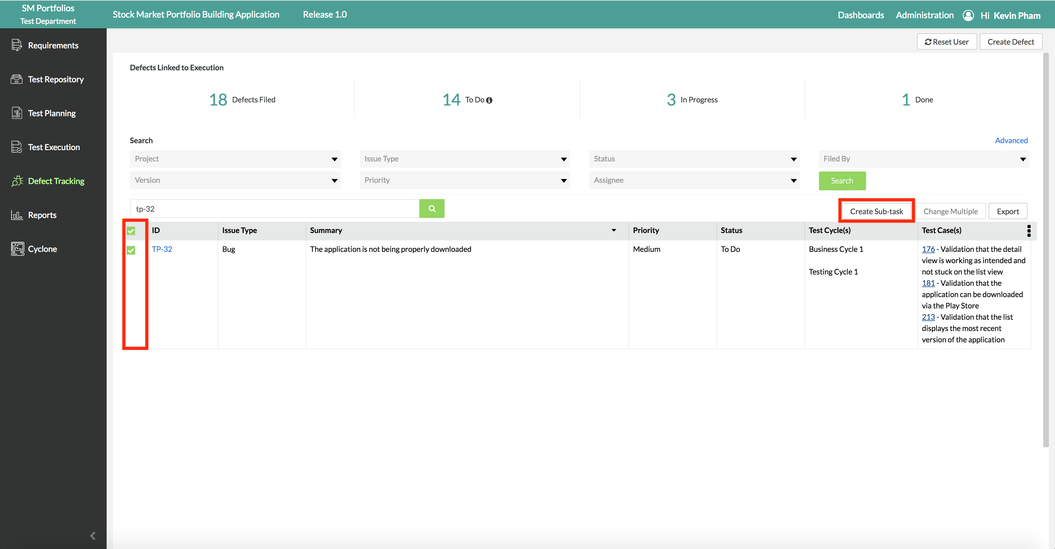
1. Select the defect that you want to add a sub-task to by using the check boxes on the left-hand side of the defect table.
2. Click on the  button at the top right of the table.
- A pop-up/modal will appear prompting you to select the issue type.
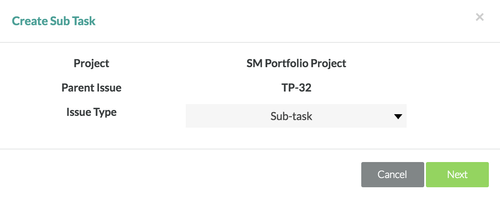
3. Simply click on the issue type drop-down list, select "Sub-task" and then click the "Next" button.
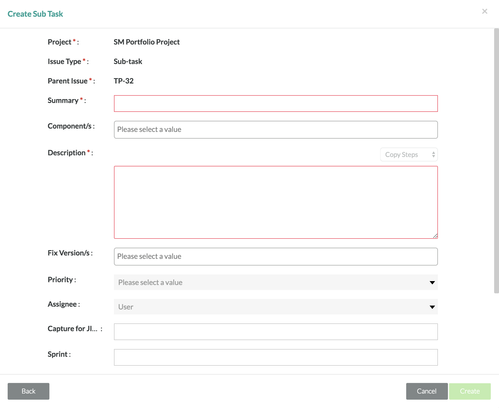
4. Fill in the following mandatory fields for creating a sub-task:
- Summary and Description
5. Fill in any of the following optional fields if necessary:
- Component, Fix Version(s), Priority, Assignee, Sprint, Label, and Links (etc.)
6. After you've completed filling in the fields for the sub-task, click on the "Create" button to finalize creating a new sub-task for the selected defect.