Executing a Manual Testcase
- Daniel (Deactivated)
Selecting a testcase in the list of assigned testcases shows its details in the lower panel.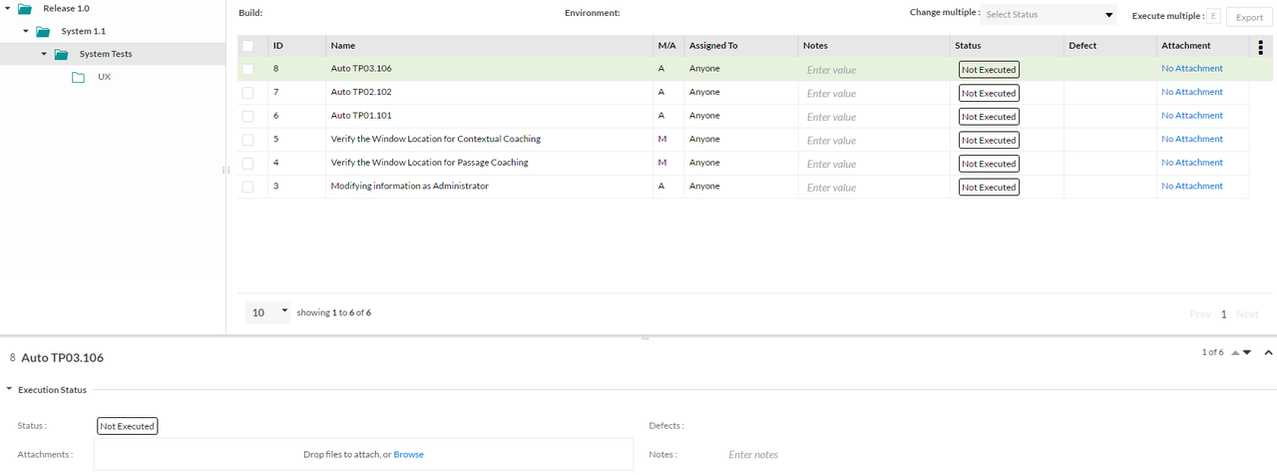
There are two aspects to executing a testcase - the first, where you can execute and update the status of every test step, and second, where you can update the status of the overall testcase.
By default, there are 4 Testcase and Test Step Execution states - Pass, Fail, WIP (Work in Progress), and Blocked. You can add new Testcase and/or Test Step Execution statuses by Customizing Testcase/Test Step Execution Status. On selecting a Testcase Execution status, a "Defect" button pops up if a Defect Tracking System has been selected in the Administration. Clicking on that will allow the creation of a new defect.
The Notes field is a free form text field that allows any type of execution related notes to be entered. The Alt ID field is the alternate ID that a testcase might have had in a previous testcase system (this comes in via the Testcase Import mechanism). Other columns such as Executed On, Executed By, Coverage and Attachment can also be displayed.
In the Attachment window, clicking on the "+" button opens a Browse dialog to allow for browsing and attaching a file. Clicking on the "-" button allows for the deletion of an attachment. You can add multiple attachments. Selecting an attachment (or multiple attachments with the "Shift" or "Control" keys) and clicking on the "Preview" button will open an Image Previewer that will allow scrolling through the various attachments, displaying previews of file formats that are recognized.
The Actual Time field allows the entry of actual time taken to execute this testcase in the dd:hh:mm format. In the field, the TAB key or the right-left arrow keys allow moving between hours, days and minutes. The up-down arrow keys allow the values to be increased or decreased. Click somewhere else or hit the ENTER key to save the values. The ESC key can be used to cancel the operation.