Configuring Cyclone
- Kevin Pham (Deactivated)
- Marc Ray (Deactivated)
Table of Contents
Configure Cyclone for a Vanilla Instance
Step 1.) Install Zephyr.
Step 2.) Go to the zephyr installation directory.
%Zephyr_Directory%\ license
Step 3.) Copy the cyclone.lic file that was provided into the license folder location.
Step 4.) Restart the Zephyr service.
Configure Cyclone for an Upgraded Instance
Step 1.) Upgrade the version of Zephyr to 6.1.
Step 2.) Stop the Zephyr service.
Step 3.) Go to the zephyr installation directory.
%Zephyr_Directory%\ license
Step 4.) Copy the cyclone.lic file that was provided into the license folder location.
Step 5.) Navigate to the classes folder and in the jdbc.properties, add the below zpad parameters:
#Cyclone
zcloud.base.url = https://dev-predictive.zephyr4jiracloud.com
zcloud.auth.url = https://dev-predictive.zephyr4jiracloud.com/v1/api/auth
Step 6.) Restart the Zephyr service.
Validate that Cyclone is Properly Installed
Step 1.) Launch Zephyr.
Step 2.) Login as a Manager.
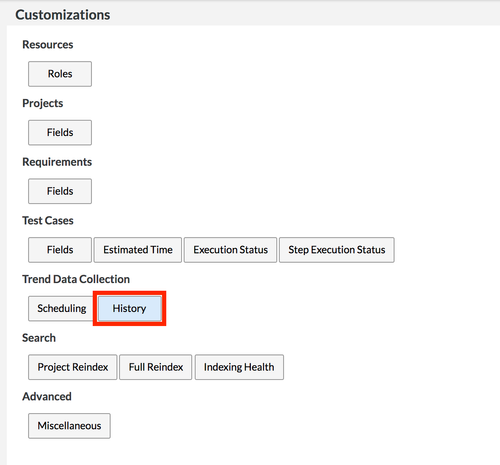
Step 3.) Click on the Trending Data Collection History
- Administration > Customization > Trending Data Collection History
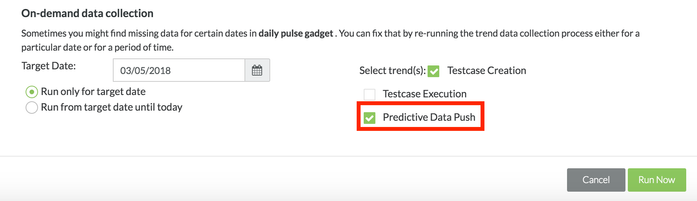
Step 4.) Scroll to the bottom of the interface and check to see if the Predictive Data Push option is enabled.
Step 5.) Select any project while logged in as a Manager.
Step 6.) Click on the Cyclone page. The icon should be displayed and by clicking on Cyclone, the overview page for Cyclone is displayed.
How to Push Predictive Data Push
Step 1.) Launch Zephyr.
Step 2.) Login as a Manager.
Step 3.) Click on the Trending Data Collection History
- Administration > Customization > Trending Data Collection History
Step 4.) Scroll to the bottom of the interface and select the target date.
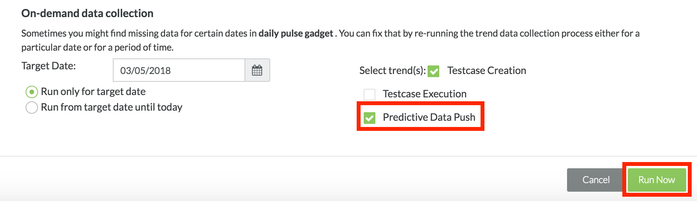
Step 5.) Enable the Predictive Data Push by using the check box.
Step 6.) Run the job. After running the job, the status should be complete.