Recording Screenshots
Steps to Recording Screenshots
The following sections will need to be followed to record screenshots:
Manual Mode
Automatic Mode
Manual Mode - View Port Capture
Prior to using View Port Capture
Prior to using the View Port Capture, the user must be logged into Zephyr and have the Zephyr Exploratory extension installed.
Scenario: You are a current user in Zephyr. As a user in the system, you want to be able to record screenshots utilizing the Zephyr Exploratory Tool. You want to perform screen capturing in manual mode and you want to use the View Port Capture feature to capture the screenshots.
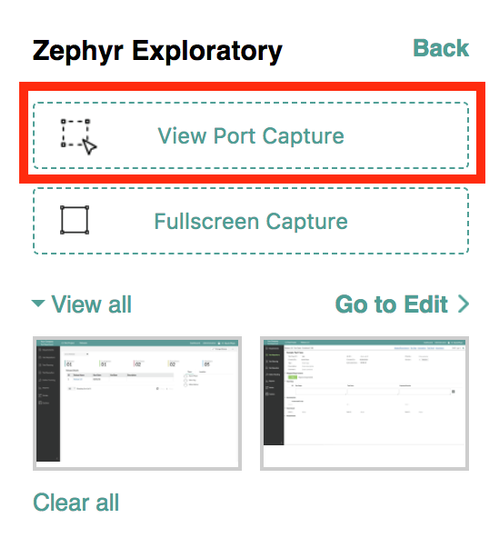
1. After opening the Zephyr Exploratory extension and clicking on "Manual", click on the "View Port Capture" button to take a capture of your screen.
2. The screenshot should be captured and can be seen below. Simply click the text "View all" to expand and the list and view all the screenshots captured.
Manual Mode - Fullscreen Capture
Prior to using Fullscreen Capture
Prior to using the Fullscreen Capture, the user must be logged into Zephyr and have the Zephyr Exploratory extension installed.
Scenario: You are a current user in Zephyr. As a user in the system, you want to be able to record screenshots utilizing the Zephyr Exploratory Tool. You want to perform screen capturing in manual mode and you want to use the Fullscreen Capture feature to capture the screenshots.
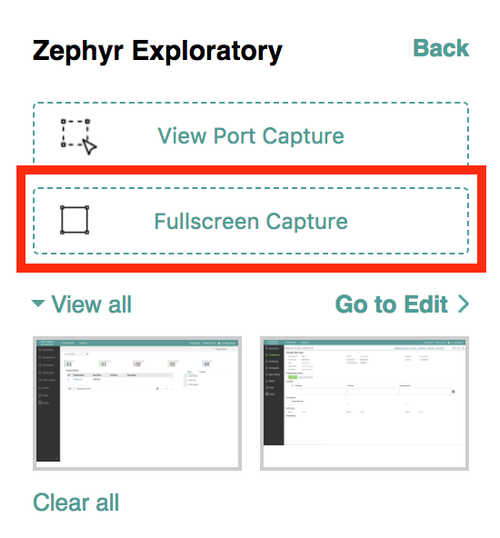
1. After opening the Zephyr Exploratory extension and clicking on "Manual", click on the "Fullscreen Capture" button to take a capture of your fullscreen window.
2. The screenshot should be captured and can be seen below. Simply click the text "View all" to expand and the list and view all the screenshots captured.
Automatic Mode - Auto Screen Capture
Prior to using Auto Screen Capture
Prior to using the Auto Screen Capture, the user must be logged into Zephyr and have the Zephyr Exploratory extension installed.
Scenario: You are a current user in Zephyr. As a user in the system, you want to be able to record screenshots utilizing the Zephyr Exploratory Tool. You want to perform screen capturing in automatic mode and you want to use the Auto Screen Capture feature to capture the screenshots automatically while working
Additional Note
There is a data storage limitation when taking screenshots/captures. You might have auto screen capture on, but once you hit the data storage limit, Zephyr Exploratory will stop saving screenshots until you delete or clear up existing screenshots/captures.
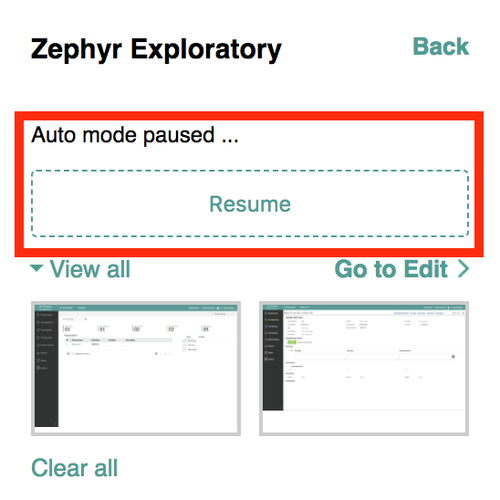
1. After opening the Zephyr Exploratory extension and clicking on "Auto", click on the "Resume" button to take a capture of your fullscreen window.
- The screenshot should be captured automatically
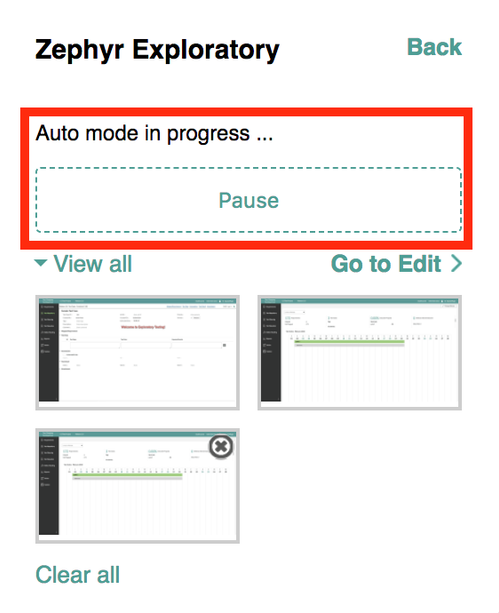
2. As a user, you can click "Pause" to stop automatically taking screenshots.
3. Simply click the text "View all" to expand and the list and view all the screenshots captured.


