Zephyr Blueprints for Confluence can display real-time metrics from one or more instances of Zephyr for Jira. These metrics can be displayed in Dashboard Blueprints or in any page of Confluence via a customizable macro.
Prerequisites
It is very important to ensure the following before commencing this integration process:
- You are a Confluence Administrator
- The Jira instance you are trying to integrate to can be accessed from this Confluence instance (open a new tab in your browser, type in the URL of that Jira and make sure it loads before continuing)
- You have the administrator credentials of that Jira instance
- The Zephyr for Jira installation on that Jira instance has not expired
- ZAPI has been installed on that Jira instance (IMPORTANT: This integration will not work if ZAPI is not installed on that Jira instance. It should also not have expired.)
Integration
Please follow the following steps in order to ensure a successful integration:
- As a Confluence Administrator, open "Confluence administration" and select "General configuration"
- Scroll down till you find "Zephyr Blueprints" and select "General Configuration"
3. In the resulting page, select the tab marked "Zephyr for Jira Test Metrics" and click on "Set Connection"

4. The "Application Links" section opens. This is where you will enter the URL of the Jira instance (in which Zephyr for Jira and ZAPI is installed) that you want to integrate to.
5. In the resulting dialog, make sure you select the box that confirms that you are an administrator on both Confluence and Jira instances. Click "Continue"

6. As a final confirmation, this tells you that you will now be taken to Jira where you'll need to authenticate using your Jira admin credentials and it will then redirect you back to Confluence to continue with this setup.
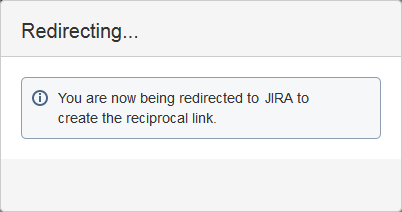
7. Once taken to Jira, please enter the Jira admin credentials, confirm it and then you will be redirected back to Confluence as a reciprocal link is created.

At this point, you have successfully created an Applink between Confluence and Jira. Next step is to "Edit" it and set up authentication.

8. Click on the "Edit" button for this new Applink that you just created and the following dialog is displayed. The "OAuth" mechanism is already selected by default and is enabled. Click "Close".

9. Now go back to the "General Configuration" under "Zephyr Blueprints" and the following dialog will display. This is where you have to authorize to make this operation work by logging into Jira.

Click to log into Jira, and select "Allow".

10. At this stage, the 2 applications are now integrated as can be confirmed by the presence of the version number (2.5.1 in this example).

11. You are now ready to use this integration via the Test Dashboard.
Disabling Test Metrics
By default, all test metrics from the integrated Zephyr for Jira instance are available in Zephyr Blueprints for Confluence. If you wish to disable certain metrics, first "Select Jira Server" from the drop-down and click on "Disable" for the appropriate metrics.
