...
Make sure the computer meets the system requirements.
Ensure you have the license file (license.lic), as it will be required during the installation process. If you do not have it, please contact your Zephyr Account Manager or contact Zephyr Sales at sales@getzephyr.com.
Download the installation file of Zephyr Enterprise for Windows.
Download a JDBC driver and place it on each node where Zephyr will be installed.
Download and install JDK. You can use one of the following:
After you install JDK, set the PATH and JAVA_HOME environment variables:
PATH variable:
Navigate to Start > Control Panel > System.
Click Advanced > Environment Variables.
Add the path to the bin folder to the PATH variable in the System variables section. A typical path looks as follows:
for OpenJDK: C:\some_folder\java-se-8u41-ri\bin
for Oracle JDK: C:\Program Files\Java\JDK_1.8.0_<version>\bin
JAVA_HOME variable:
Navigate to Start > Control Panel > System.
Click Advanced > Environment Variables.
Find the JAVA_HOME variable in the System variables section. If you cannot find it, add it to the System variables.
Add the path to the JDK root folder to the JAVA_HOME variable. A typical path looks as follows:
for OpenJDK: C:\some_folder\java-se-8u41-ri
for Oracle JDK: C:\Program Files\Java\JDK_1.8.0_<version>
...
| Expand | ||
|---|---|---|
| ||
1. Double-click the installation file and select Install in the Welcome screen: 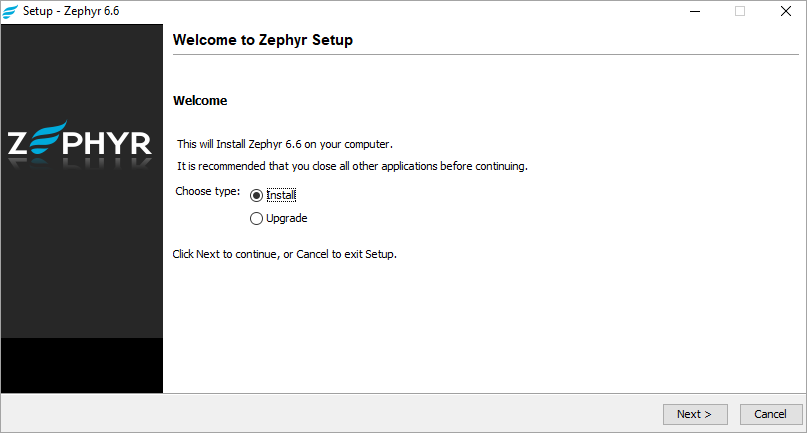 2. View the requirements, if needed, then click Next: 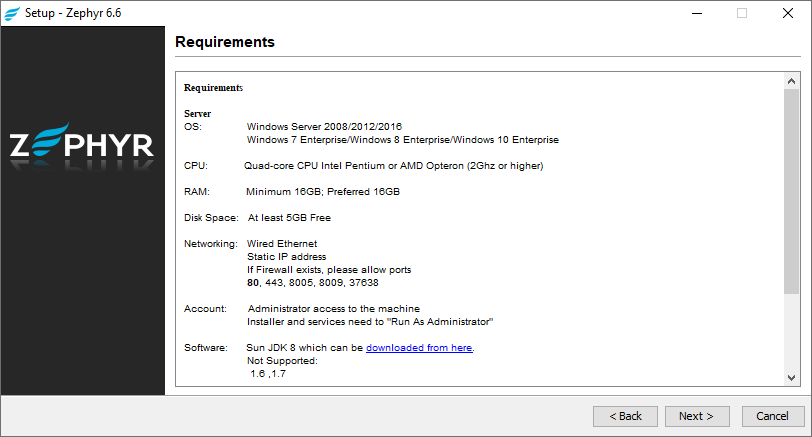 3. Read the license agreement and accept its terms: 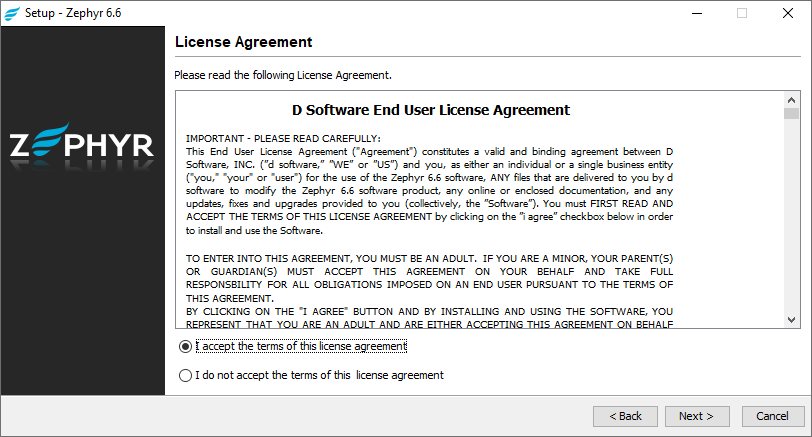 4. Specify the location where you want to install Zephyr. Make sure the disk has enough free space: 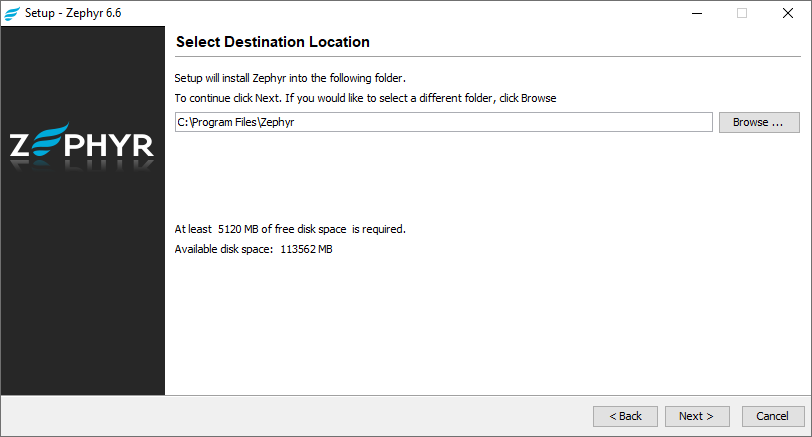 5. Choose Data Center deployment, as you are installing Zephyr on a cluster node: 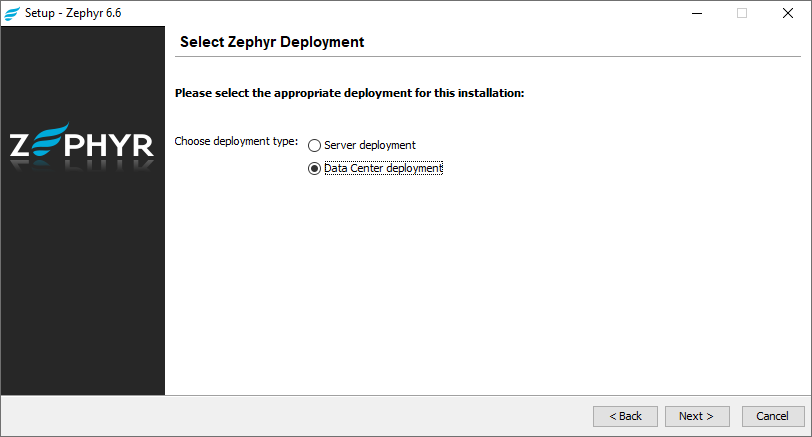 6. Add the license file you received from Zephyr Sales: 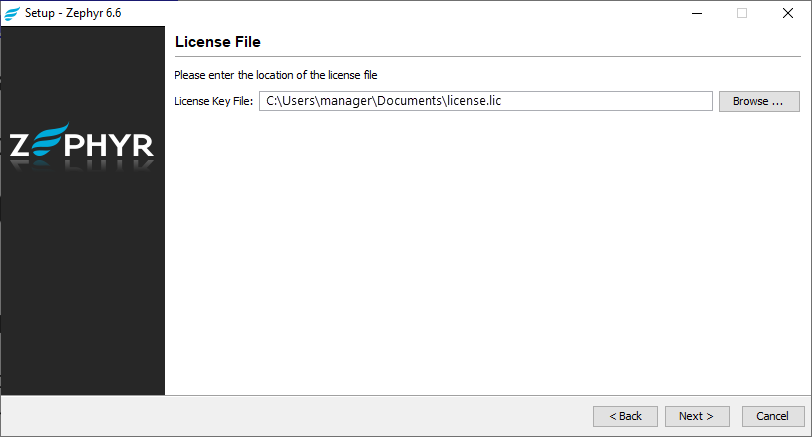 7. Select the Standard installation type to use predefined ports, or Custom to use some other ports:  8. In the subsequent window, select the type of the external database you set up earlier, specify the username and password you use to connect to it, the database URL, and the database driver file: 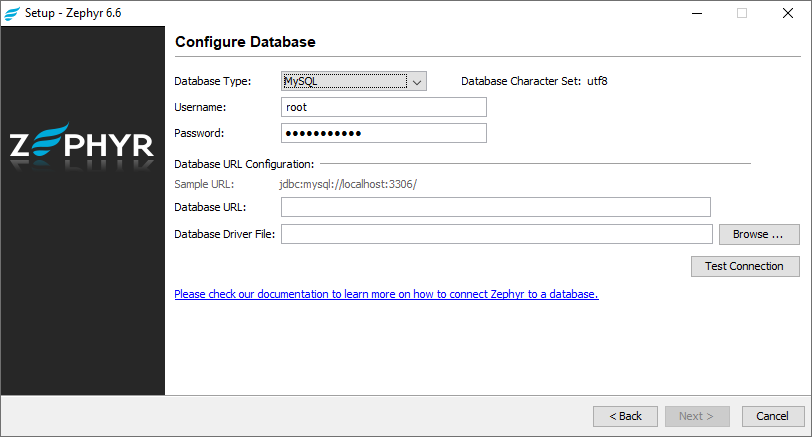 9. Click Test Connection to check that Zephyr can connect to the database:  10. In the next window, Specify specify the host name or the IP address and port used by Elasticsearch. If you have several Elasticsearch nodes, separate their addresses with commas: 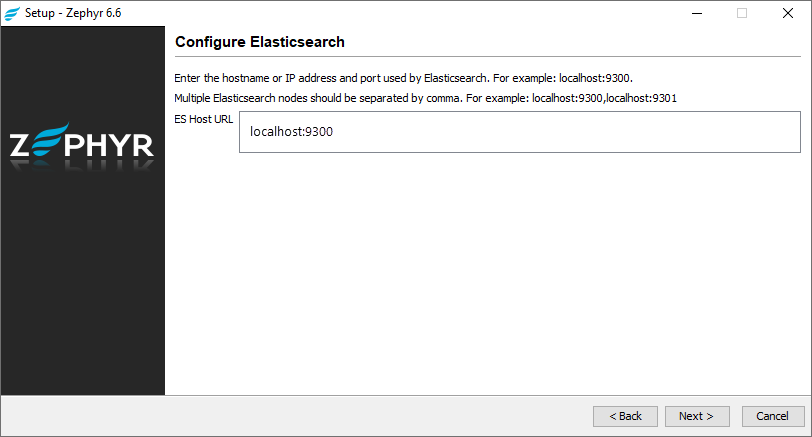 11. In the subsequent window, configure shortcuts and click Next:  12. Wait for the installer to finish the product installation: 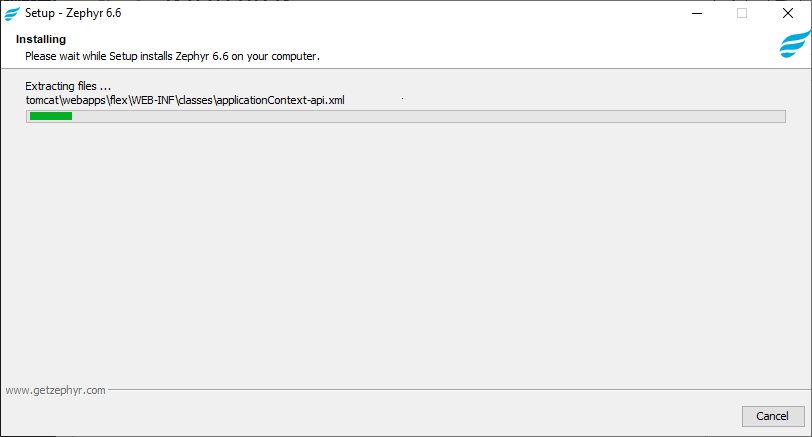 13. After you install Zephyr, make sure it is up and running, and then stop the node. |
...
| Info |
|---|
Write down the IP address of each node – you will need them at the next step 7. |
...
4. After you install Zephyr Enterprise on all the nodes, you need to modify the following files file on each node:
...
| title | Zephyr\tomcat\conf\server.xml |
|---|
<Zephyr Directory>/tomcat/webapps/flex/WEB-INF/classes/hazelcast.properties
In this file, find the following
...
| Code Block | ||
|---|---|---|
| ||
<Cluster className="org.apache.catalina.ha.tcp.SimpleTcpCluster"/> |
and replace it with the following:
| Code Block | ||
|---|---|---|
| ||
<Cluster className="org.apache.catalina.ha.tcp.SimpleTcpCluster"channelSendOptions="8">
<Manager className="org.apache.catalina.ha.session.DeltaManager"
expireSessionsOnShutdown="false"
notifyListenersOnReplication="true"/>
<Channel className="org.apache.catalina.tribes.group.GroupChannel">
<Membership className="org.apache.catalina.tribes.membership.McastService"
address="228.0.0.22"
port="45564"
frequency="500"
dropTime="3000"/>
<Receiver className="org.apache.catalina.tribes.transport.nio.NioReceiver"
address="auto"
port="4000"
autoBind="100"
selectorTimeout="5000"
maxThreads="6"/>
<Sender className="org.apache.catalina.tribes.transport.ReplicationTransmitter">
<Transport className="org.apache.catalina.tribes.transport.nio.PooledParallelSender"/>
</Sender>
<Interceptor className="org.apache.catalina.tribes.group.interceptors.TcpFailureDetector"/>
<Interceptor className="org.apache.catalina.tribes.group.interceptors.MessageDispatch15Interceptor"/>
</Channel>
<Valve className="org.apache.catalina.ha.tcp.ReplicationValve"
filter=""/>
<Valve className="org.apache.catalina.ha.session.JvmRouteBinderValve"/>
<Deployer className="org.apache.catalina.ha.deploy.FarmWarDeployer"
tempDir="/tmp/war-temp/"
deployDir="/tmp/war-deploy/"
watchDir="/tmp/war-listen/"
watchEnabled="false"/>
<ClusterListener className="org.apache.catalina.ha.session.ClusterSessionListener"/>
</Cluster> |
| Expand | ||
|---|---|---|
| ||
– and add the IPs of all the nodes instead of 127.0.0.1. For example:
– and replace it with an IP address that has an asterisk instead of the last component. For example:
|
...
| title | zephyr/tomcat/webapps/flex/WEB-INF/classes/hazelcast-hibernate.xml |
|---|
In this file, find the line –
<member>127.0.0.1:5702</member>
– and add the IP addresses of all the nodes instead of 127.0.0.1. For example:
<member>172.17.18.141:5702</member><member>172.17.18.157:5702</member><member>172.17.18.223:5702</member><member>172.17.18.201:5702</member>
Find the line –
<interface>127.0.0.1</interface>
...
lines and change the values as shown below:
zephyr.hz.cluster.enabled=false - set it totrue.
zephyr.hz.cluster.name=zephyr-hazelcast-cluster - specify a unique name for each cluster, for example, zephyr-hazelcast-cluster_smartbear.
zephyr.hz.interfaces.enabled=false - set to true.
zephyr.hz.interface=127.0.0.1 - This is the IP of the IP interface. Replace it with an IP address that has
...
asterisks instead of the last
...
two components. For example:
...
<interface>172.17.18.*</interface>
| Expand | ||
|---|---|---|
| ||
Find the line –
– and replace websocket with sse:
|
| Expand | ||
|---|---|---|
| ||
In the file, before the web-app tag, add the tag <distributable />: 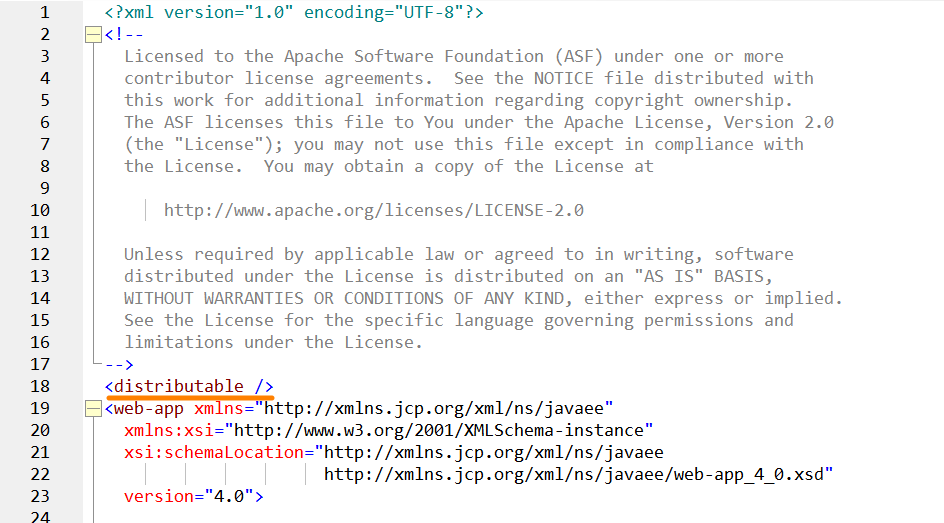 |
...
6. Edit the cluster.properties file and update the following information:
| Code Block |
|---|
cluster.key=node1  (this should be a unique name of the node)
cluster.node.1.key=node1
cluster.node.1.url=172.17.18.141  (the IP address of node 1)
cluster.node.count=4
cluster.node.2.key=node2
cluster.node.2.url= 172.17.18.157  (the IP address of node 2)
cluster.node.3.key=node3
cluster.node.3.url=172.17.18.223  (the IP address of node 3)
cluster.node.4.key=node4
cluster.node.4.url=172.17.18.201 (the IP address of node 4) |
| Note |
|---|
The |
7. zephyr.hz.interface= 192.168.*.*
zephyr.hz.tcp-ip.enabled=false - set it to true.
zephyr.hz.members=127.0.0.1 - specify the IP addresses and port number of each node separated by a comma. For example: zephyr.hz.members=192.168.0.1:5701,192.168.0.2:5701
5. Start Zephyr on the first node. When Zephyr starts, you will see the following line in the log file zephyrlocation/tomcat/logs/thedinc.log:
| Code Block |
|---|
***************** Zephyr Started ***************** |
After Zephyr is launched, the HAZELCAST_USERNAME and HAZELCAST_PASSWORD values will be generated in the zephyr/tomcat/webapps/flex/WEB-INF/classes/cluster.properties file.
8. Copy the HAZELCAST_USERNAME and HAZELCAST_PASSWORD values and paste them to the zephyr/tomcat/webapps/flex/WEB-INF/classes/cluster.properties file on 6. Start the other nodes.
97. Stop all the first nodenodes.
Now you can set up a shared folder. To learn how to do that, click Next Step below.
See Also