Starting Release 8.2, Zephyr Enterprise documentation has moved from its current location on Atlassian to a dedicated, standalone Zephyr Enterprise Documentation page. Please see: https://support.smartbear.com/zephyr-enterprise/docs/en/zephyr-enterprise/zephyr-administration-guides/project-setup.html
Description
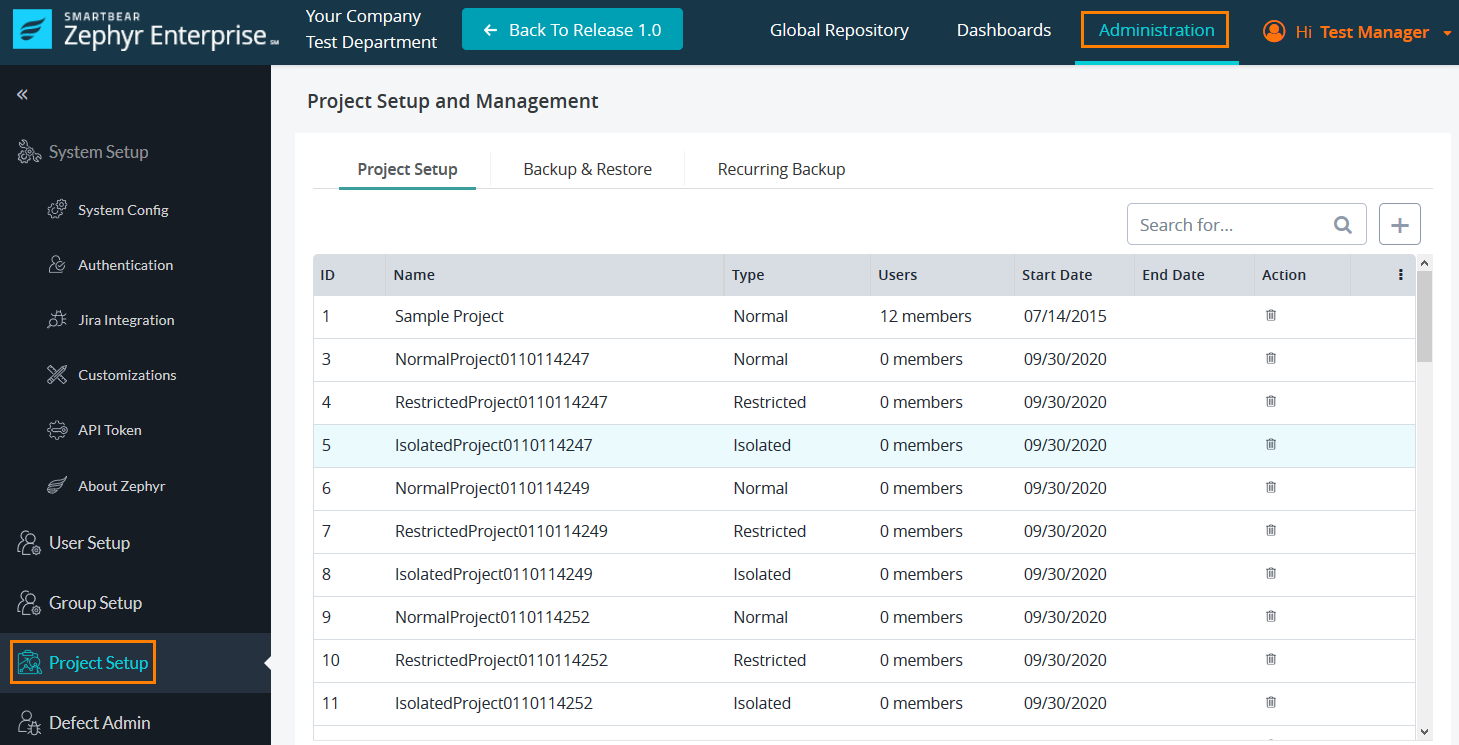
In Zephyr, projects consists of releases, requirements, test cases, test executions, and defects that exist within the system for testing. Managers can add, edit, and delete additional projects to the system which includes the following fields and options: Name, Start Date, and other optional fields. When adding and editing projects, managers are able to allocate users to specific projects to work on as well.
Terminology
Table of Contents
Project Layout Recommendation
"Projects" can be long running projects or product lines or IT systems that have multiple "Releases" or Versions, Phases or Sprints contained within them. For example, you could organize a Waterfall-based project as such:
Project A
Release 1.0
Release 2.0
Release 2.1 patch 1
Release 2.1 patch 2
Release 3.0
or like this for an Agile-based project:
Project B
Sprint 1
Sprint 2
Sprint 3
Final Sprint
A new project can be started by the Test Manager via the Project Setup page in the Administration section. A project needs at least one resource (Test Lead or higher level resource with a custom role that has access to Test Repository, Test Planning, and Test Execution). Custom Roles can be added via Customization page and Resources can be added via the User Setup page. Resources can be assigned to projects using the Project Setup page.
Once project details are added and saved, a project space is created and Test Leads and Testers can log in and access this project space. Test Leads can then create new "Releases" for these projects.
The following things are automatically created on starting a new project:
- Release spaces include Requirements, Test Repository, Test Execution, Test Planning, etc
