...
Webhooks can be created in two ways:
Zephyr creates a pre-configured webhookswebhook automatically when you are mapping a project in Zephyr. In this case, there is no need to perform any additional actions. Later, you can update the created webhook, if needed.
You, as an administrator, can create and manage webhooks manually. This can be useful if you do not have (or do not want to create) a Jira service account with permissions required for automatic webhook management.
...
Log in to Jira as an administrator.
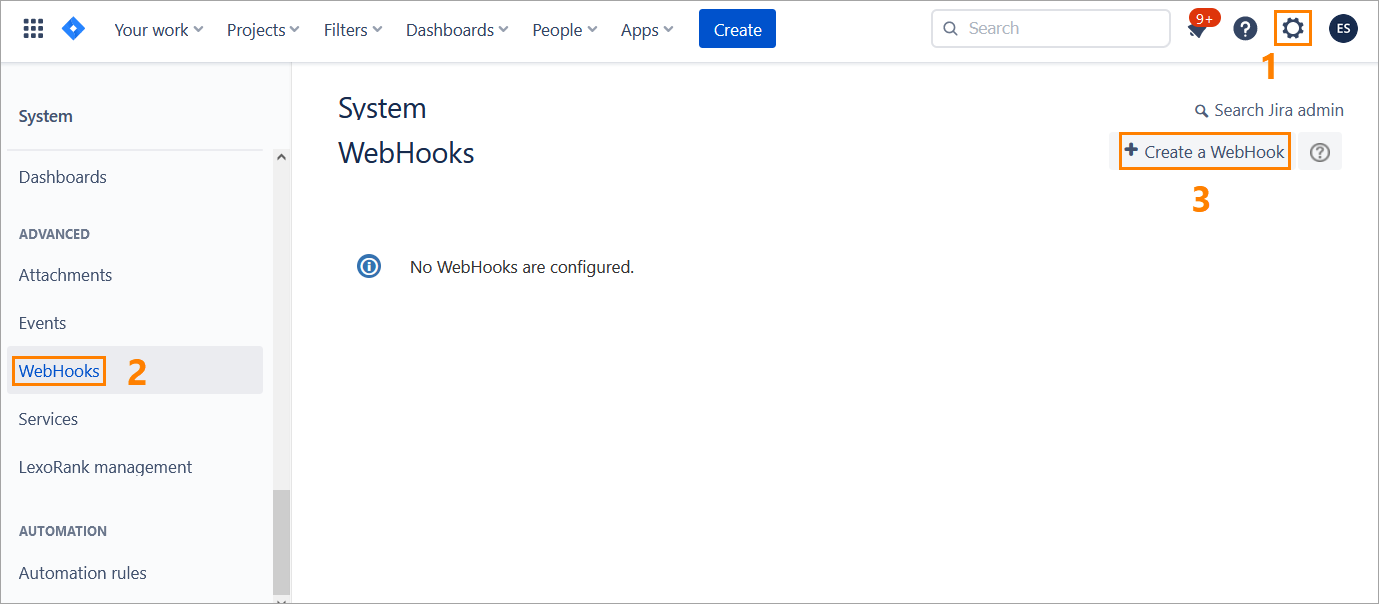
Navigate to Settings > Webhooks and click Create a WebHook:
On the next screen:
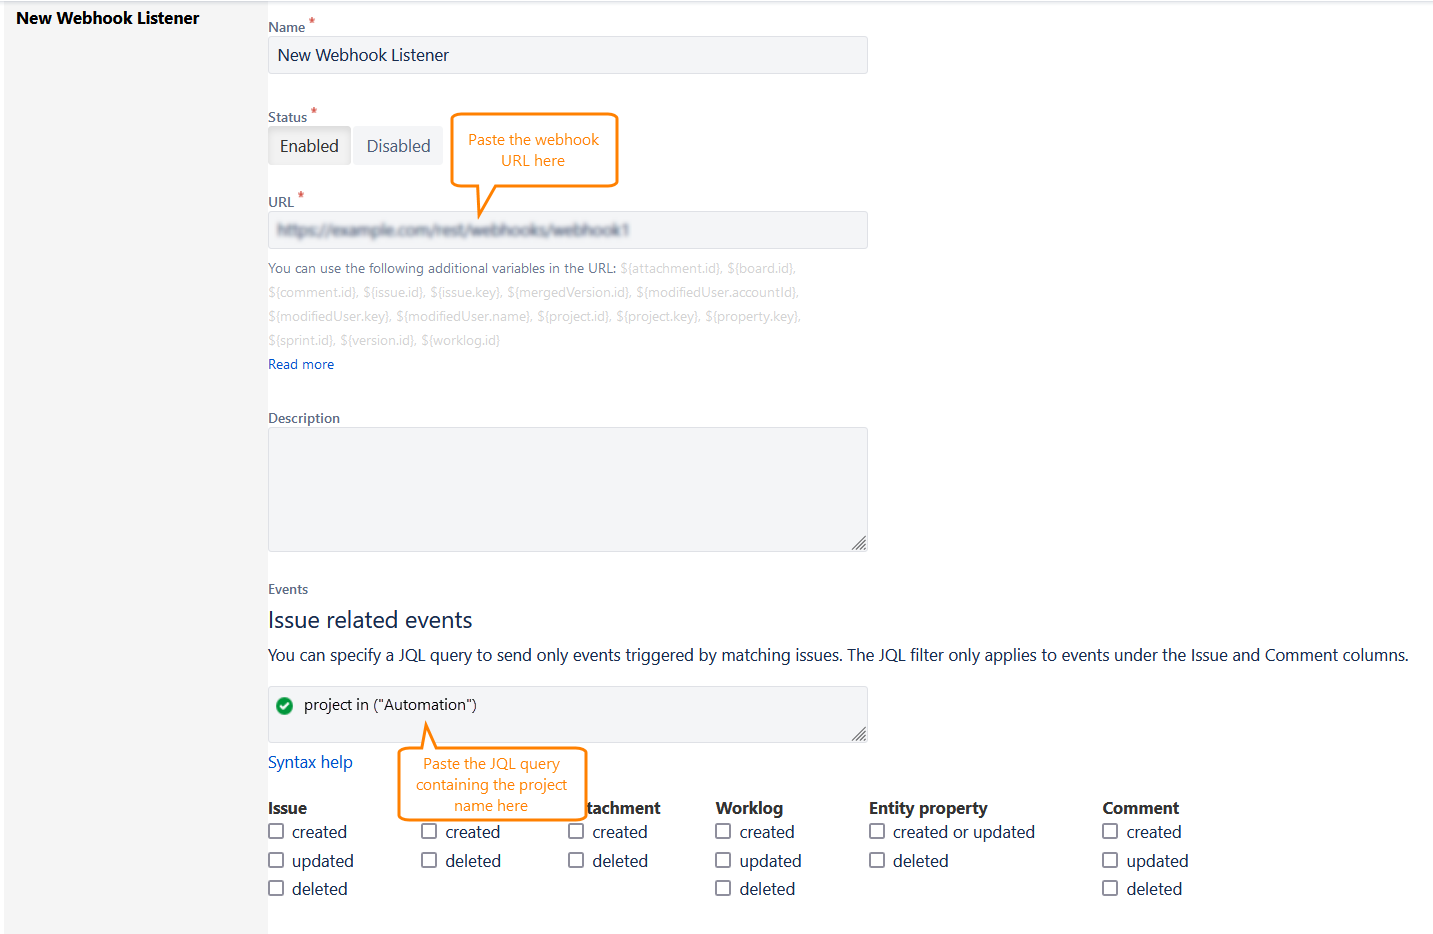
Specify a Name for your webhook.
Set the Status to Enabled.
In the URL field, paste the webhook URL you have copied in Zephyr.
In the Issue related events text box, paste the JQL query you have copied from Zephyr.

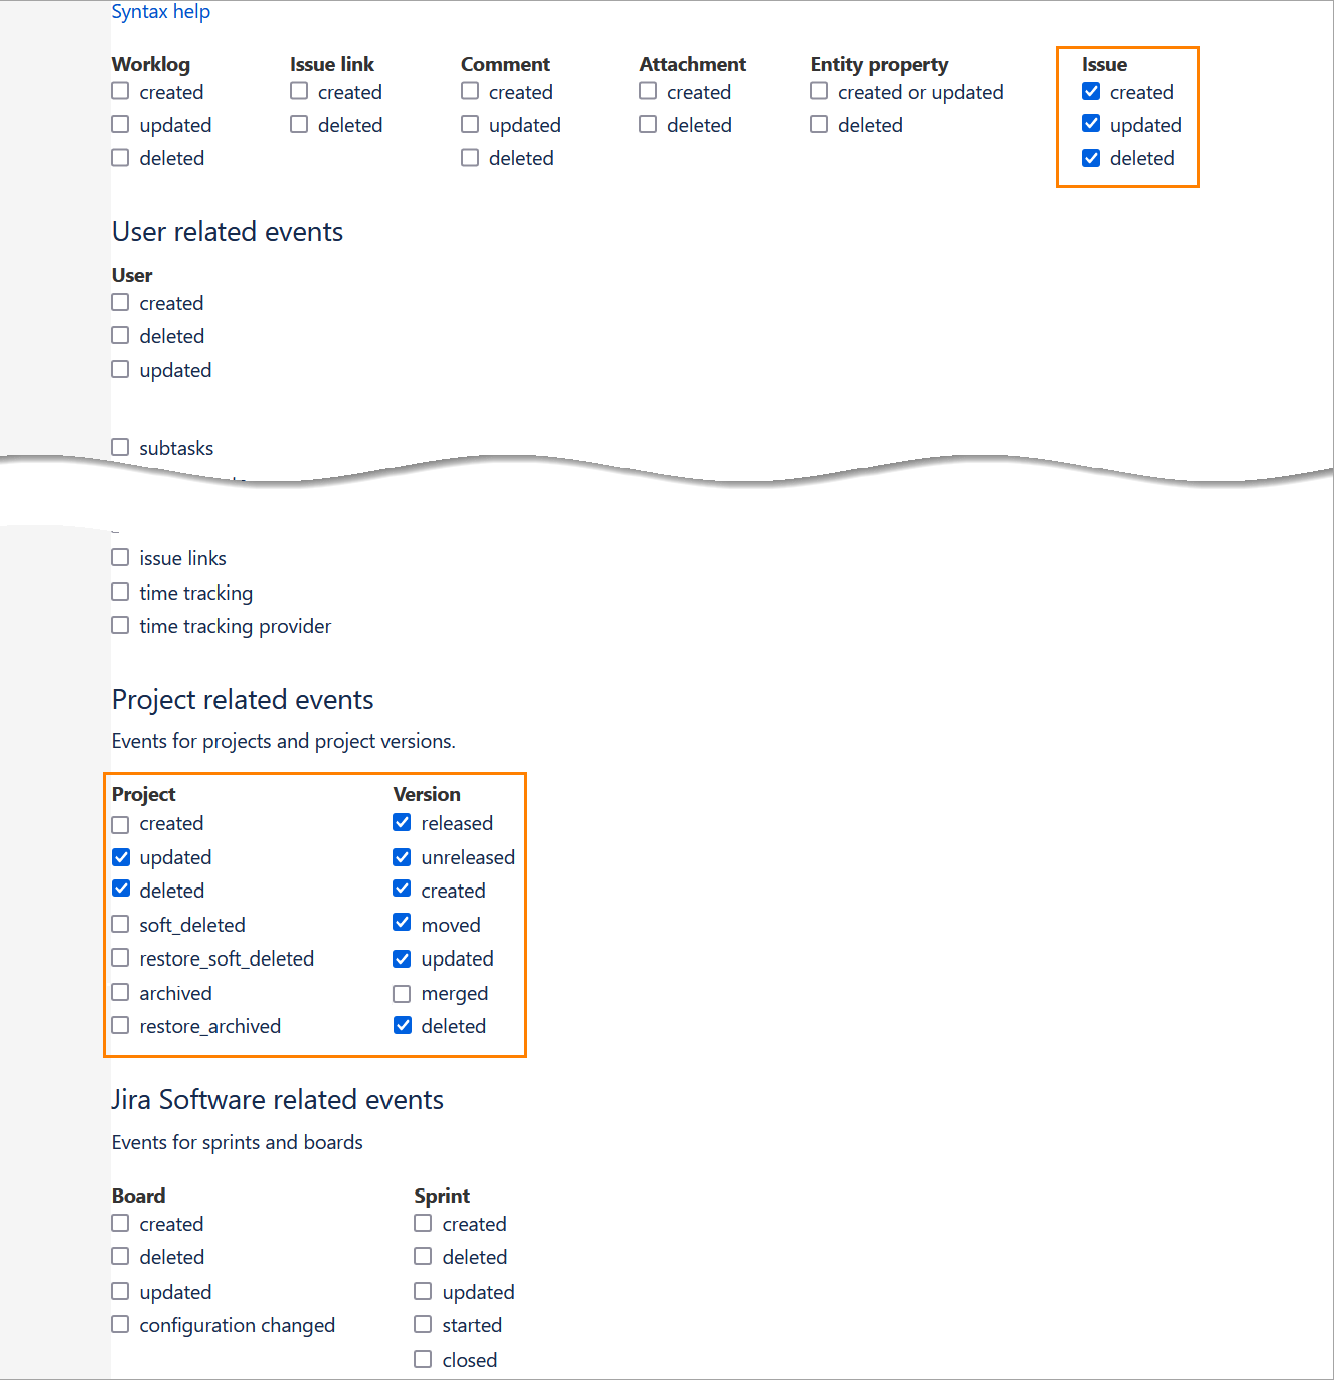
Select the check boxes next to these events:
Issue
created
updated
deleted
Project
updated
deleted
Version
released
unreleased
created
moved
updated
deleted

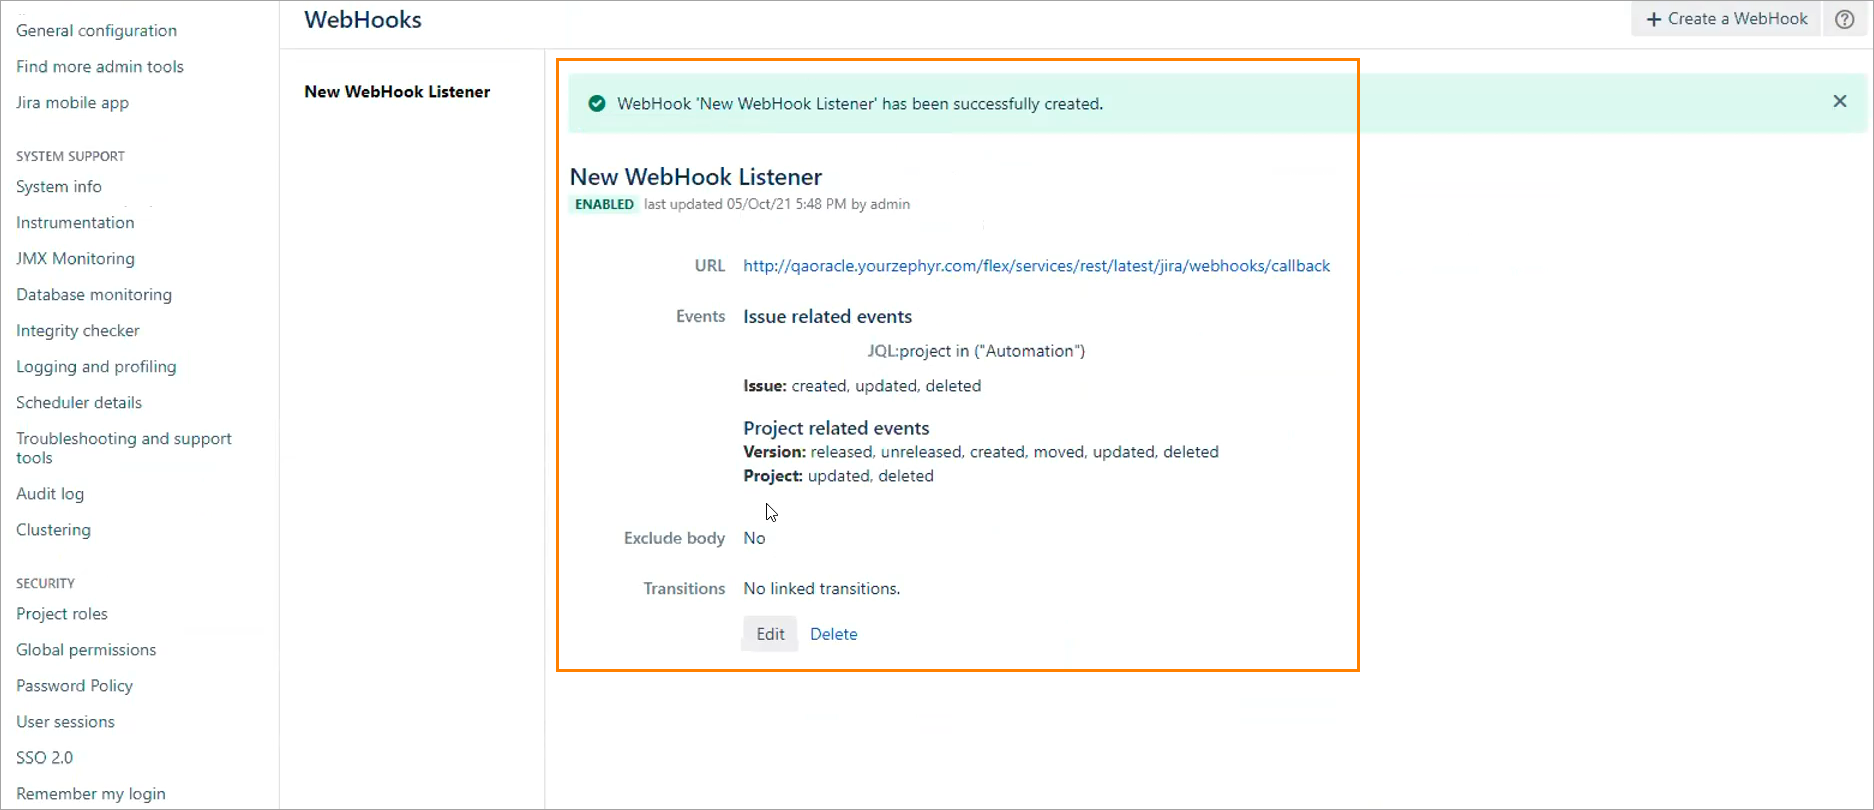
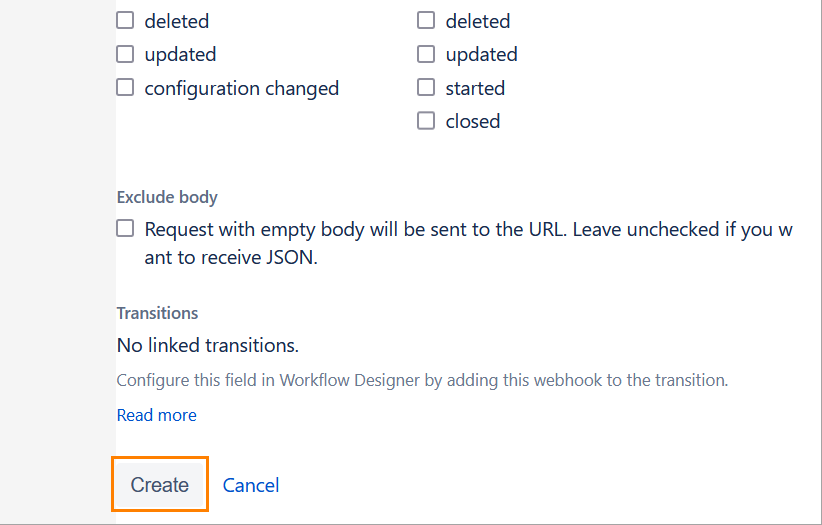
Once done, click Create at the bottom of the page:

Your webhook has been created: