Steps to perform before the upgrade
Back up your Zephyr data, nodedata, and the database.
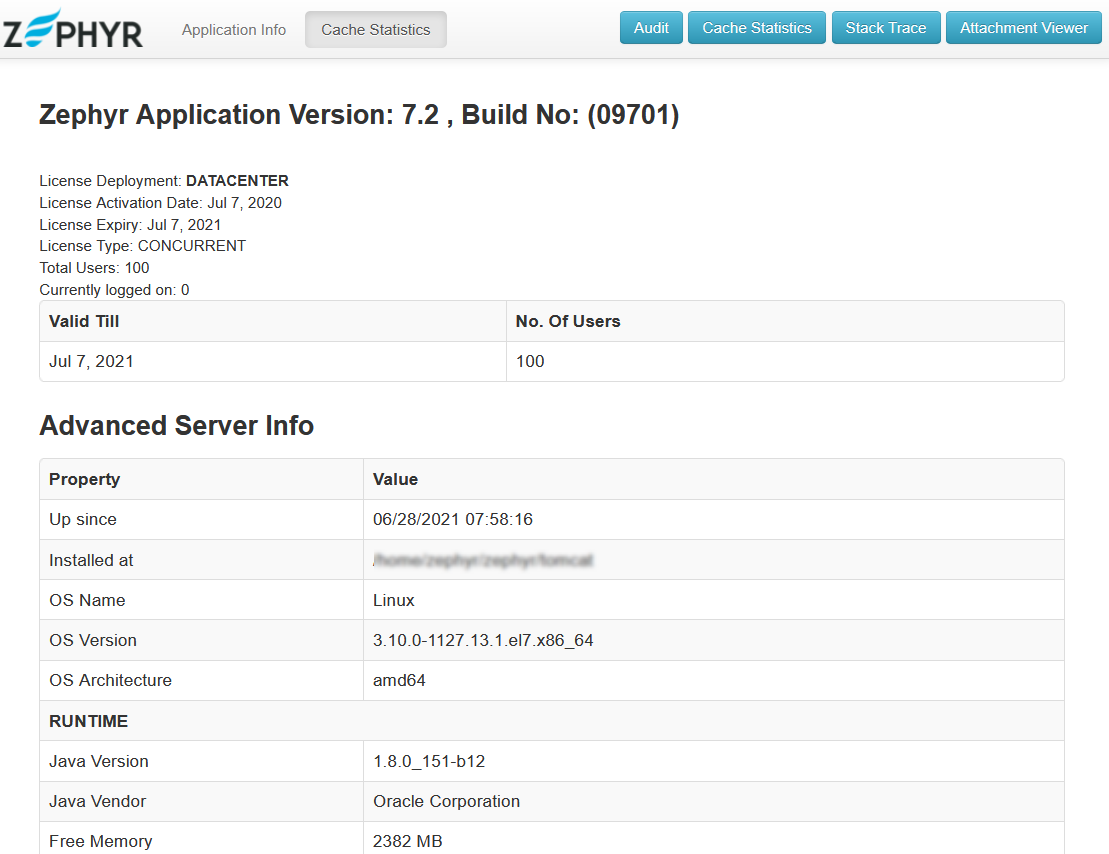
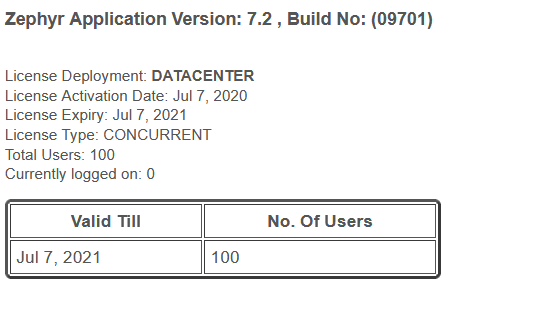
Save all the contents of the following pages (license details, the start and end dates, indexing statistics, the current JVM size and so on). You will need them for post-upgrade verification:
https://<your instance>.yourzephyr.com/flex/assets/html/version.htmlhttps://<your instance>.yourzephyr.com/flex/version
Copy somewhere the following files:
{Zephyr directory}\zephyr\tomcat\conf\server.xml{Zephyr directory}\zephyr\tomcat\conf\web.xml{Zephyr directory}\zephyr\tomcat\webapps\flex\WEB-INF\classes\jdbc.properties{Zephyr directory}\zephyr\tomcat\conf\<SSL certificate>
Back up the
zephyrdatafolder located in the common shared storage. If it is not there, back up the{Zephyr directory}\zephyrdatafolder on each Zephyr node.Back up the
nodedatafolder located in the common shared storage. If it is not there, back up the{Zephyr directory}\nodedatafolder on each Zephyr node.If you are not using the latest supported version of Elasticsearch 7.16.2 or Elasticsearch 8.6.2, install it.
Do the echo of the $ZEPHYR_HOME environment variable. If nothing is returned, set the ZEPHYR_HOME environment variable:
| Code Block |
|---|
export ZEPHYR_HOME='Path of the Zephyr Dir' |
| Info |
|---|
Please take care of it if you have two or more nodes while upgrading the cluster environment: The process of installing, updating, and executing the node occurs in a single step, starting from copying the update files. Do not run the Upgrader simultaneously on all nodes, as it may lead to issues with database consistency. First, execute the Upgrader on a single node until it completes, and then proceed with upgrading the rest of the nodes. |
The upgrade procedure
1. Stop the Zephyr service on all Zephyr cluster nodes:
| Code Block |
|---|
cd <ZephyrDir>/tomcat/bin sudo ./shutdown.sh |
2. Upgrade Zephyr on the first node using the installer:
| Code Block |
|---|
./zephyr_(Build Number)_linux_setup.sh Starting Installer ... This will install Zephyr x.x on your computer. OK [o, Enter], Cancel [c] |
3. When prompted to choose between a new installation and upgrading, choose Upgrade:
| Code Block |
|---|
Choose type: Install [1, Enter], Upgrade [2] Upgrade is in progress. Time taken to upgrade depends on the size of your data. Please wait. Note: If you are running the upgrader in command prompt/linux shell, please don't enter or press any key until next message appears, otherwise upgrade may fail |
| Info |
|---|
Wait until you get the next prompt. |
| Code Block |
|---|
Select Destination Location
Setup will install Zephyr into the following folder.
To continue click Next. If you would like to select a different folder, click Browse
<location of zephyr>

At least  5120 MB of free disk space  is required.
Available disk space:  256042 MB
Configure Elasticsearch
Enter the hostname or IP address and HTTP port used by Elasticsearch. For example: http://localhost:9200.
Multiple Elasticsearch nodes should be separated by comma. For example: http://localhost:9200,http://localhost:9201
ES Host URL
[http://localhost:9200]
Extracting files ...

After the installation is complete, you will see the following:
ZephyrService.sh may or may not start automatically. Please check and start manually if not started.
Done!
Zephyr x.x has now been installed on your computer.
Zephyr Desktop will now be launched automatically.
You can access additional help from the Zephyr installation.
Click Finish to exit setup.
Launch Zephyr Desktop?
Yes [y, Enter], No [n]
|
4. Choose No for now.
5. After you install Zephyr, make sure it is up and running. When Zephyr starts, you will see the following line in the zephyrlocation/tomcat/logs/thedinc.log log file:
| Code Block |
|---|
***************** Zephyr Started **************** |
6. Stop the Zephyr service:
| Code Block |
|---|
cd <ZephyrDir>/tomcat/bin sudo ./shutdown.sh |
7. Copy the SSL certificate files with those you saved at step 3 to the following folder if Zephyr is configured to use SSL:
{Zephyr directory}\zephyr\tomcat\conf\<SSL certificate>
| Info |
|---|
Now go to another Zephyr cluster node and repeat all the upgrade steps described above. |
8. After you upgrade Zephyr Enterprise on all the nodes, you need to modify the following file on each node:
<Zephyr Directory>/tomcat/webapps/flex/WEB-INF/classes/hazelcast.properties
In this file, find the following lines and change the values as shown below:
zephyr.hz.cluster.enabled=false - set it to
true.zephyr.hz.cluster.name=zephyr-hazelcast-cluster - specify a unique name for each cluster, for example,
zephyr-hazelcast-cluster_smartbear.zephyr.hz.interfaces.enabled=false - set to
true.zephyr.hz.interface=127.0.0.1 - This is the IP of the IP interface. Replace it with an IP address that has asterisks instead of the last two components. For example:
zephyr.hz.interface= 192.168.*.*zephyr.hz.tcp-ip.enabled=false - set it to
true.zephyr.hz.members=127.0.0.1 - specify the IP addresses and port number of each node separated by a comma. For example:
zephyr.hz.members=192.168.0.1:5701,192.168.0.2:5701
9. After modifying the hazelcast.properties file, start Zephyr on all the nodes by using the following commands:
| Code Block |
|---|
cd <zephyrDir>/tomcat/bin sudo ./startup.sh |
When Zephyr starts, you will see the following line in the zephyrlocation/tomcat/logs/thedinc.log log file:
| Code Block |
|---|
***************** Zephyr Started **************** |
Steps to perform after the upgrade
Check whether Zephyr and Elasticsearch are up and running.
Check the logs for any errors and make sure that all the patches have been applied successfully.
Log in as an Administrator and trigger the Full Reindexing manually.
Check the re-indexing status:
https://<your instance>.yourzephyr.com/flex/assets/html/version.html