| Panel | ||||||
|---|---|---|---|---|---|---|
| ||||||
Starting October 11, 2024 (Zephyr Enterprise 8.2), the Zephyr Enterprise documentation moved from its current location on Atlassian to a dedicated, standalone Zephyr Enterprise documentation page. Please see: https://support.smartbear.com/zephyr-enterprise/docs/en/zephyr-enterprise/zephyr-administration-guides/system-setup/jira-integration/setting-up-jira-integration/configure-basic--cookie-based--connection.html |
Basic authentication can only be used for Jira Server integration. This authentication type is not applicable for connections to Jira Cloud. Another possible authentication type for Jira Server is OAuth.
Basic authentication is also called cookie-based in Zephyr UI.
...
Create a Jira connection using the Basic authentication
Log in to your Zephyr Enterprise instance as a user with administrator permissions.
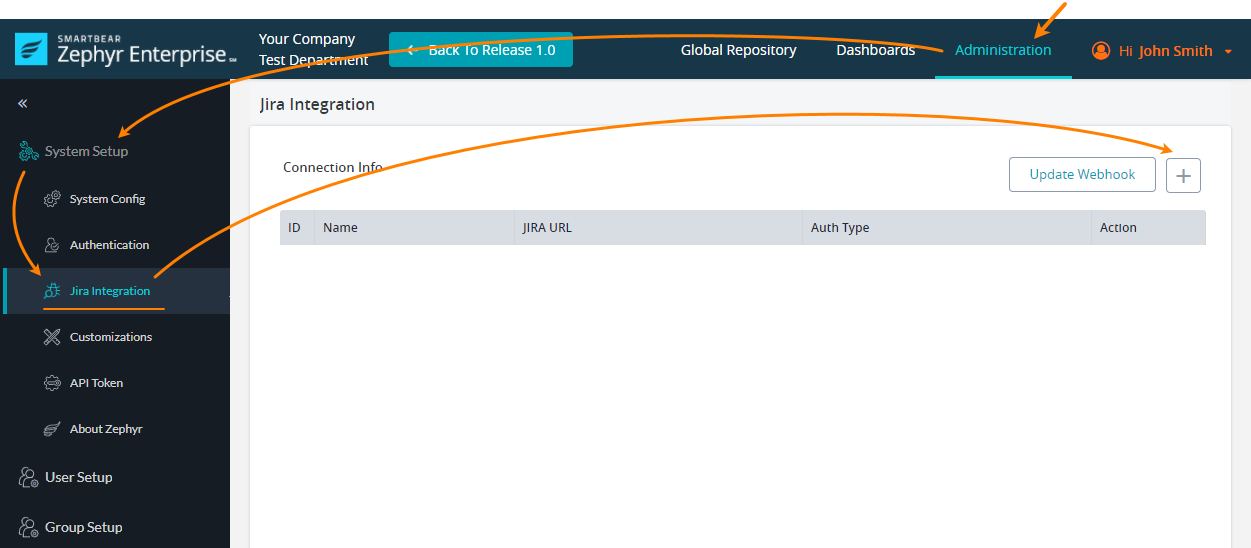
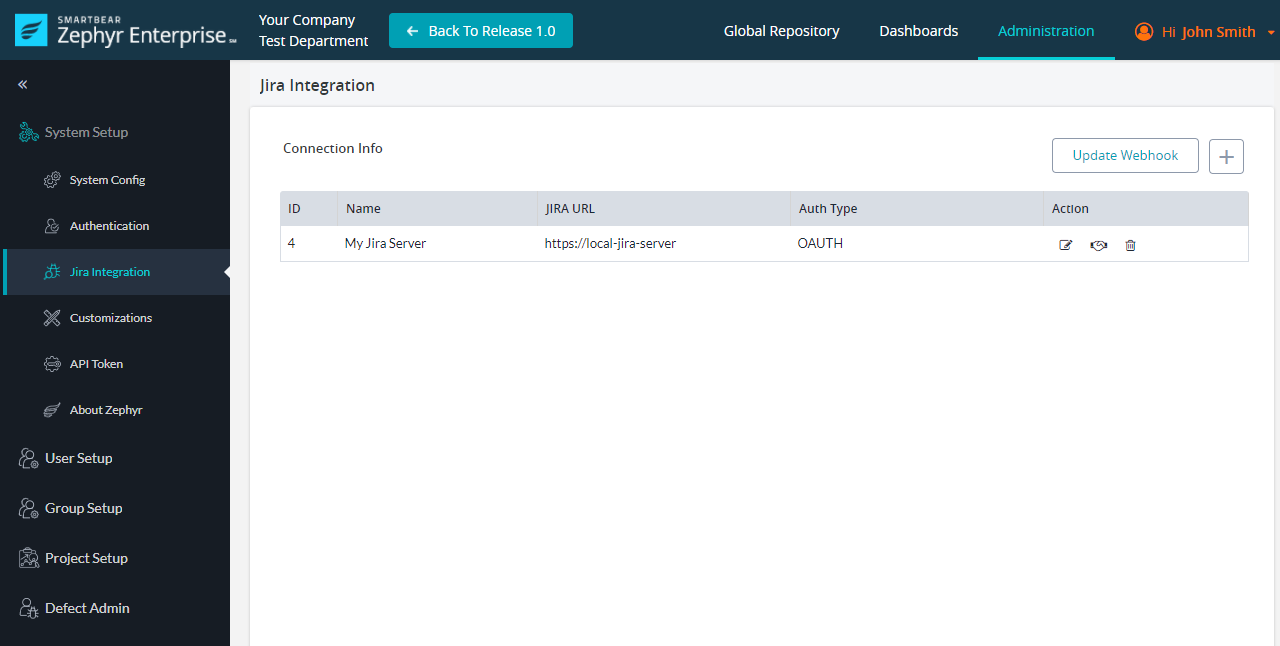
Go to Administration > (System Setup) Jira Integration.
Click + above the Jira instance list:
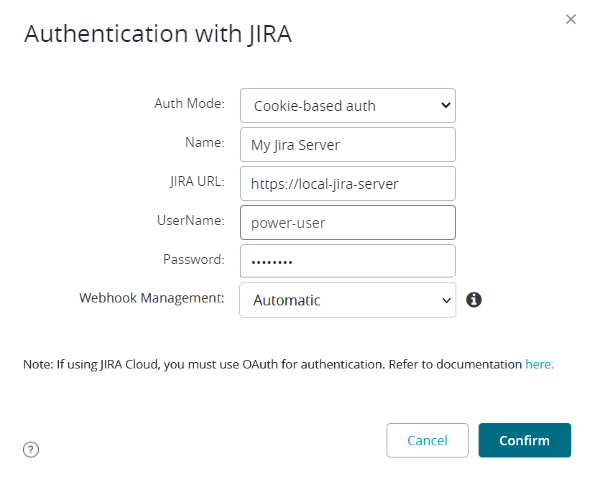
In the subsequent dialog, specify the following values:
- Auth mode -Select Basic (cookie-based).
- Name – Any descriptive name for the connection. It will be used in the Zephyr UI.
- Jira URL – The URL and port number of your Jira server.
- Username and Password – The name and password of the account that Zephyr will use to communicate with Jira.
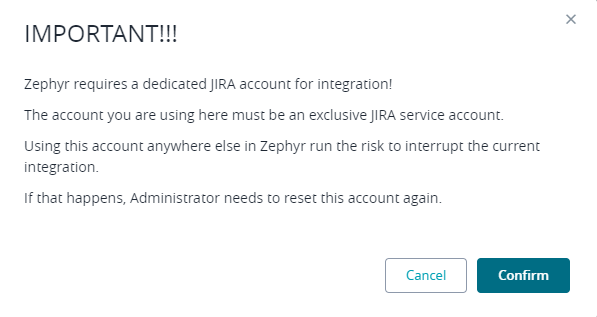
Click Confirm to continue.Click Continue in the subsequent confirmation dialog:
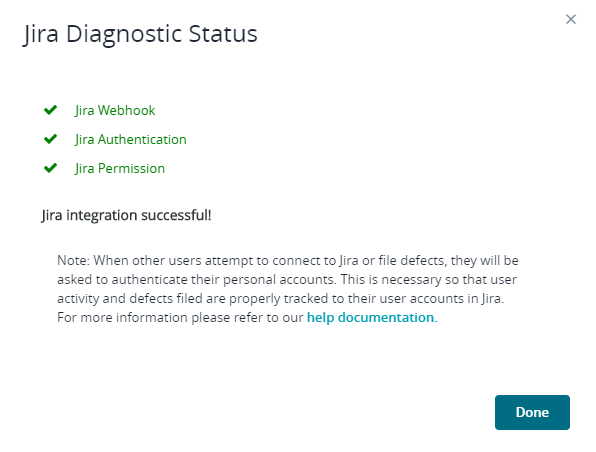
Zephyr will run some diagnostics and will report the results:
Click Done. You will see the newly created connection in the list of connections:
Further steps
![]() You have not yet completed integration setup. To complete it, you need to map your Zephyr project to a Jira project. Follow this link for details:
You have not yet completed integration setup. To complete it, you need to map your Zephyr project to a Jira project. Follow this link for details:
...
