...
Log in to Zephyr Enterprise as a user with administrator permissions. Then, go to Administration > Project setup settings:


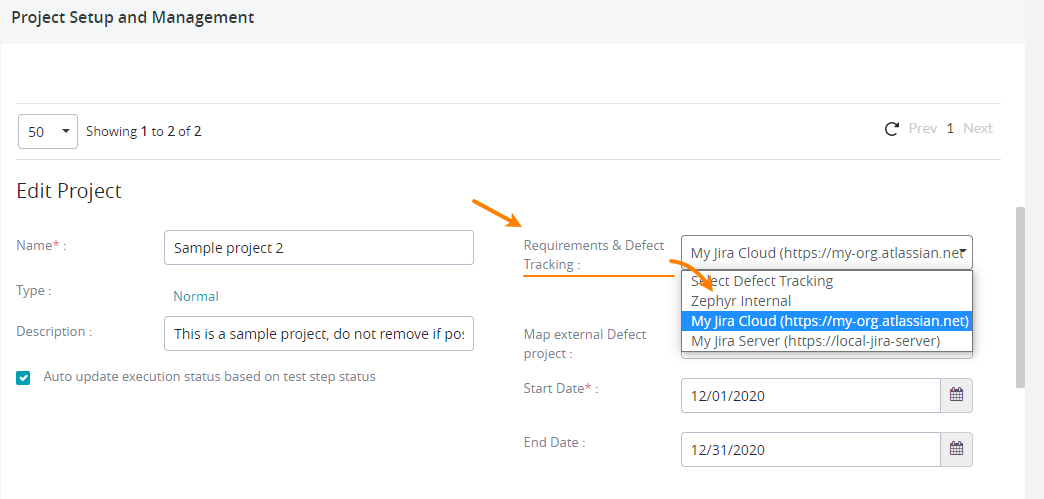
On the Project setup tab, select your project and scroll the page down to the Edit Project section.
In the Requirements & Defect Tracking box, select the Jira connection you created on the previous step:

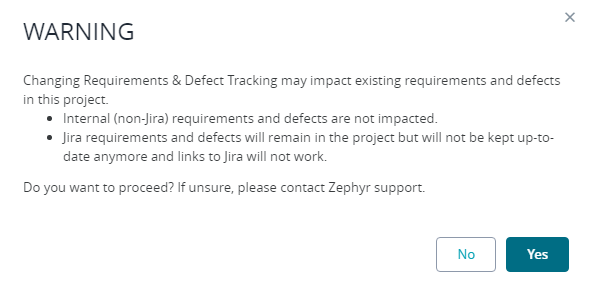
 Choose carefully. Selecting another defect tracker later, after you map Zephyr items to Jira tickets, might be problematic.
Confirm the connection in the subsequent message box:

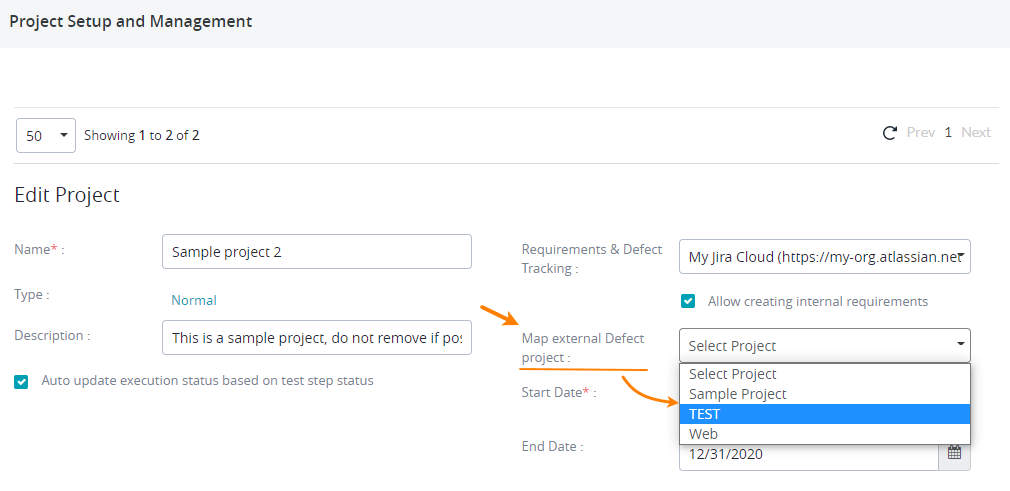
Zephyr will load a list of projects from your Jira instance and will show it in the Map external Defect project drop-down list (this list is invisible until you select a Jira instance for your project).
Select the Jira project in that list to link it to your Zephyr project:

Scroll the page down and click Save to save the changes you’ve made.
...
Zephyr creates a pre-configured webhook automatically when you are mapping a project in Zephyr. In this case, there is no need to perform any additional actions, but you need to have a Jira account with special permissions (for example, Browse Projects). You can view the created webhook in Jira settings: go to ⚙ > System (under Jira Settings) > Webhooks (under Advanced).
Don’t delete this webhook, and don’t change its properties. It has all the needed settings enabled. Later, you can update the webhook, if needed.You, as an administrator, can create and manage webhooks manually. This can be useful if you do not have (or do not want to create) a Jira service account with permissions required for automatic webhook management.
...