To install and use a ZBot on Windows, download the ZBot installation file from http://<your_zephyr_server>/zephyr/zbot
Ensure the JDK related environment variables are variables are set (see belowbottom).
1. Clicking on the appropriate operating system distrobution for download, the following file is downloaded: zbot_win.exe
2. Run that file and accept any security warnings
3. The first welcome screen is displayed
4. Clicking on Next displays the License Agreement that must be read and accepted to proceed.
5. A destination location must be specified to where the ZBot will be installed.
6. Now the IP address and Port number on which the Zephyr Server is installed and listening on should be entered. This information is very important as this is how the ZBot connects with the Zephyr Server. Also, a valid username and password is required as all access is authenticated. This information can be changed later in the zbot properties files, accessed via the "Edit Properties" (see below).
7. Now the Program Group and Shortcuts are selected.
8. Clicking on Next starts the file copy process.
9. Once the installation is completed, this final screen is displayed. A Program Group with the Start, Stop and Uninstaller is also created.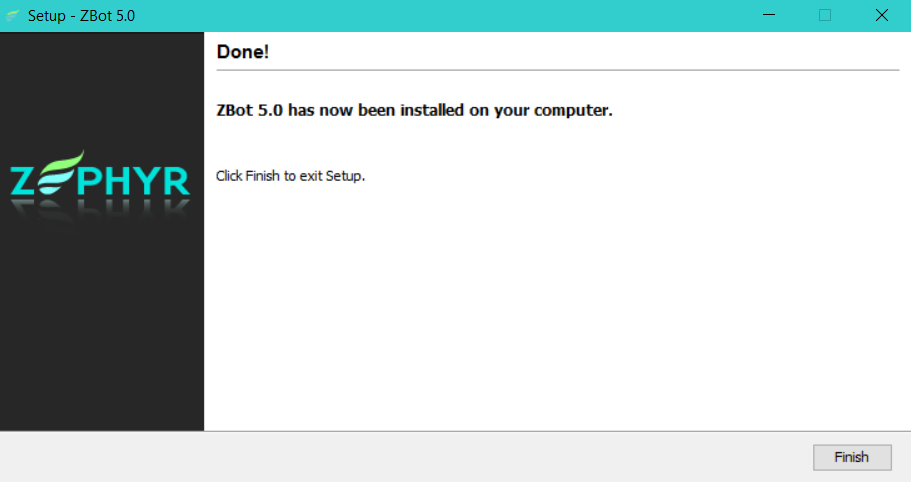
10. The final confirmation message showing ZBot has started is displayed and the ZBot icon can be seen in the System Tray in the bottom right corner.
11. Right-clicking on the ZBot icon in the System Tray presents the following menu
The Edit option allows the Zephyr Server IP and Port number to be changed.
...