Step 1: Perform updates on the Zephyr instance
SaaS customers:
Contact support to ensure the necessary changes have been done in your system.
On-Prem customers:
Support will guide you during a call to perform the necessary changes in your system.
These include setting the Jira Cloud configuration settings to OAuth and setting the private key for communication with Jira.
Step 2: Using a Jira Admin account, create an application for Zephyr in Jira
Step 2a: Configure the app as a consumer in JIRA, using the following application links:
- In JIRA, navigate to the cog icon (
 ) → Applications → Application links (click on the shortcut dot (.) and then enter in the application link).


Step 2b: Paste the public key below in the "Public Key" field in Jira:
MIGfMA0GCSqGSIb3DQEBAQUAA4GNADCBiQKBgQDb4vaja5NFVjjt/VoF5S9Z7p5F
TaXUz64N0xIrIg+r3ZX8xBgHDKo6EQSkJdVK/O1qNPiUtpSke0YdTzVIvrM/9Lmq
7G6nZf0UlIaFkLY4j/F7i/bmQyB+/IgEy1SDWFipuFs/aJN8tURCEUNgcuZAjdSl
HsrQJhD0Ew53UjpLLwIDAQAB

Step 3: Configure Zephyr to connect to Jira via OAuth
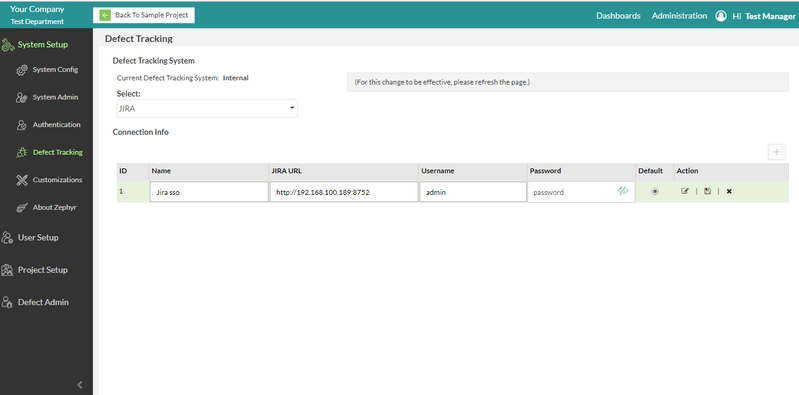
Step 3a: Log into the Zephyr instance → Click on Administration → Click on Defect Tracking → Set the Defect Tracking with the admin credentials from JIRA
Step 3b: Go to the created project → Select a release → Click on Defect Tracking
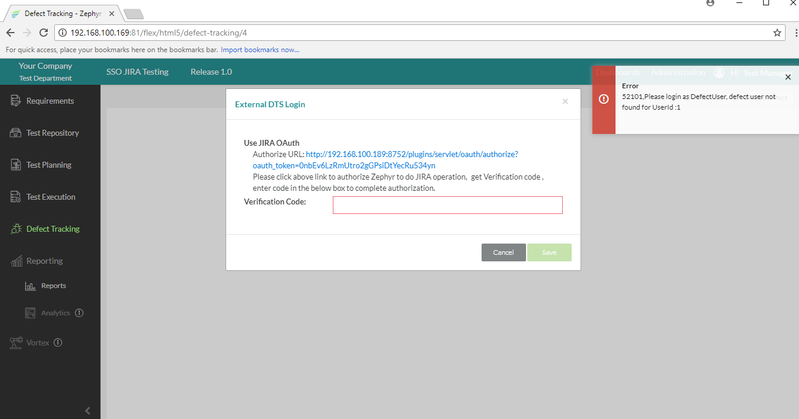
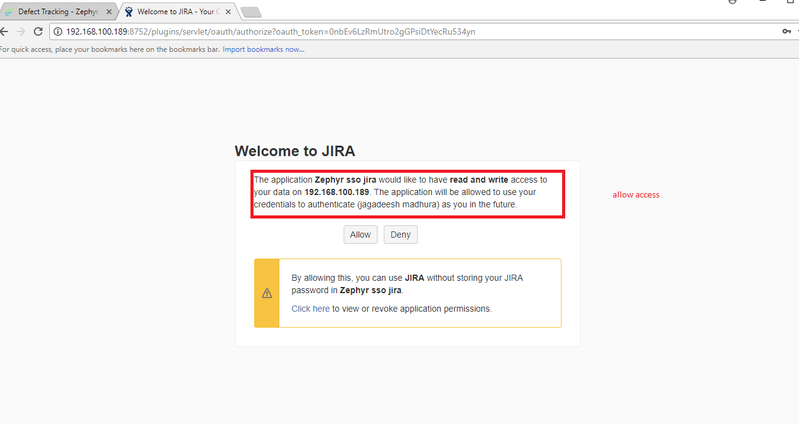
Step 3c: Click on the "Allow" button in the Jira OAuth page
Step 3d: Copy the Jira verification code into Zephyr to finalize configuration.
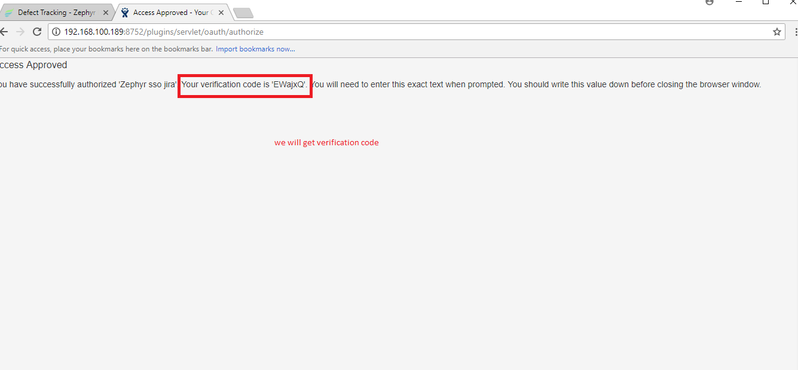
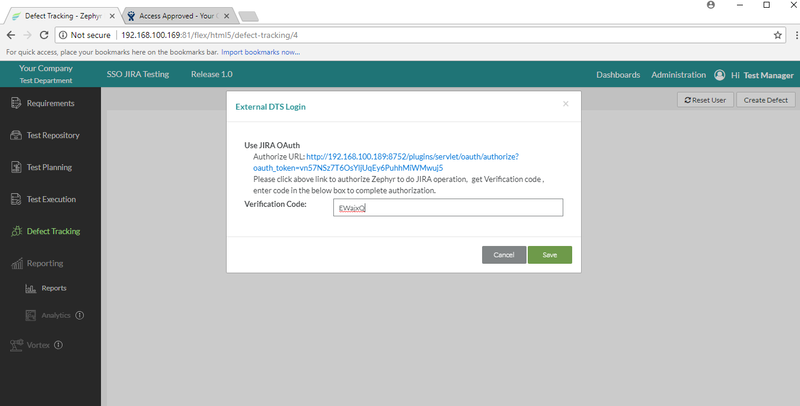
Once the external DTS login is saved, you have officially integrated JIRA Cloud via OAuth.