Zephyr Production Installation for Windows
Windows Installation Steps
For multiple nodes clustered installation of Zephyr or to use an external Database other than MySQL, please refer to the Zephyr Data Center Requirements and the Connecting to an External Database.
- When installing Zephyr, users can choose to select Data Center Deployment for multiple nodes when going through the installation process and choosing the Deployment Type.
After installing the Zephyr Server product, you can upgrade the product if need be. Please use the link provided below if you need to upgrade Zephyr Server:
Prerequisites
- Review all system requirements thoroughly
- Ensure you have the license file (license.lic) as this will be required during the installation process. If you do not have this license file, please contact your Zephyr Account Manager or contact Zephyr Sales at sales@getzephyr.com
- Download required software
Installing Java
- Follow Oracle's install instructions linked here
- Now that the Oracle's install is complete, set the environment variables by following the steps below
- Once the variables are set, continue with the installation steps for Zephyr below
Update the PATH and JAVA_HOME variables in Windows
Zephyr needs a couple of environment variable set once you have the JDK installed. You can set the variables this way to allow it to persist through reboot.
Setting up PATH in Windows (steps might vary with Windows version):
- Click Start > Control Panel > System
- Click Advanced > Environment Variables
- Scroll through the fields until you find PATH
- Add the location of the bin folder of the install for PATH in System variables (do not delete the existing value, just add to the beginning of it).
A typical path is: C:\Program Files\Java\JDK_1.8.0_<version>\bin
Setting up JAVA_HOME in Windows (steps might vary with Windows version):
- Click Start > Control Panel > System
- Click Advanced > Environment Variables
- Scroll through the fields until you find JAVA_HOME, if it's not present Add it to the System variables.
- Add the location of the JDK root folder to the value of JAVA_HOME in System variables.
A typical path is: C:\Program Files\Java\JDK_1.8.0_<version>
Installing Zephyr Server
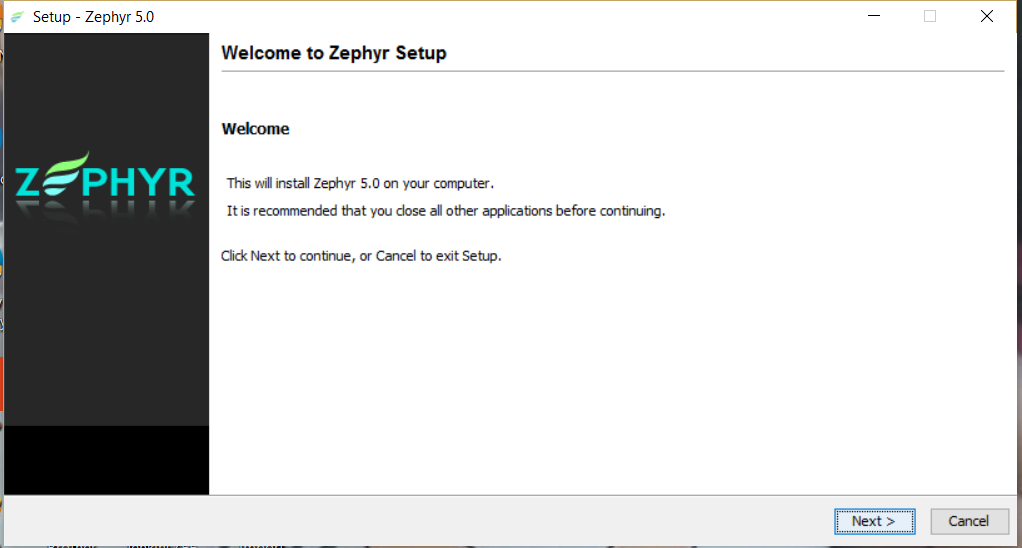
1. By double-clicking on the setup file, the following Welcome screen is seen
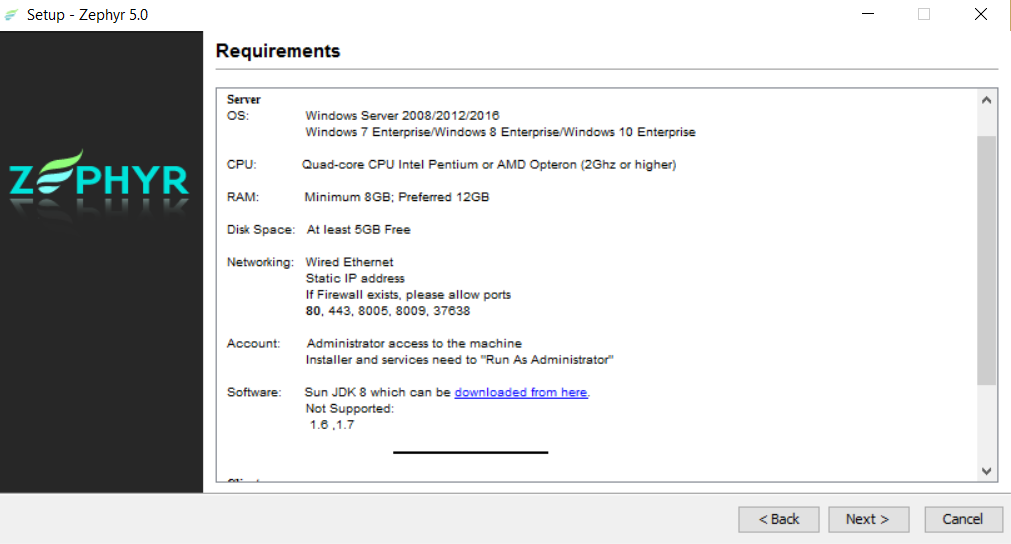
2. A quick reminder will pop up on the requirements needed to install and run Zephyr.
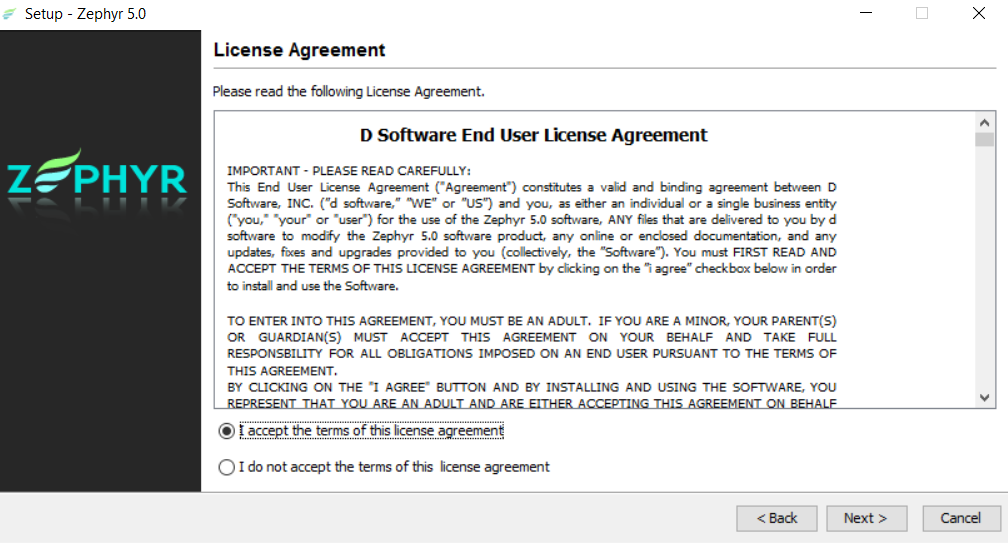
3. Review the mandatory acceptance of our Licensing Agreement before continuing.
- The installation will not proceed further if the terms of the license agreement are not accepted
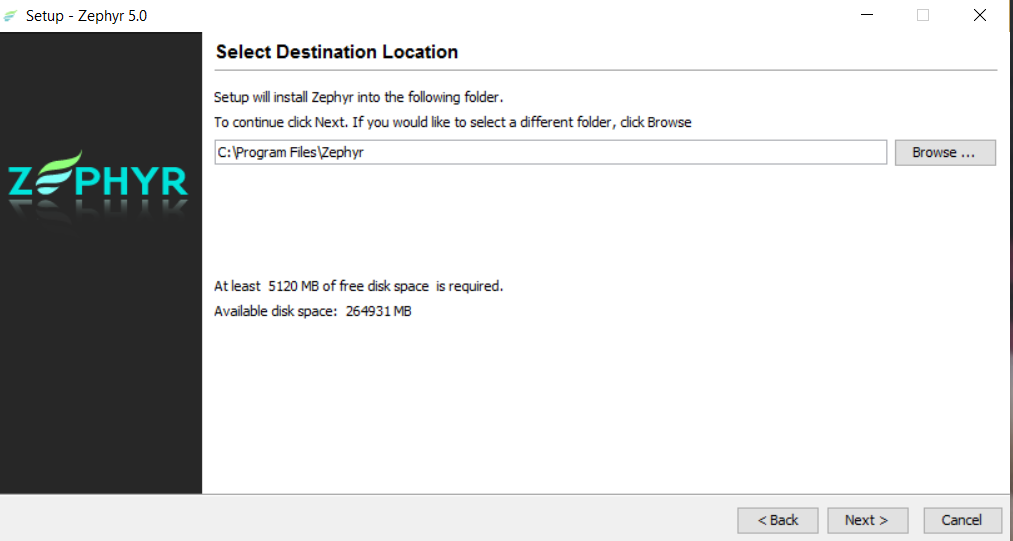
4. Select the destination location of where the Zephyr server needs to be installed.
- You should make sure that you have enough disk space on that specific drive
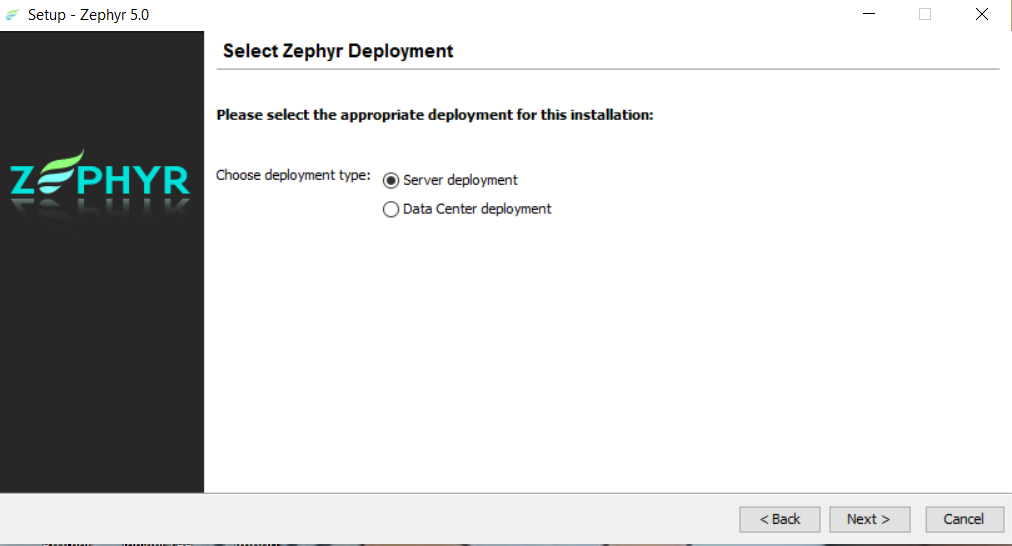
5. Select the deployment type.
- For installation of Zephyr Server, select "Server deployment" and continue to Step 6.
- For installation of Zephyr Data Center, see the Set Up Zephyr Data Center section.
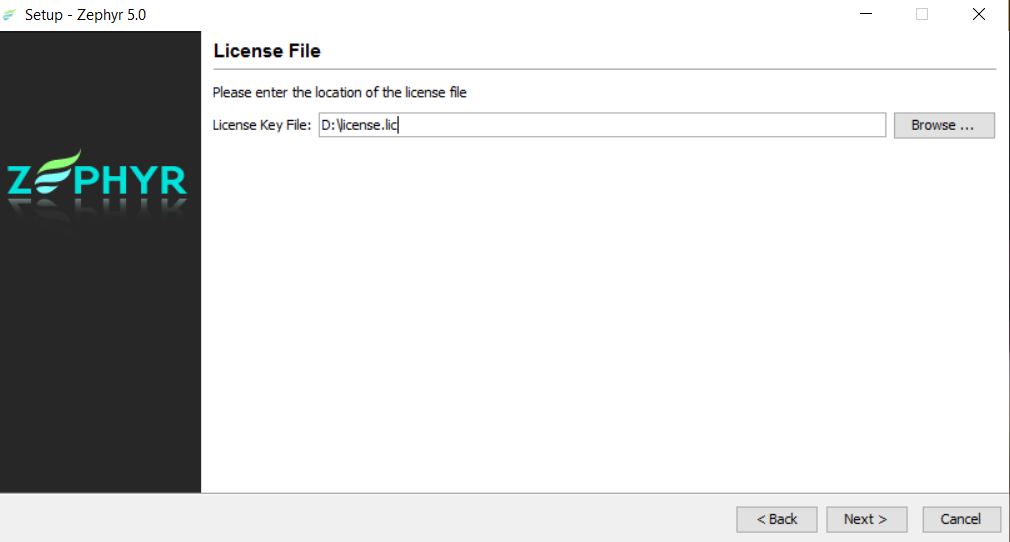
6. Add the license file.
- You would have received the license file from Zephyr Sales
7a. Select one of the 2 types of Setup - Standard or Custom.
- In the Standard installation, there are predefined ports used for running Zephyr. These ports are:
- Port 80 for running the Zephyr Server (standard http port)
- Port 8005 for running the Zephyr Server
- Port 37638 for running the Zephyr Database
- Choose the Custom installation setup type if you have other applications using one or many of these ports.
- You choose to pick alternate ports for Zephyr (see 7b)
- Else, proceed to Step 8.

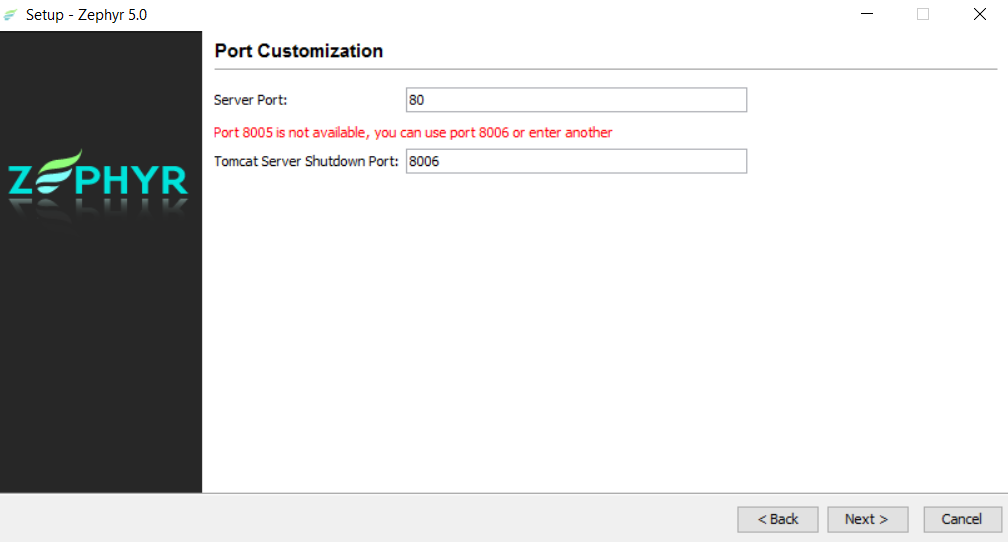
7b. Simply enter a different port from the default port that was provided.
- This step allows you to customize the various ports if there are conflicts with any existing applications.
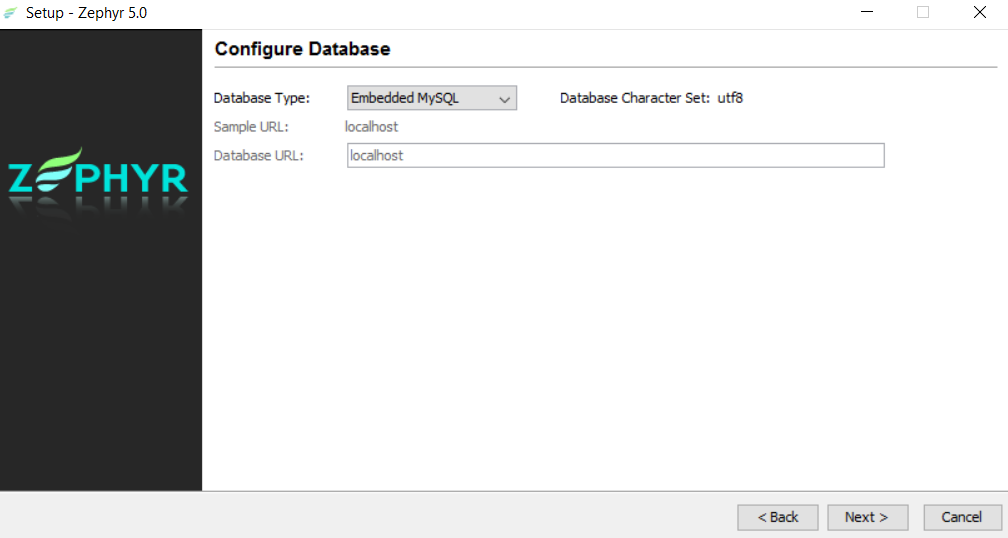
8a. Select your MySQL Database location.
- You can select Embedded MySQL which will install the database on the same server.
- If you selected the Embedded MySQL database, no further database set up is required; proceed to Step 9.
- You can select VM where your Zephyr Server is being installed on.
- You can select an external installation of MySQL.
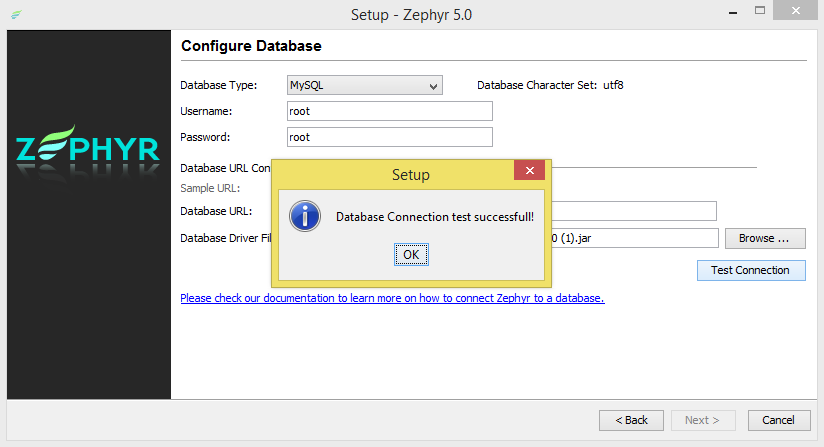
8b. If you selected an external MySQL database, you will need to provide a Username, Password and the Database URL along with the Database Driver File Location.
- Zephyr Server will use to read/write data to the database. Once this information is entered, test the connection to the external MySQL database by clicking the "Test Connection" button
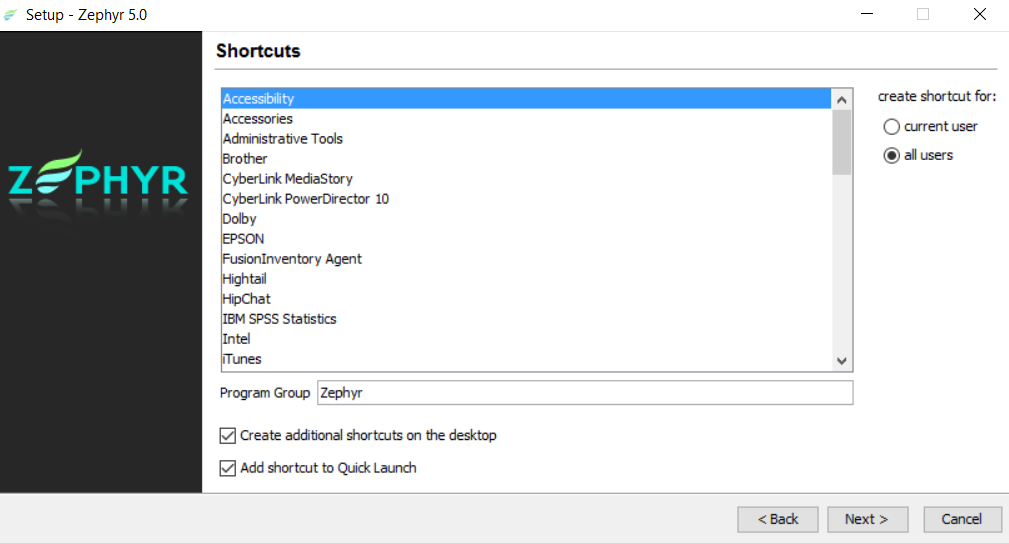
9. This step allows the customization of the Program Group name ("Zephyr" is the default) as well as the options for creating Windows Desktop and Quick Launch shortcuts.
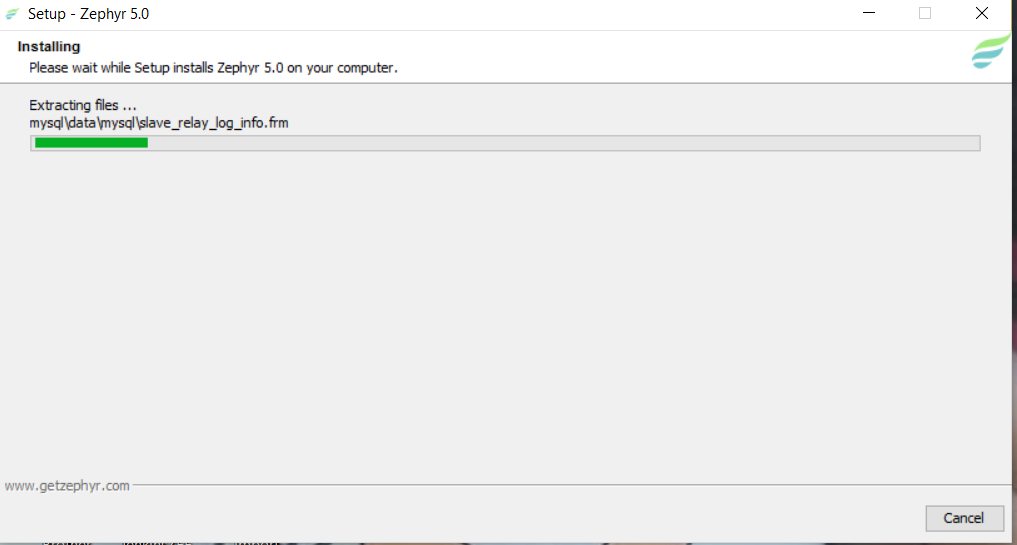
10. Files are now copied and various services are started.
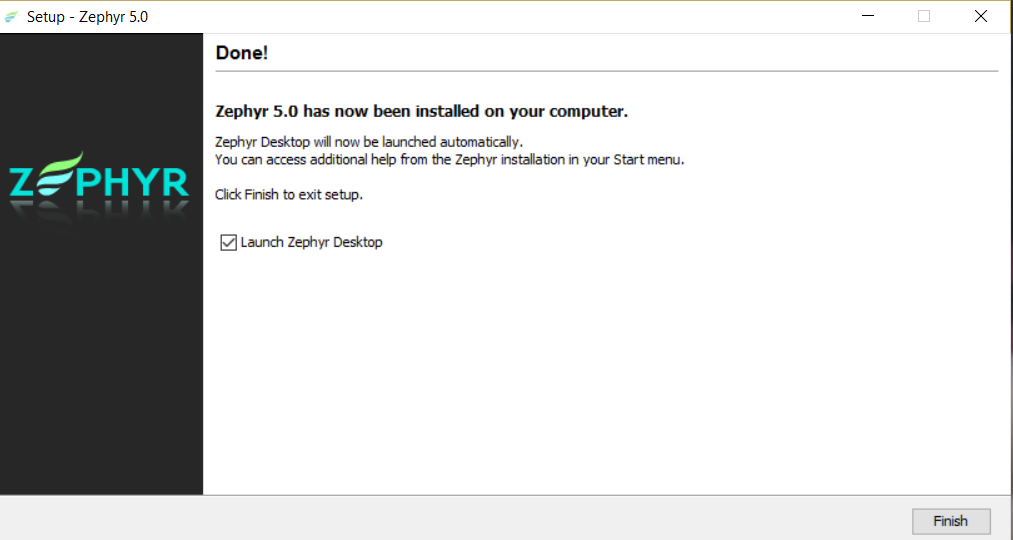
11. At the end of that process, the Zephyr Server installation is complete and allows for the Zephyr Desktop to be immediately launched.
Additional Notes
Depending on the speed of the machine, it may take a few minutes for the login dialog to appear when launching Zephyr for the first time. This is to allow all services to start up correctly. Subsequent launches will be much faster.