Configuring Zephyr Enterprise Test Management Add-on as a build task
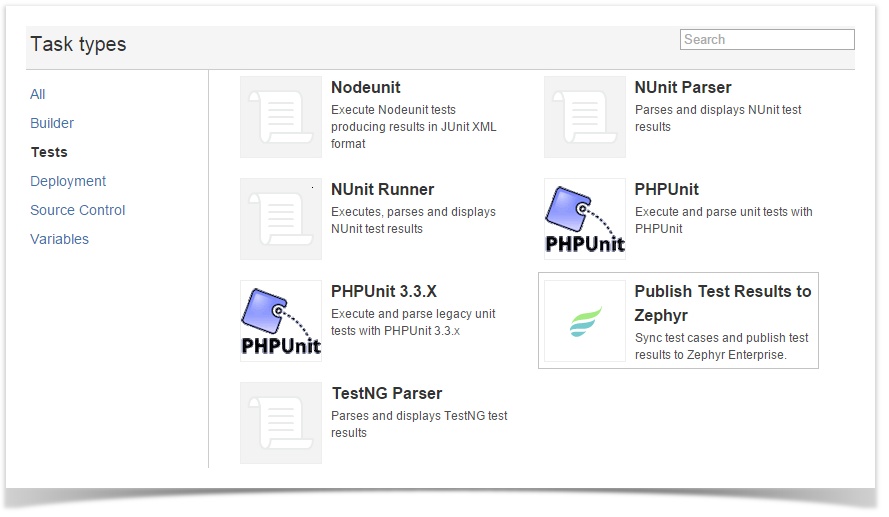
Click “Add task” to add more tasks to the plan and select task “Publish Test Results” from “Tests” task type
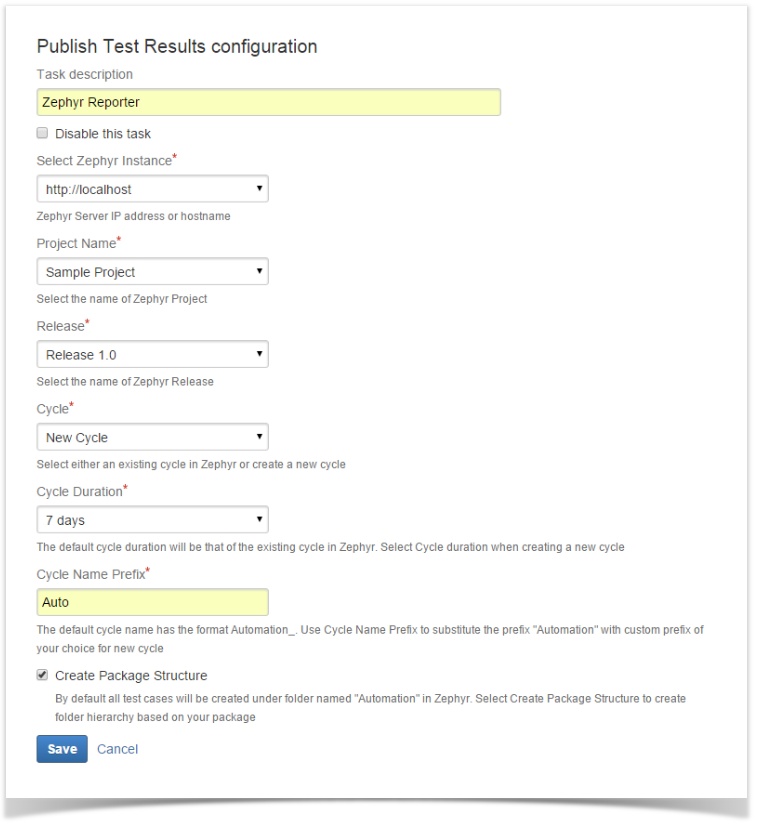
Configure Zephyr built task
Provide a task name
Select the Zephyr URL from the dropdown. (Servers configured in the Bamboo global configuration are available here to select). This automatically pulls in Zephyr projects, releases and cycles
Select the Project Name from the dropdown. This re-populates the releases
Select the Release from the dropdown. Selecting a release fetches all its cycles
Select either an existing Cycle from the dropdown or create a new cycle. The recommended approach is to use an existing cycle to be able to ensure the reporting is correct.
When users select a "New Cycle" option, only the test cycle gets created and it will not create a new set of test cases every time. Only the existing test cases are created. The reporting is available for each test cycle created.
For a new cycle, you have option to select cycle duration from the dropdown and edit the default cycle prefix name “Automation”. In the absence of a cycle prefix name, “Automation” is used for any new test cycles.
When users select an "Existing Cycle" option, for each Jenkins build, the automation phase is added to the same cycle. This will be reflected in the reports.
For an existing cycle, the default Cycle Duration will be that of the existing cycle in Zephyr and the cycle name prefix will be the format “Automation_<Date><Time>” stamp.
To create a package structure while creating and organizing the test cases, check the box “Create Package Structure”
Click "Save"
The parser task ie. “Junit Parsing” and “Zephyr Reporter” task needs be made final tasks to ensure these tasks are executed irrespective of job failure due to test failures