![]() Zephyr for Jira is now Zephyr Squad! Read more about this.
Zephyr for Jira is now Zephyr Squad! Read more about this.
|
|---|
When using Next Gen projects with Zephyr, you must enable Zephyr for Jira for individual projects. To enable Zephyr for Jira in a Next Gen project, you must set up a Test issue type. This is important, as the issue type Test is used throughout Zephyr for Jira. The Zephyr menu will not be interact-able until the Test issue type is created and enabled.
On the Zephyr Test issue type page, you can change the issue type for Zephyr or disable Zephyr for Jira in this project.
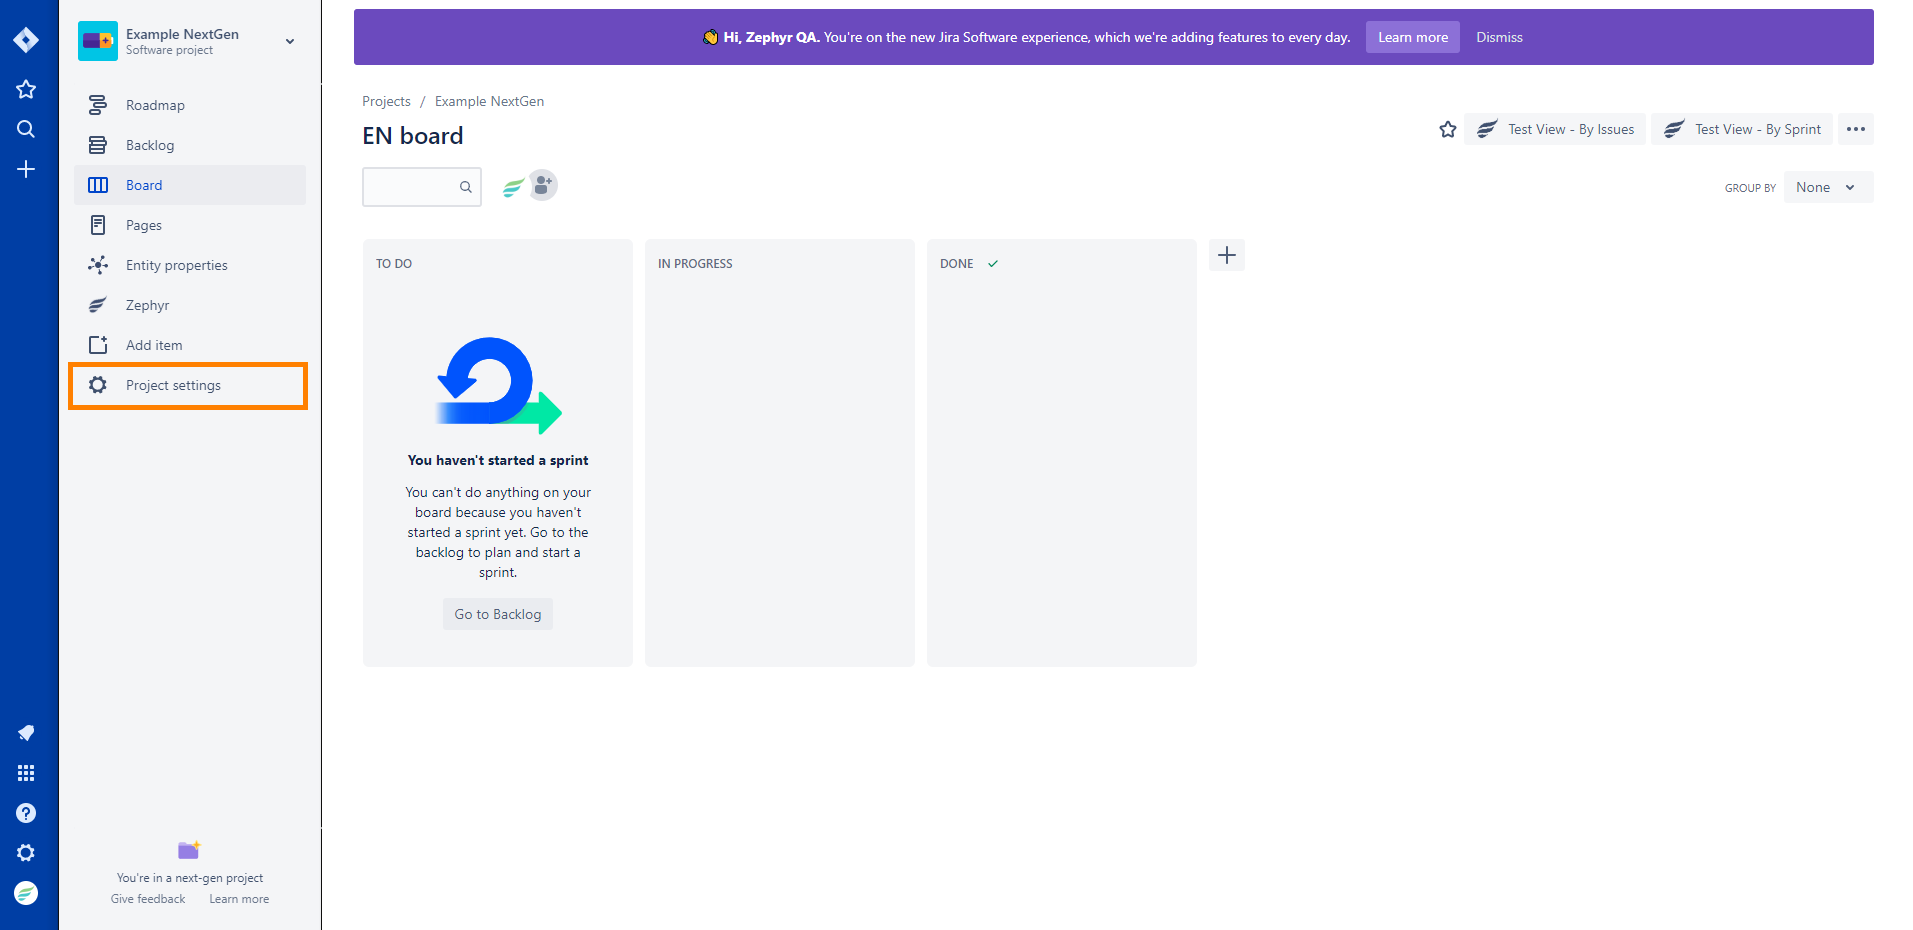
1. Navigate to your project settings for your Next Gen project.
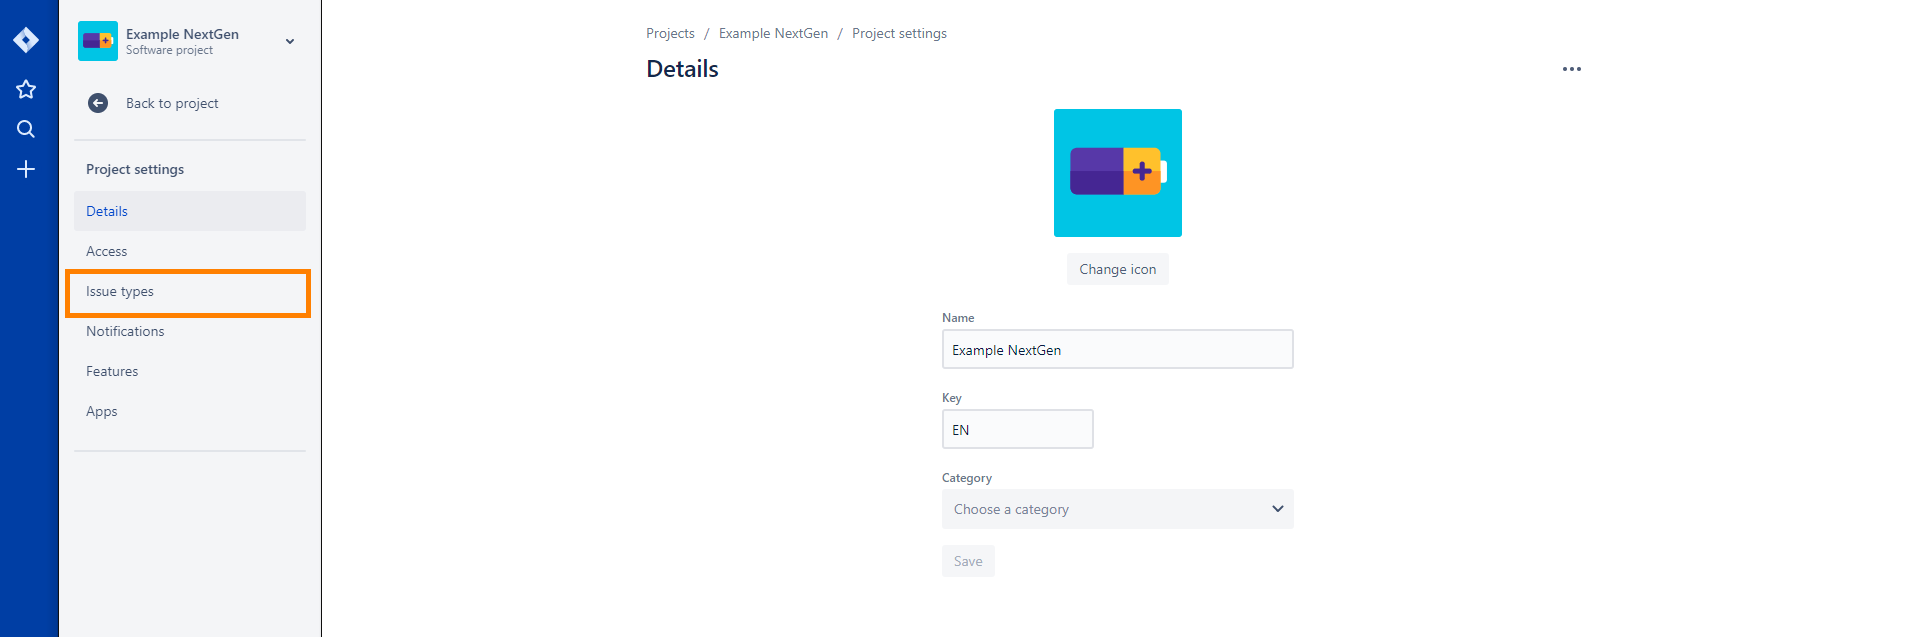
2. Click on the Issue types page.
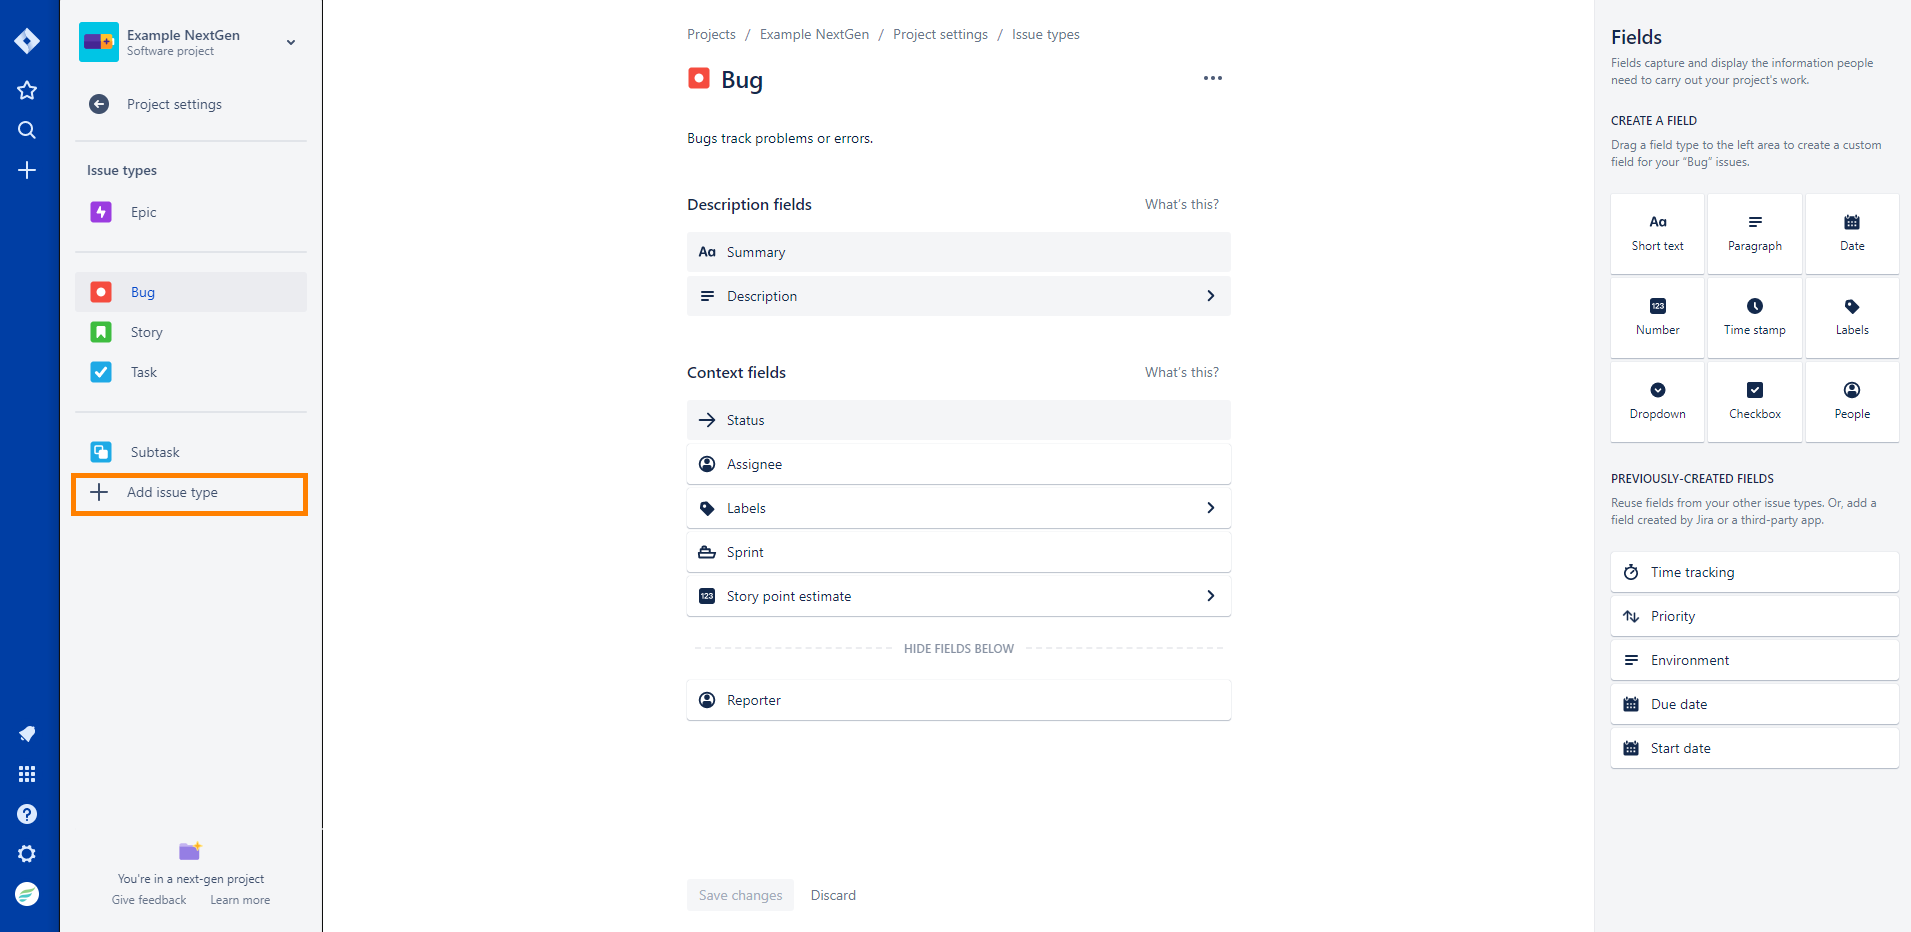
3. Click on the Add issue type button.
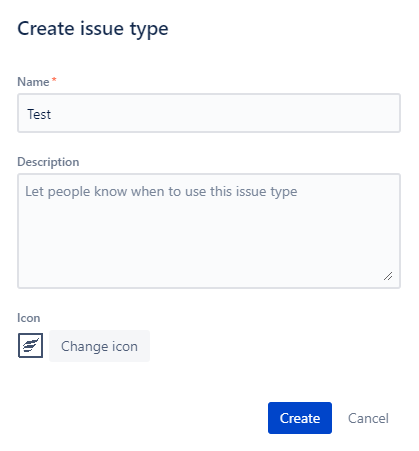
4. Enter “Test” as the name of the issue type. You can add a description if you want and change the icon to whatever you want. Afterwards, click the Create button and the issue type will be created.
We recommend using the Zephyr icon as it allows you to easily distinguish a test.
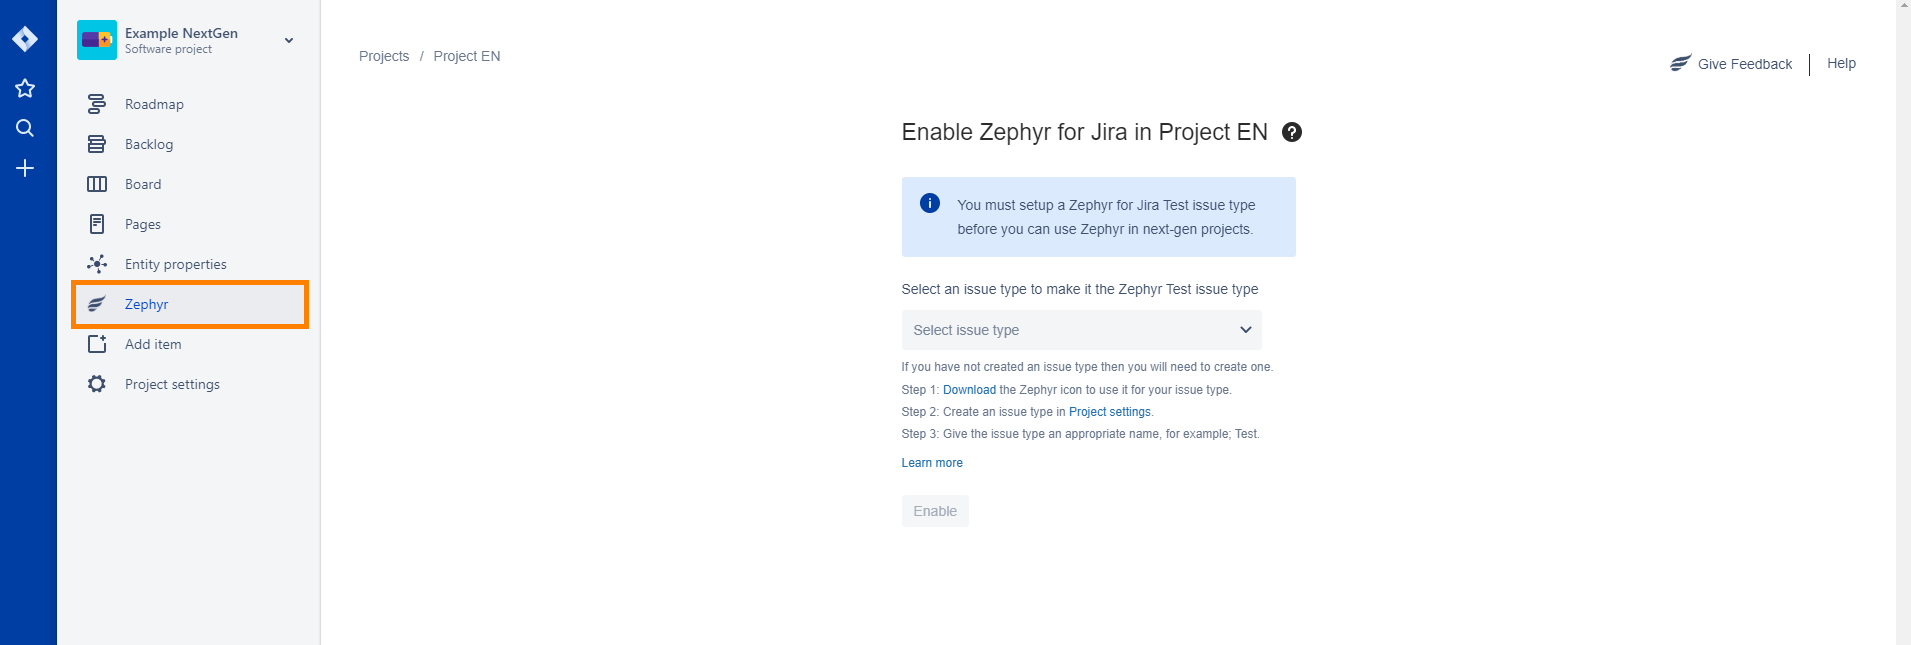
1. Navigate to the Enable Zephyr for Jira page for an individual project by just clicking on the Zephyr menu in your project.
2. Create a Zephyr Test Issue Type. This can be done in the project settings.
See the above section to learn how to create an Test issue type.
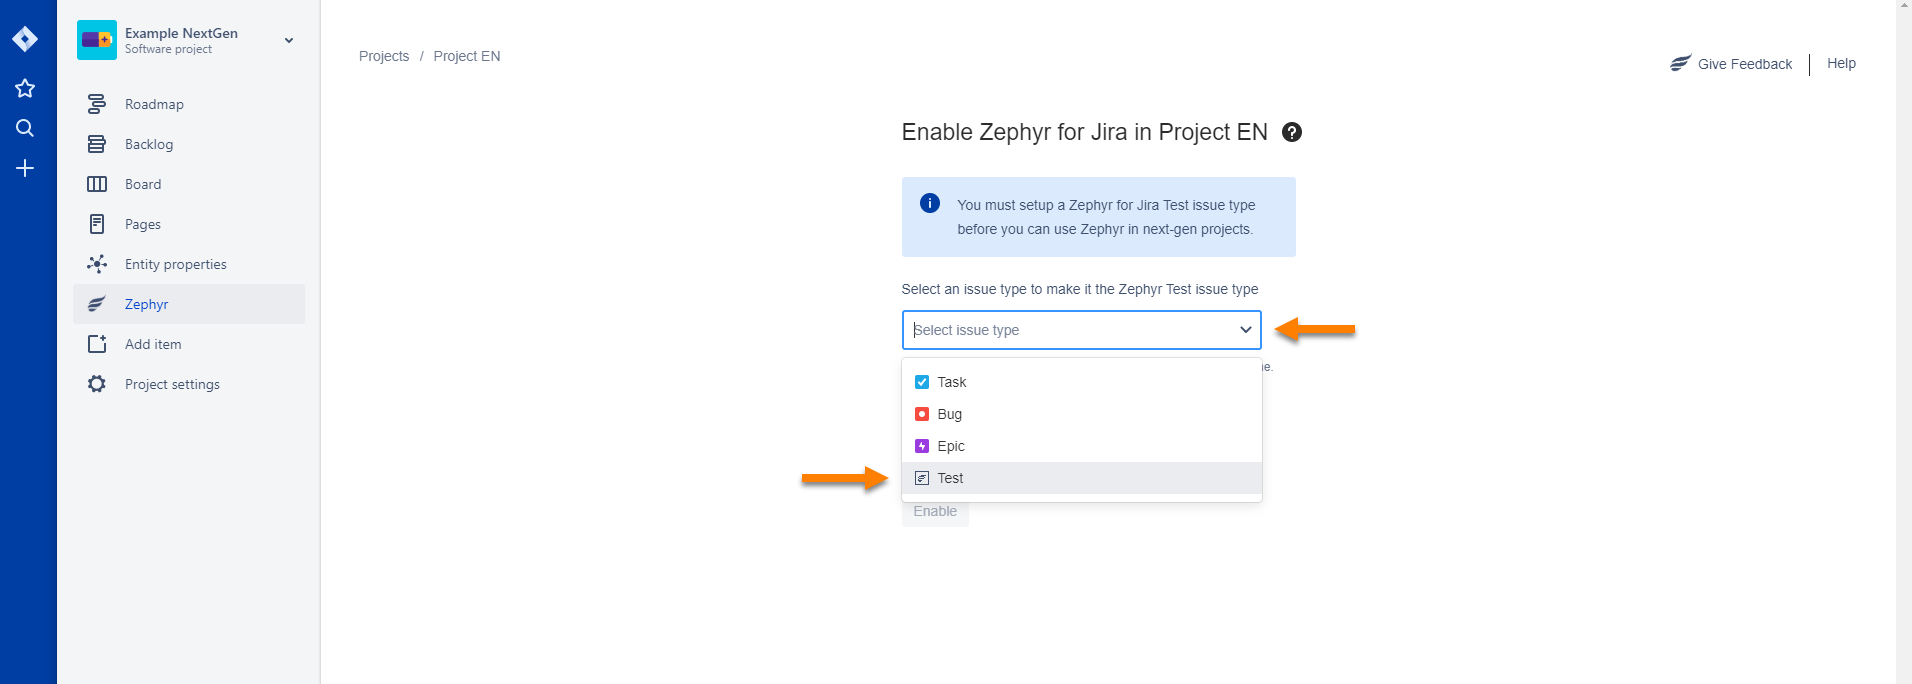
3. Select an issue type to map using the drop-down list provided.
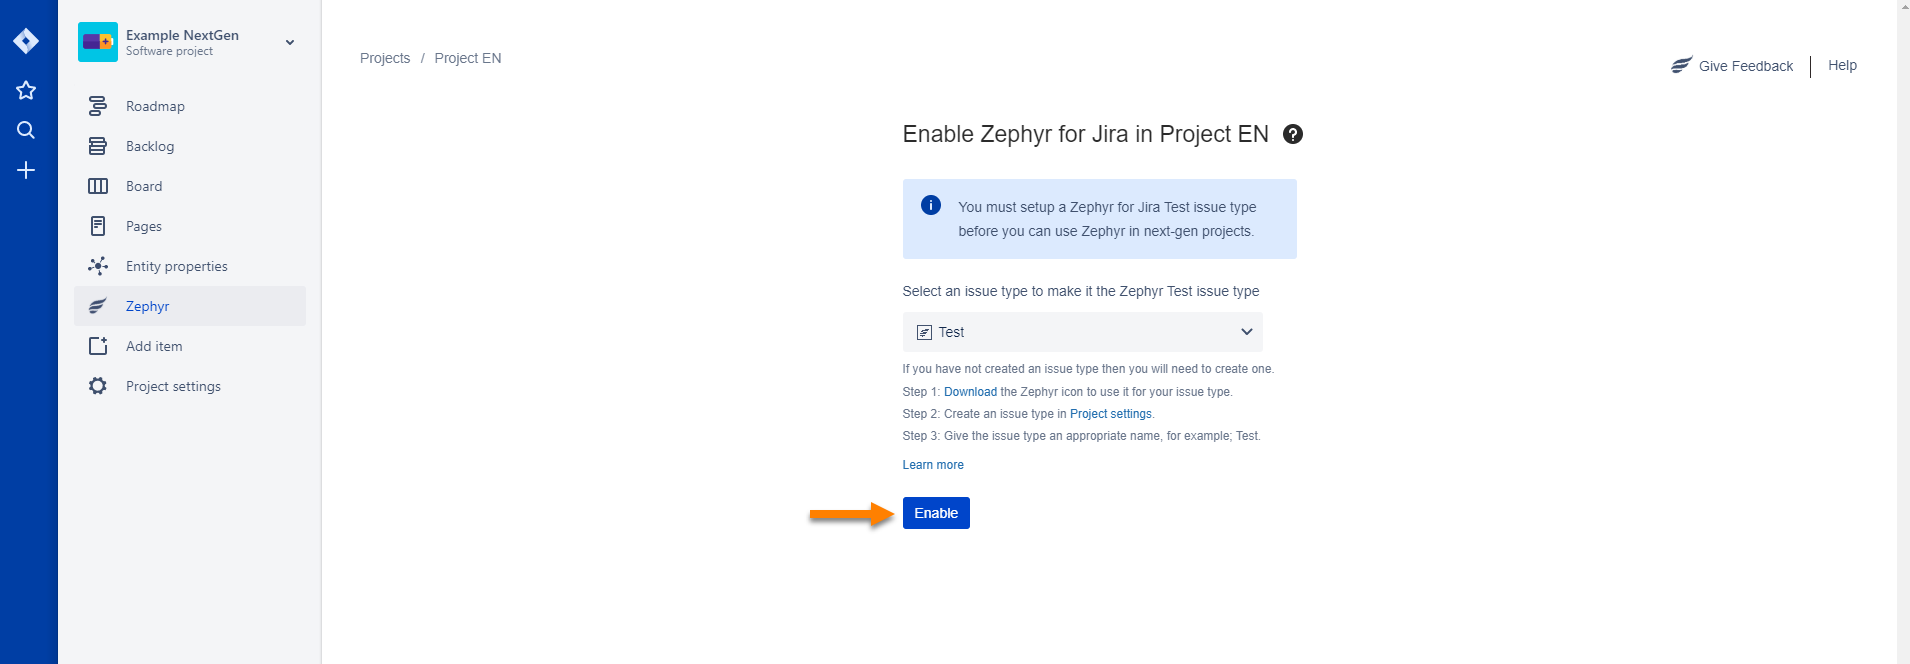
4. Click Enable to enable Zephyr for Jira using the Test issue type.
You can now interact with Zephyr when the Zephyr Test Issue Type is created and mapped:
1. Navigate to the Next-gen Configuration page: Project settings → Apps → Nex-gen Configuration

2. Click the Change button.

3. Use the drop-down provided to select another issue type that will be mapped to the Zephyr Test issue type.
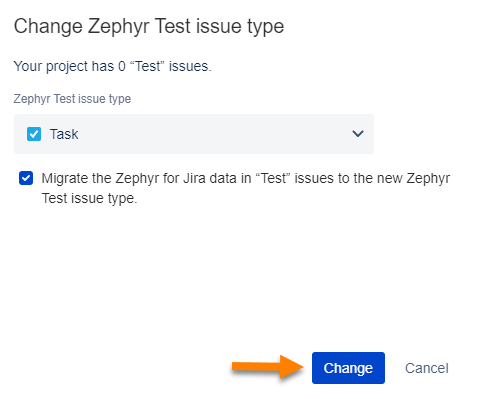
You can migrate the pre-existing data for the original issue type to the new one selected by selecting the check box provided.
If you do not migrate, the pre-existing data for the original issue type will be deleted forever:
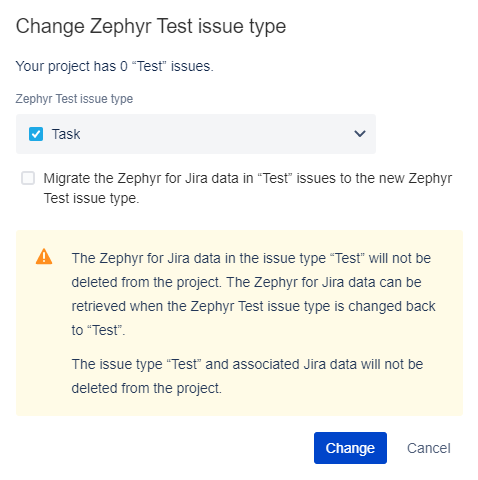
4. Afterwards, click the Change button:
1. Navigate to the Next-gen Configuration page: Project settings → Apps → Nex-gen Configuration

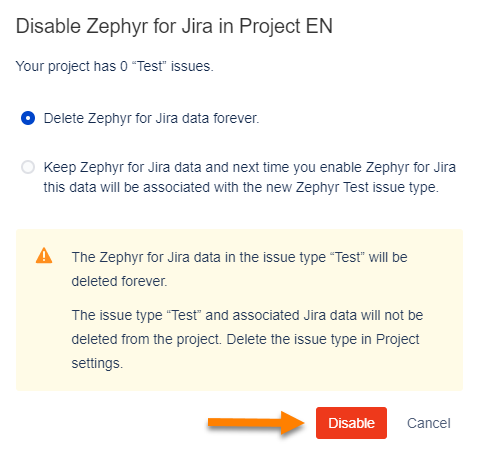
2. Click on the Disable Zephyr for Jira in Project XXX button.

3. Select whether you want to delete or retain the data when disabling Zephyr for Jira.
If you select delete forever, the data will be completely removed and cannot be recovered.
If you select the option to keep the data, the next time you enable Zephyr for Jira, the pre-existing data will be associated with the Test issue type mapped.
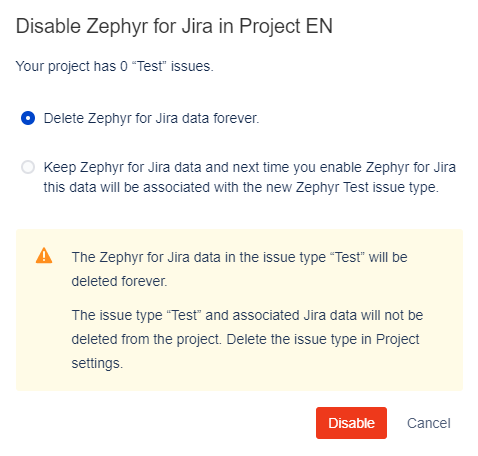
4. After selecting, click on the Disable button.
The Zephyr menu cannot be accessed after disabling.
If there was Zephyr for Jira data that was kept (saved) from a previous use of ZFJ within the project after disabling it, there will be a notification that will allow users to learn that there is pre-existing data associated with the Test issue type:
