Executing in Test Cycles
|
Tests can be executed in a wide variety of ways:
You can also view Execution Details for a test.
There are 3 ways to execute tests that belong to a test cycle.
1. Using the "Execute" button while viewing a test
You can immediately execute a test while viewing it by clicking on the "Execute" button found in the toolbar.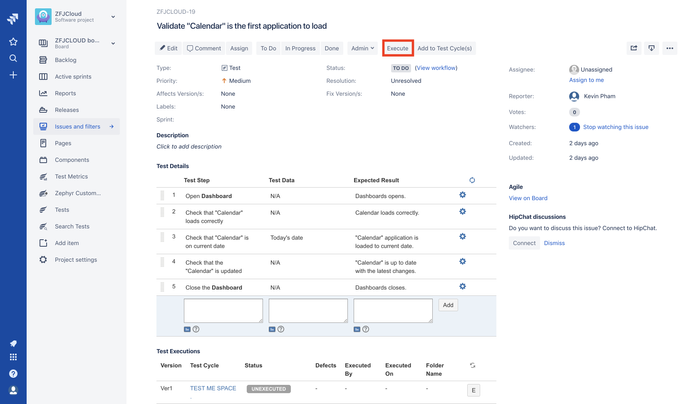
This opens the "Execute Test" dialog as below, where - just before you actually execute the test - you will want to add it to an existing test cycle. On selecting this option, you can pick the Version (this is the Fix Version/s) and the Test Cycle against which you want the execution results to count. If you cannot find the test cycle against which you want this execution to count, you may have to create a test cycle first.
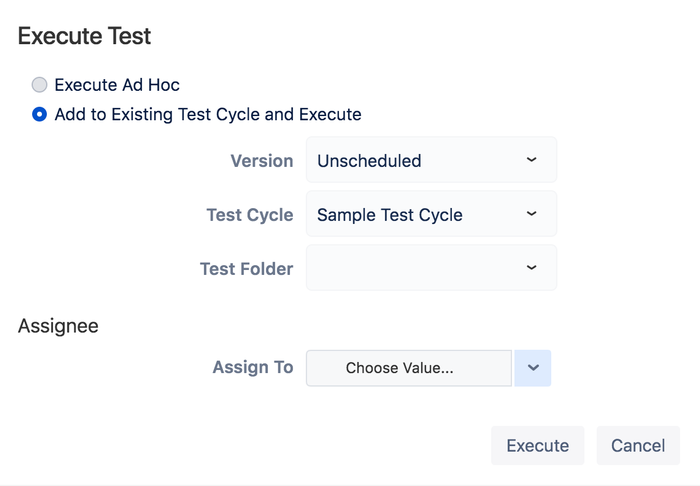
On clicking the "Execute" button above you can now enter execution details.
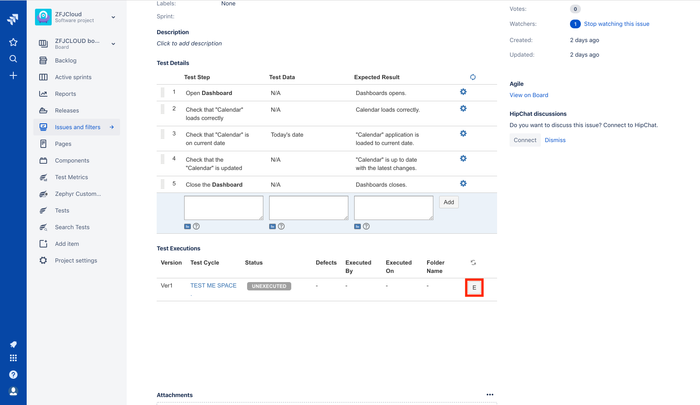
2. From the "Test Execution" section of a test
When a test has been added to a Test Cycle, it shows up in the Test Executions section of the test as you are viewing it. See an example below. You can click on the "E" button for any of these tests and enter execution details. You can also re-execute a test from here. Note that if you re-execute a test, the previous status is overwritten.
3. From the "Test Cycle Summary" page
For the more structured testing process, the Test Cycles Summary page is the starting point for executions. This page shows a list of all tests that have been grouped together by Test Cycle for a particular Version. Selecting the appropriate Version displays a list of Test Cycles that have been created for it. Clicking on any one of those Test Cycles shows the list of tests that are part of that cycle. A progress tracking bar on the right provides a quick breakdown of the status of that test cycle.
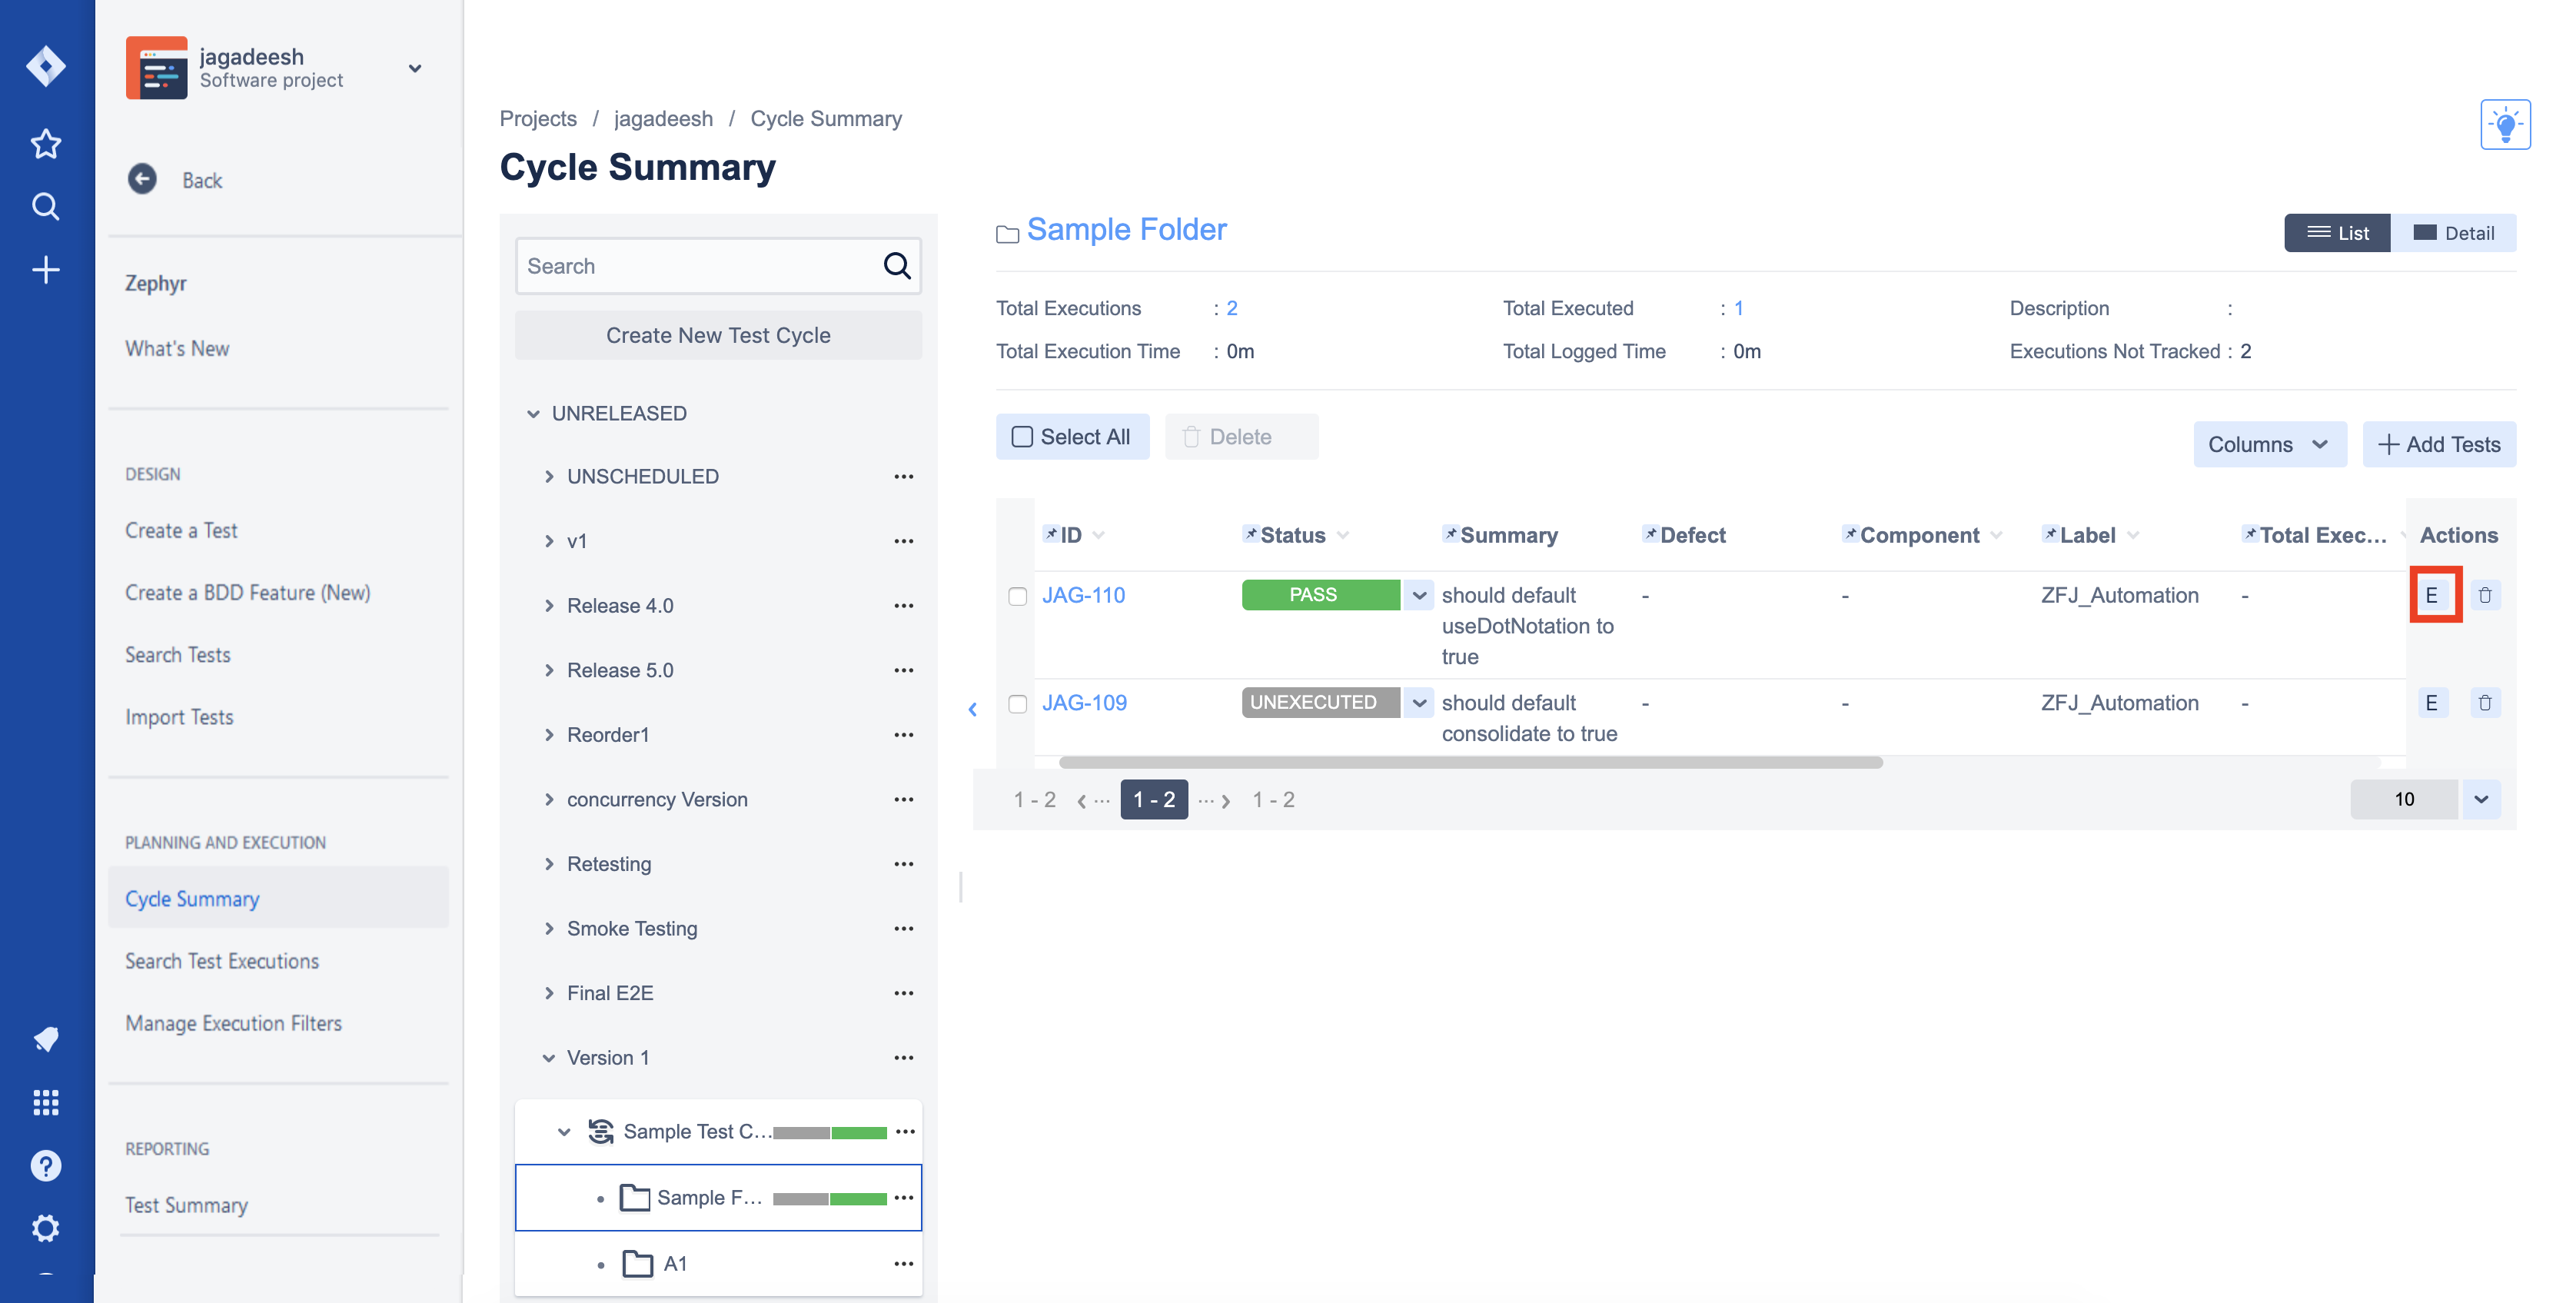
Tests are shown in groups of 10 and a navigation bar allows you to jump to the next 10 in the list. The following fields are sortable: ID, Status, Summary, Executed On and Executed By. The "E" button on each row allows for the test to be executed where you can enter execution details.
Execution Details
In all of the above scenarios, clicking on the "Execute" button will open the Execution page where details about the execution can be entered.
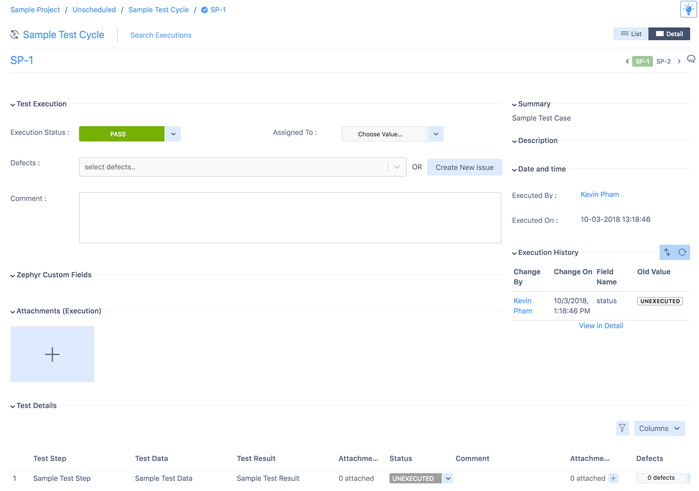
- Execution Status: Selecting this field, a drop-down list of options are shown. The default statuses are UNEXECUTED, PASS, FAIL, WIP (Work in Progress) and BLOCKED. These statuses can be customized by your JIRA Administrator.
- Defects: A new defect can be created at the Test level and the Test step level by selecting the edit icon for the Defects field and selecting "Create New Issue". A new defect can also be created by clicking on the "Create" button in the main toolbar or by directly typing in text to get a list of possible matches. The drop down also lists existing issues that could be selected to associate with this execution.
- Comment: Details about the test execution can be entered here.
- Attachments: Files can be attached to this execution and other users can preview the attachment(s) before actually downloading the file.
- Test Execution Custom Fields:Custom fields defined for test executions.
- Execution History: This displays a running list of all changes that occurred to this test execution and who made those changes and when. This section can be collapsed if needed.
You can also do test step-level executions and change the status. You can also provide step level information like Comments, Attachments and link existing Defects at that level.
![]() Note: The Execution Status of the overall test is NOT automatically modified based on the status of the individual test steps. You will still have to set the Execution Status of overall test manually.
Note: The Execution Status of the overall test is NOT automatically modified based on the status of the individual test steps. You will still have to set the Execution Status of overall test manually.
Once done entering the execution details, click anywhere else to automatically save your information. You can then decide (based on how you got to this execution screen) whether you want to return to the test or return to the test cycle.
When a new defect is created this way (or an existing one is associated to this test execution), a remote link is created in that particular defect under the “Links” section. It shows the test with a link to this execution, the test cycle it was a part of and its current test execution status. Users view defect remote issue linking associated with both the test case level as well as the individual test step.