Supported Jira versions
| Anchor | ||||
|---|---|---|---|---|
|
Jira Server 8.0.0 - 8.16.1
Jira Data Center 8.0.0 - 8.16.1
Pre-migration steps
| Anchor | ||||
|---|---|---|---|---|
|
In Jira Server
Install the Jira Cloud Migration Assistant plugin in your Jira Server instance.
Note: In Jira Server 8.14, the migration assistant is installed by default.
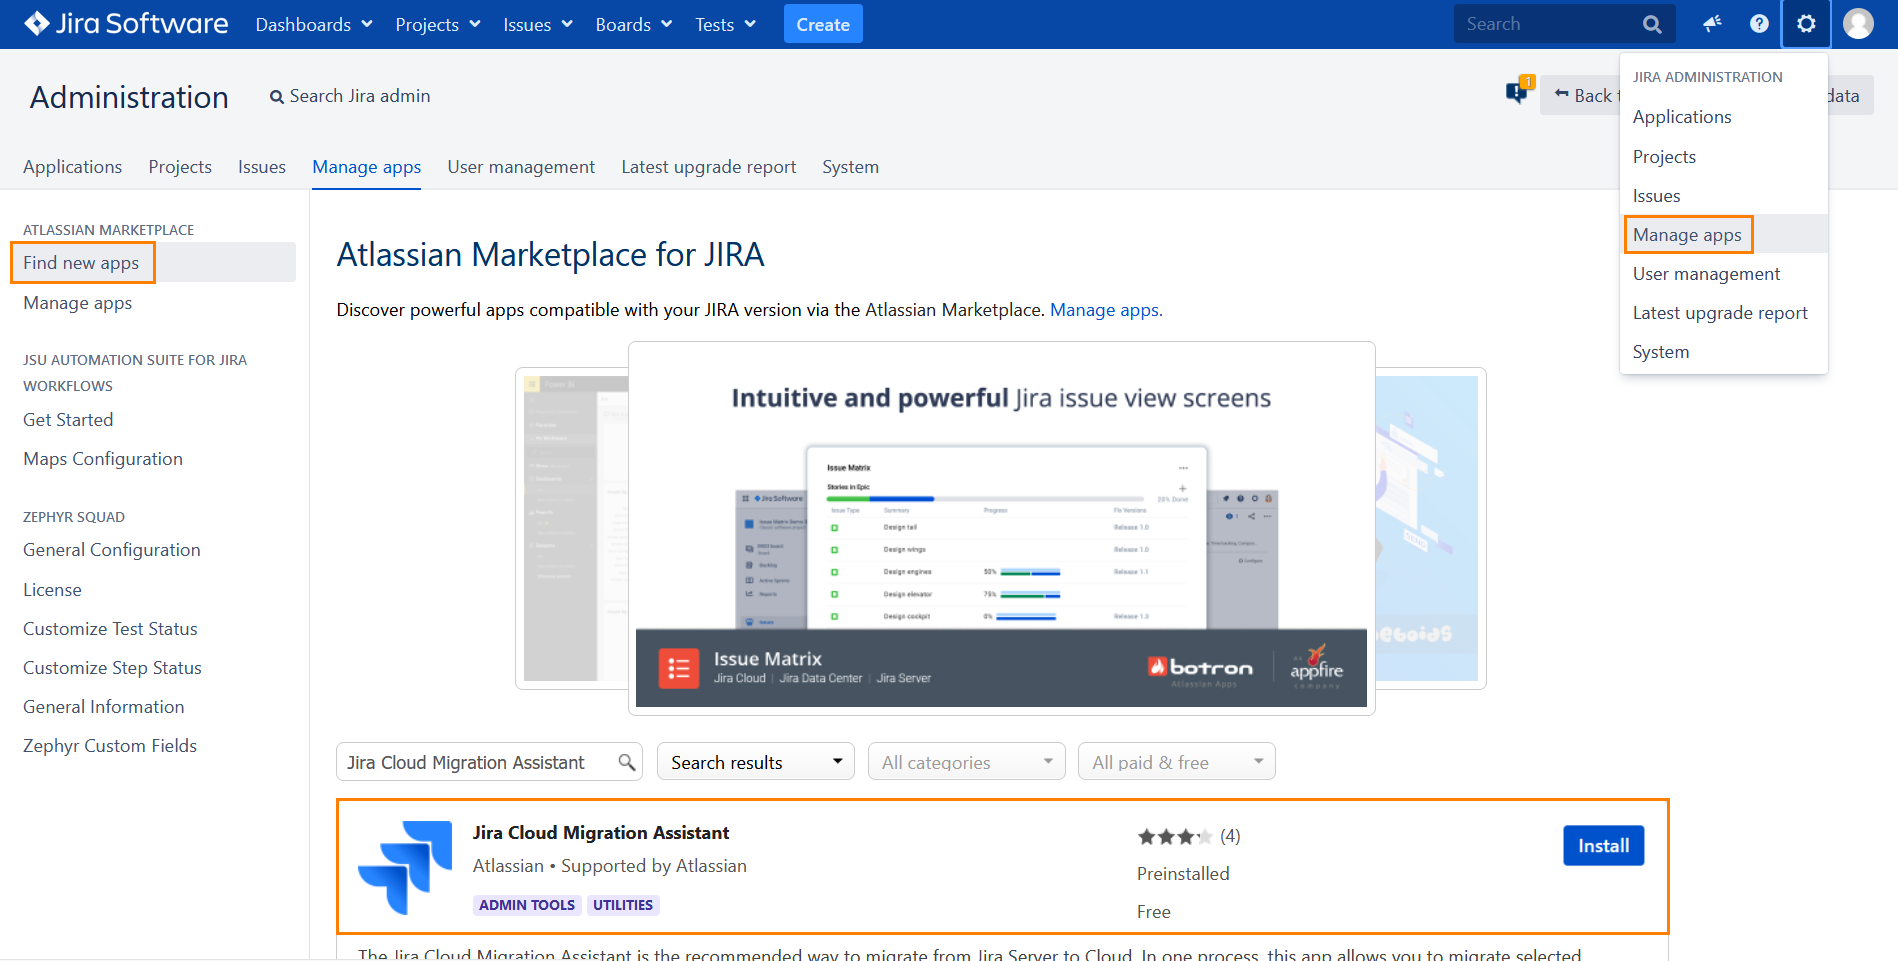
To install the plugin manually:In Jira Server, go to Settings > Manage apps.
Choose Find new apps in the sidebar.
Enter Jira Cloud Migration Assistant in the search bar.
Once the plugin is found, click Install:
Upgrade Capture for Jira to the following version:
Server - 3.1.0.
Data Center - 2.9.21.
In Jira Cloud
Install Capture for Jira Cloud in your Jira Cloud instance.
If you are already using Capture for Jira Cloud in some projects and the projects have the same name or project key as those they have in Jira Server, delete or rename those projects in Jira Cloud.
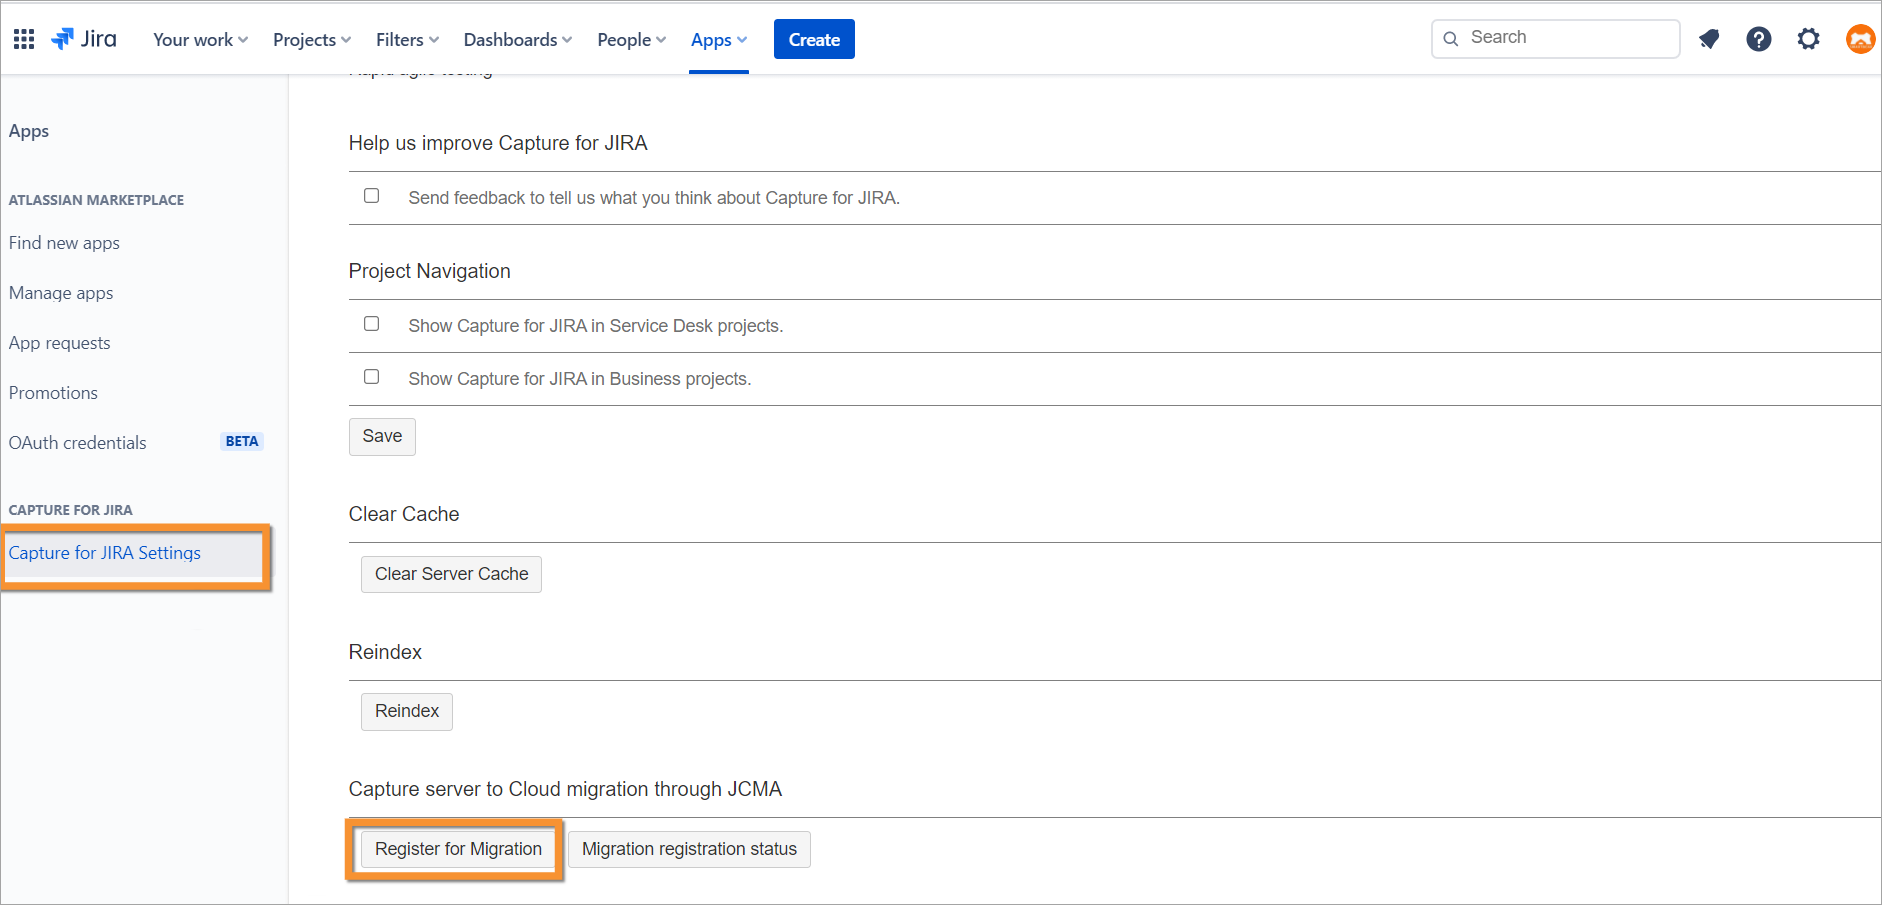
Navigate to Apps > Manage apps > Capture for Jira Settings and click Register for Migration to register your Jira Cloud instance for migration:
Migration steps
| Anchor | ||||
|---|---|---|---|---|
|
To start migrating your test data:
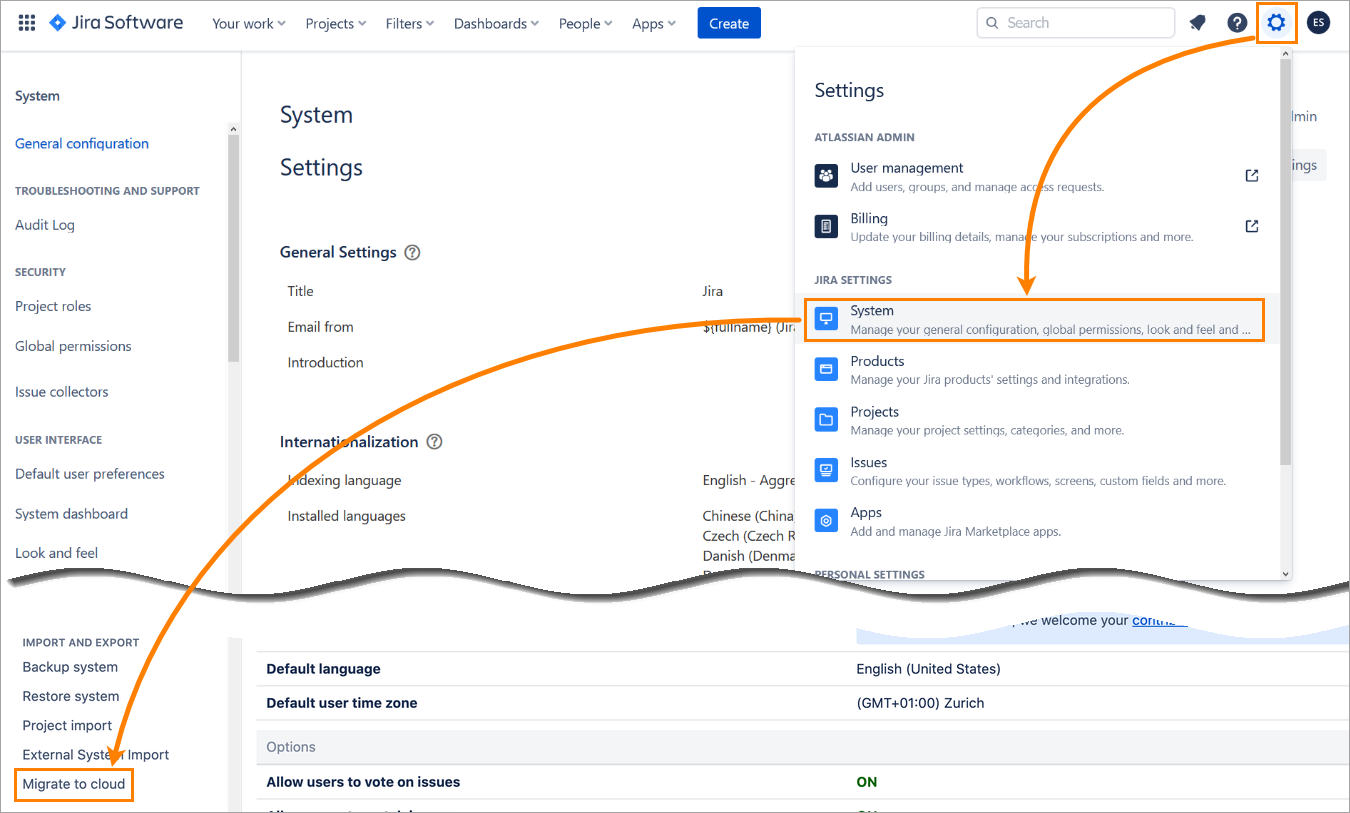
1. Navigate to Settings > System > Migrate to cloud in your Jira Server instance:
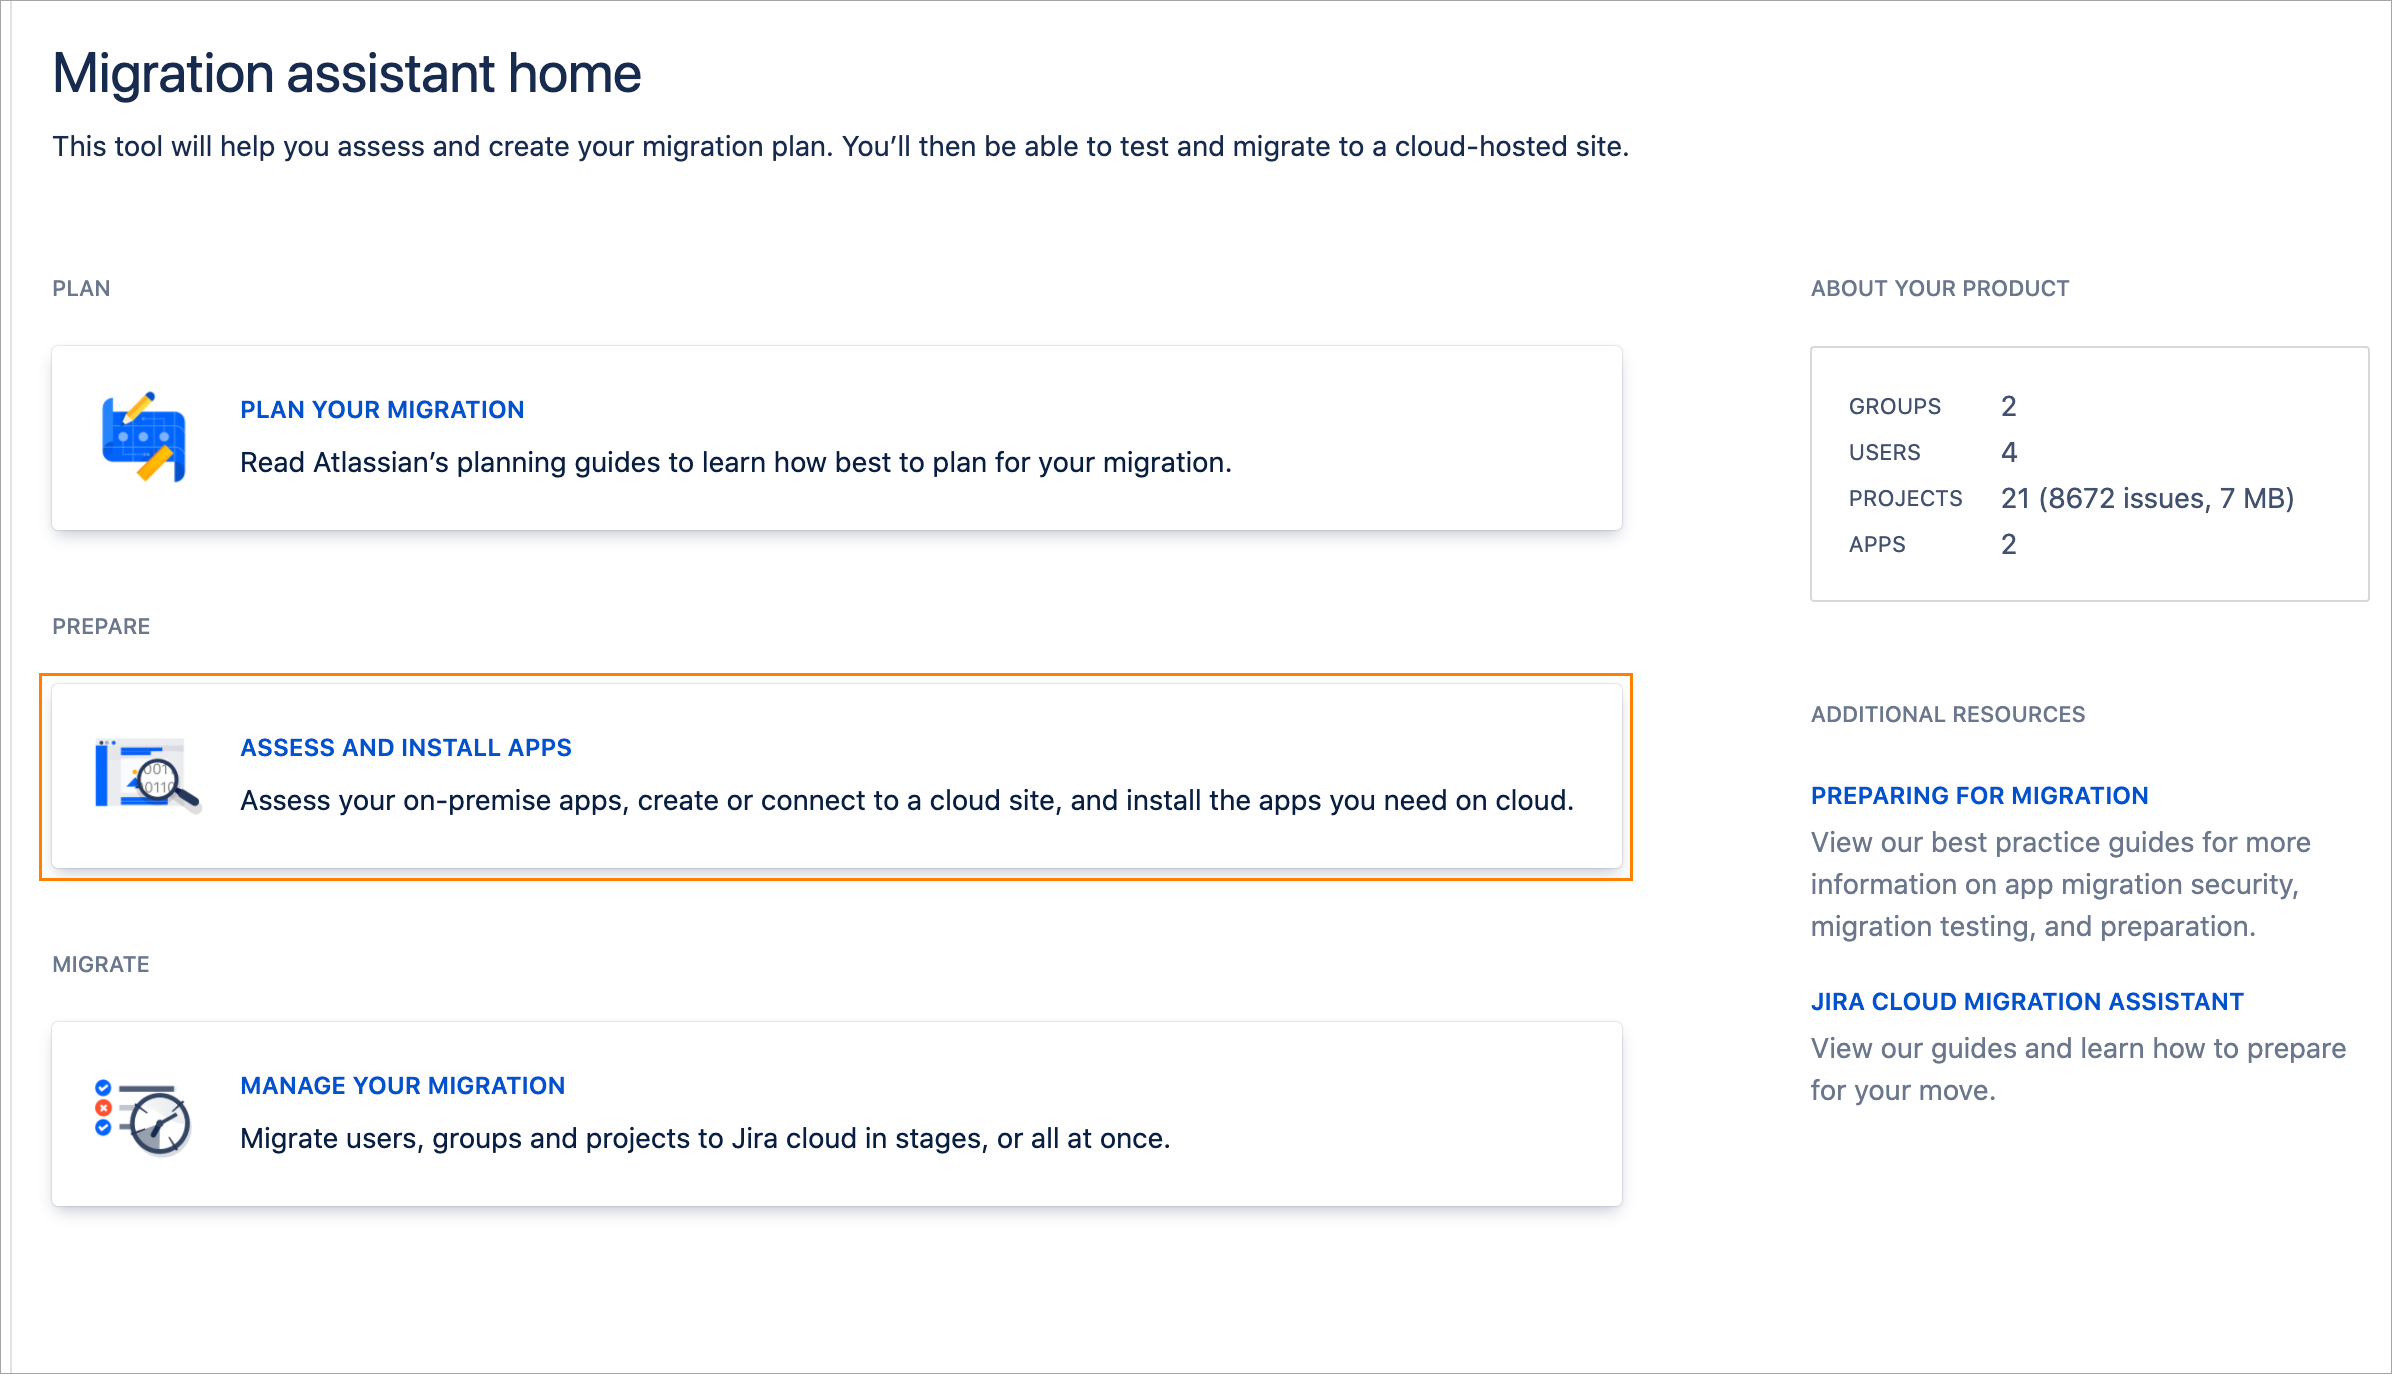
2. Click on ASSESS AND INSTALL APPS:
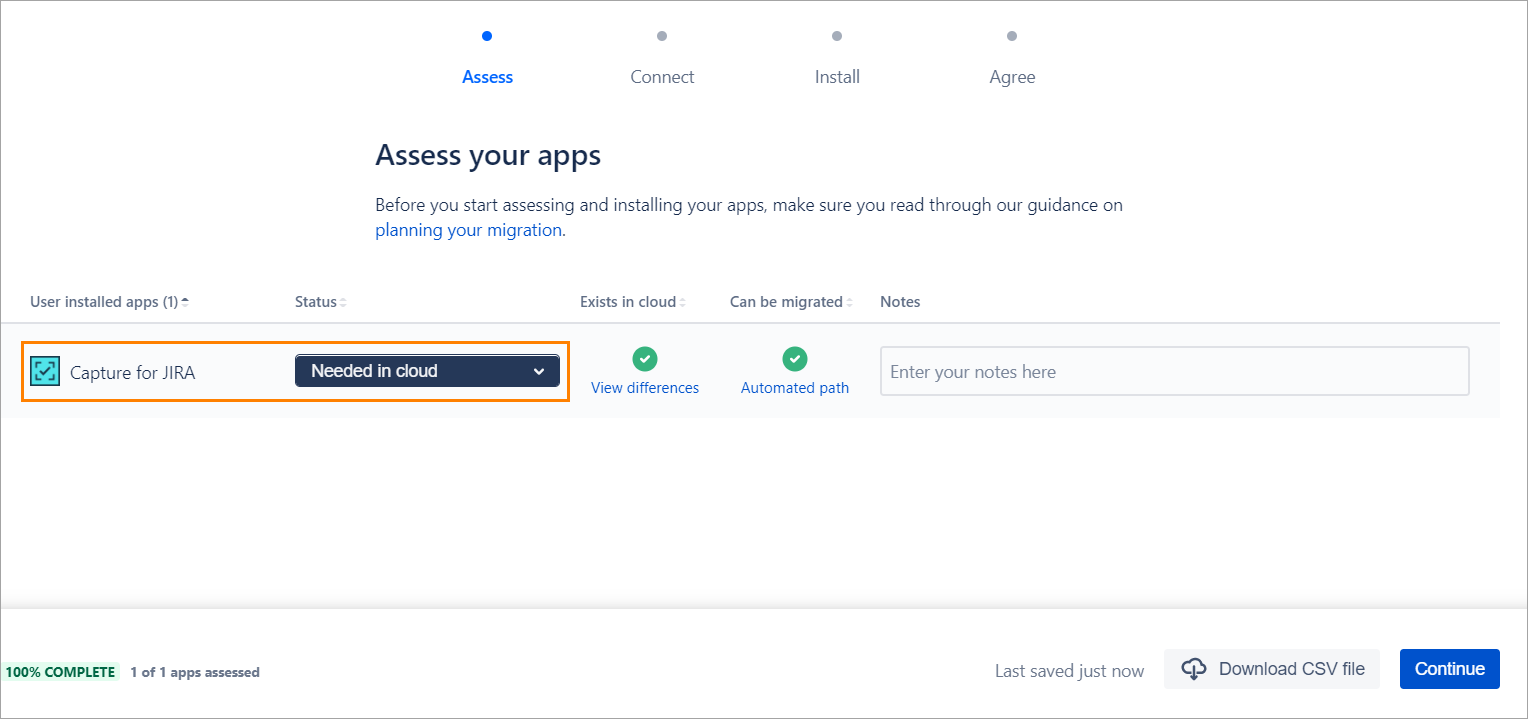
3. On the Assess your apps page, select Needed in cloud from the dropdown next to Capture for Jira and click Continue:
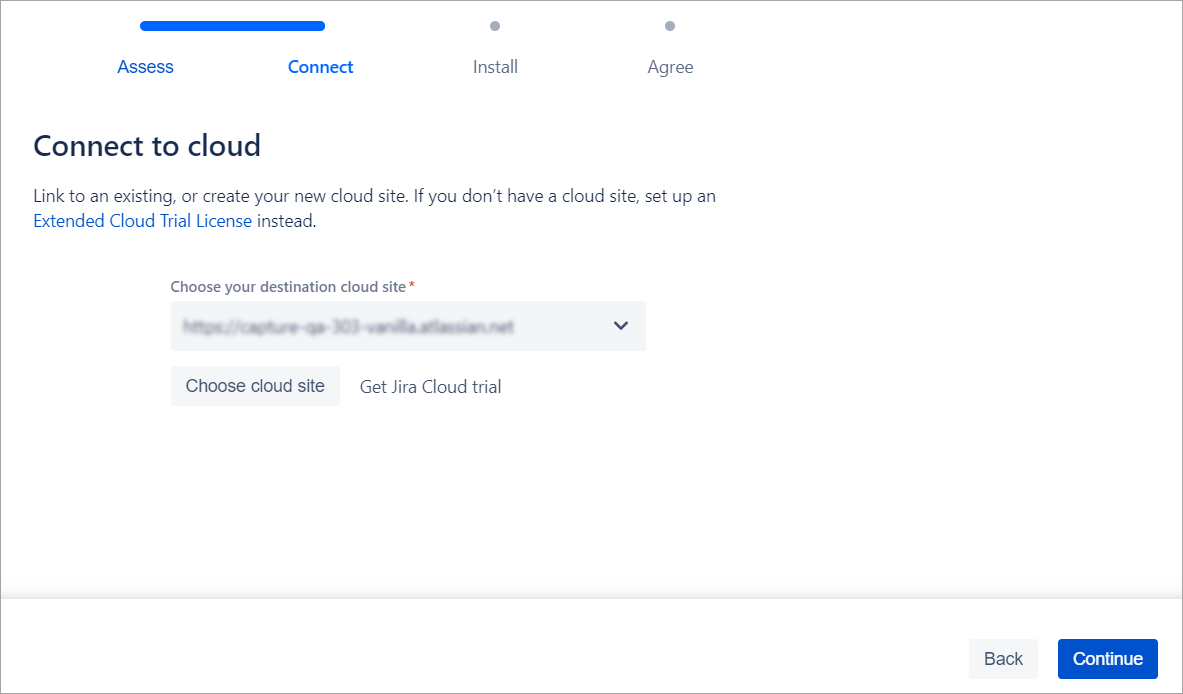
4. Specify the URL of the Jira Cloud instance where you want to migrate your data and click Continue:
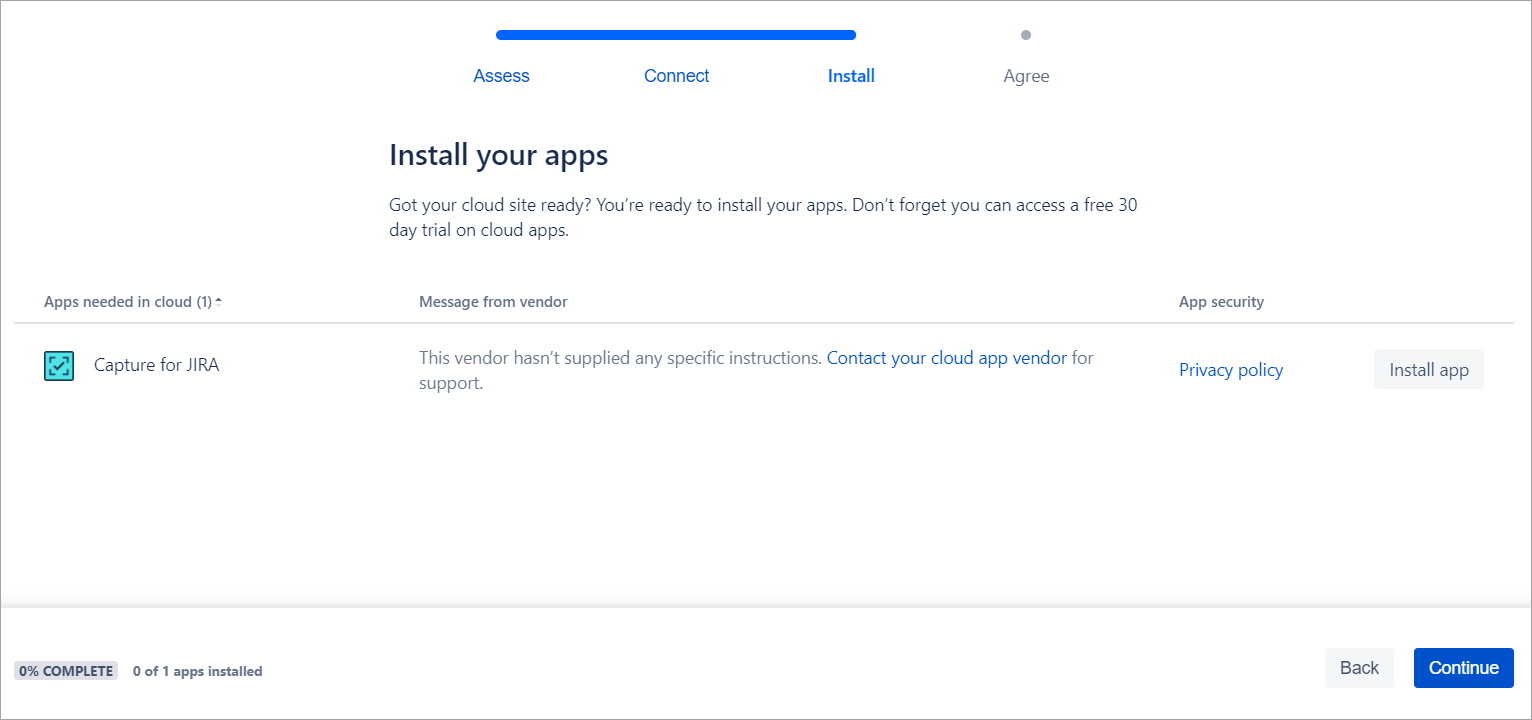
5. Click Continue on the Install your apps page:
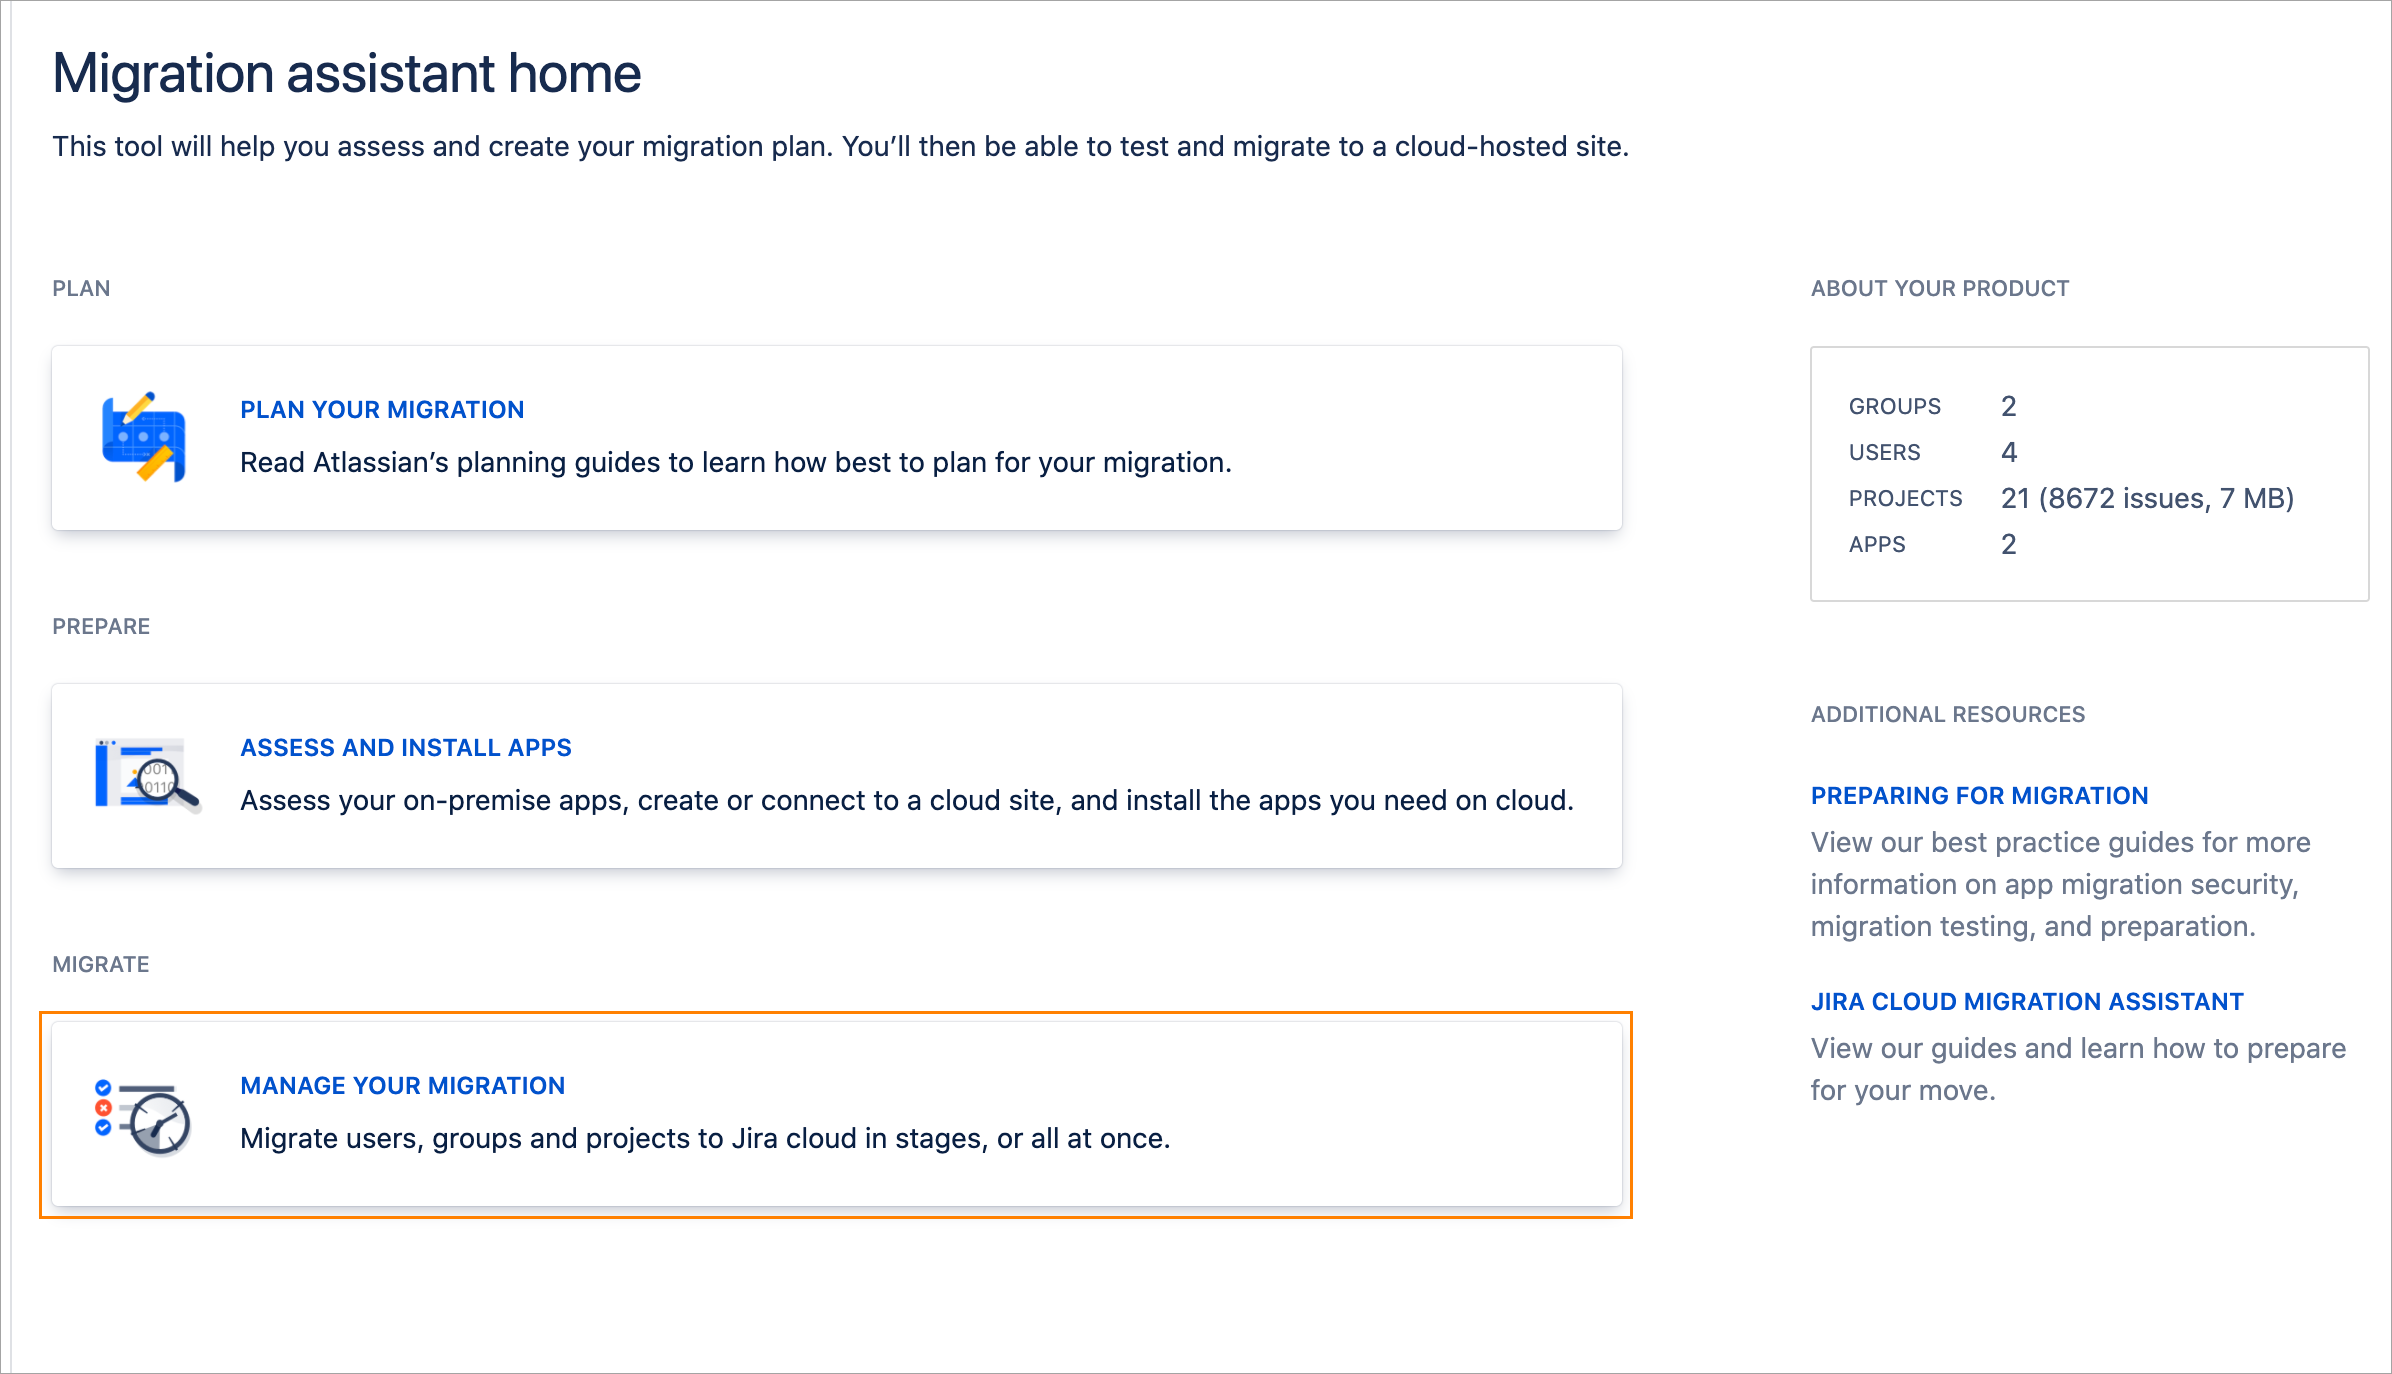
6. Once the step above completes, go back to Settings > System > Migrate to cloud and select Manage your migration:
7. On the subsequent page, click Create new migration, and then click Connect to cloud:
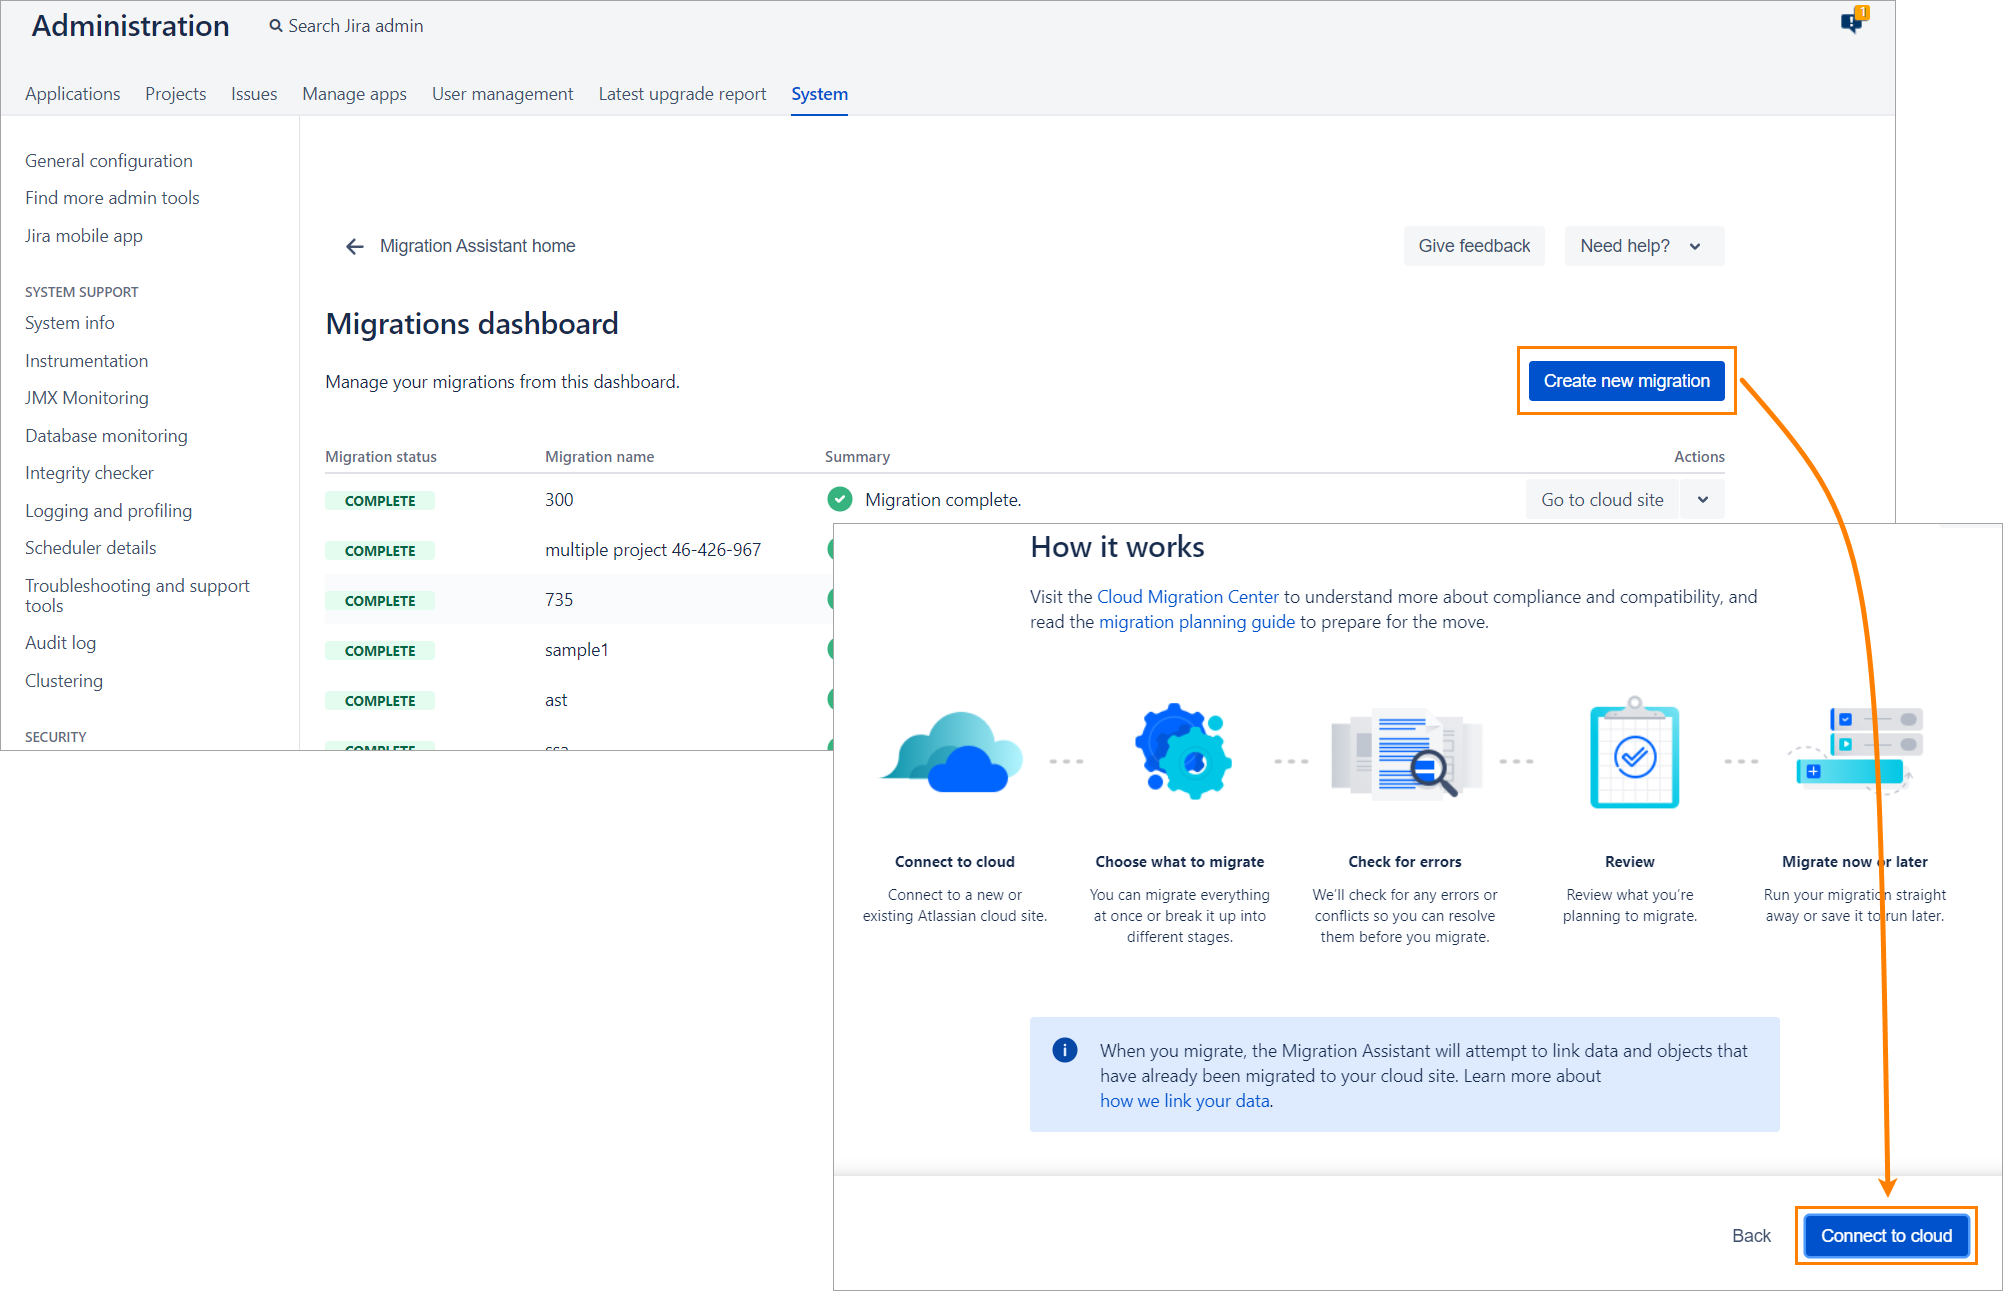
8. On the next page, specify a name for your migration, select the destination cloud site from the dropdown, and click Choose what to migrate:
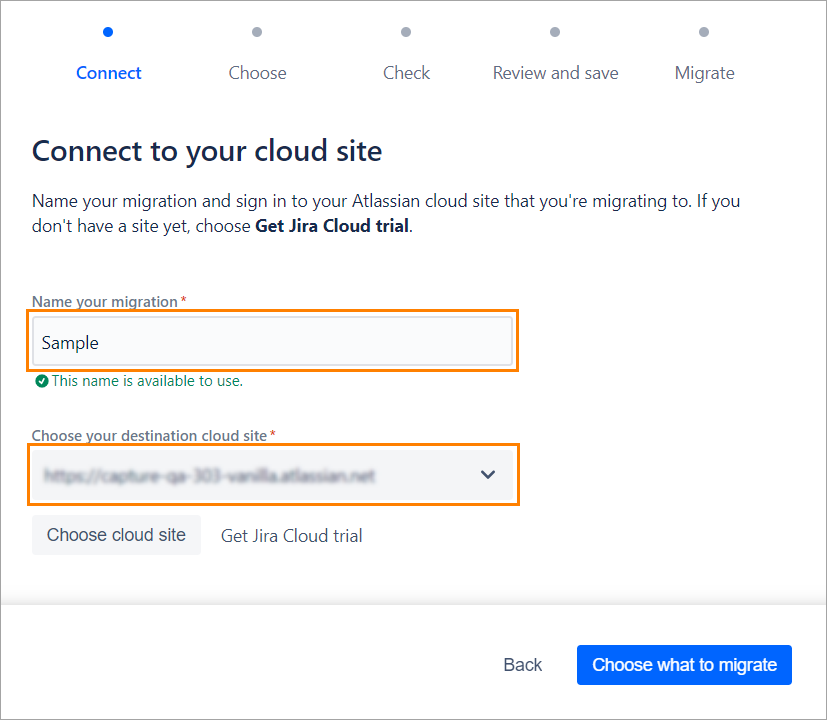
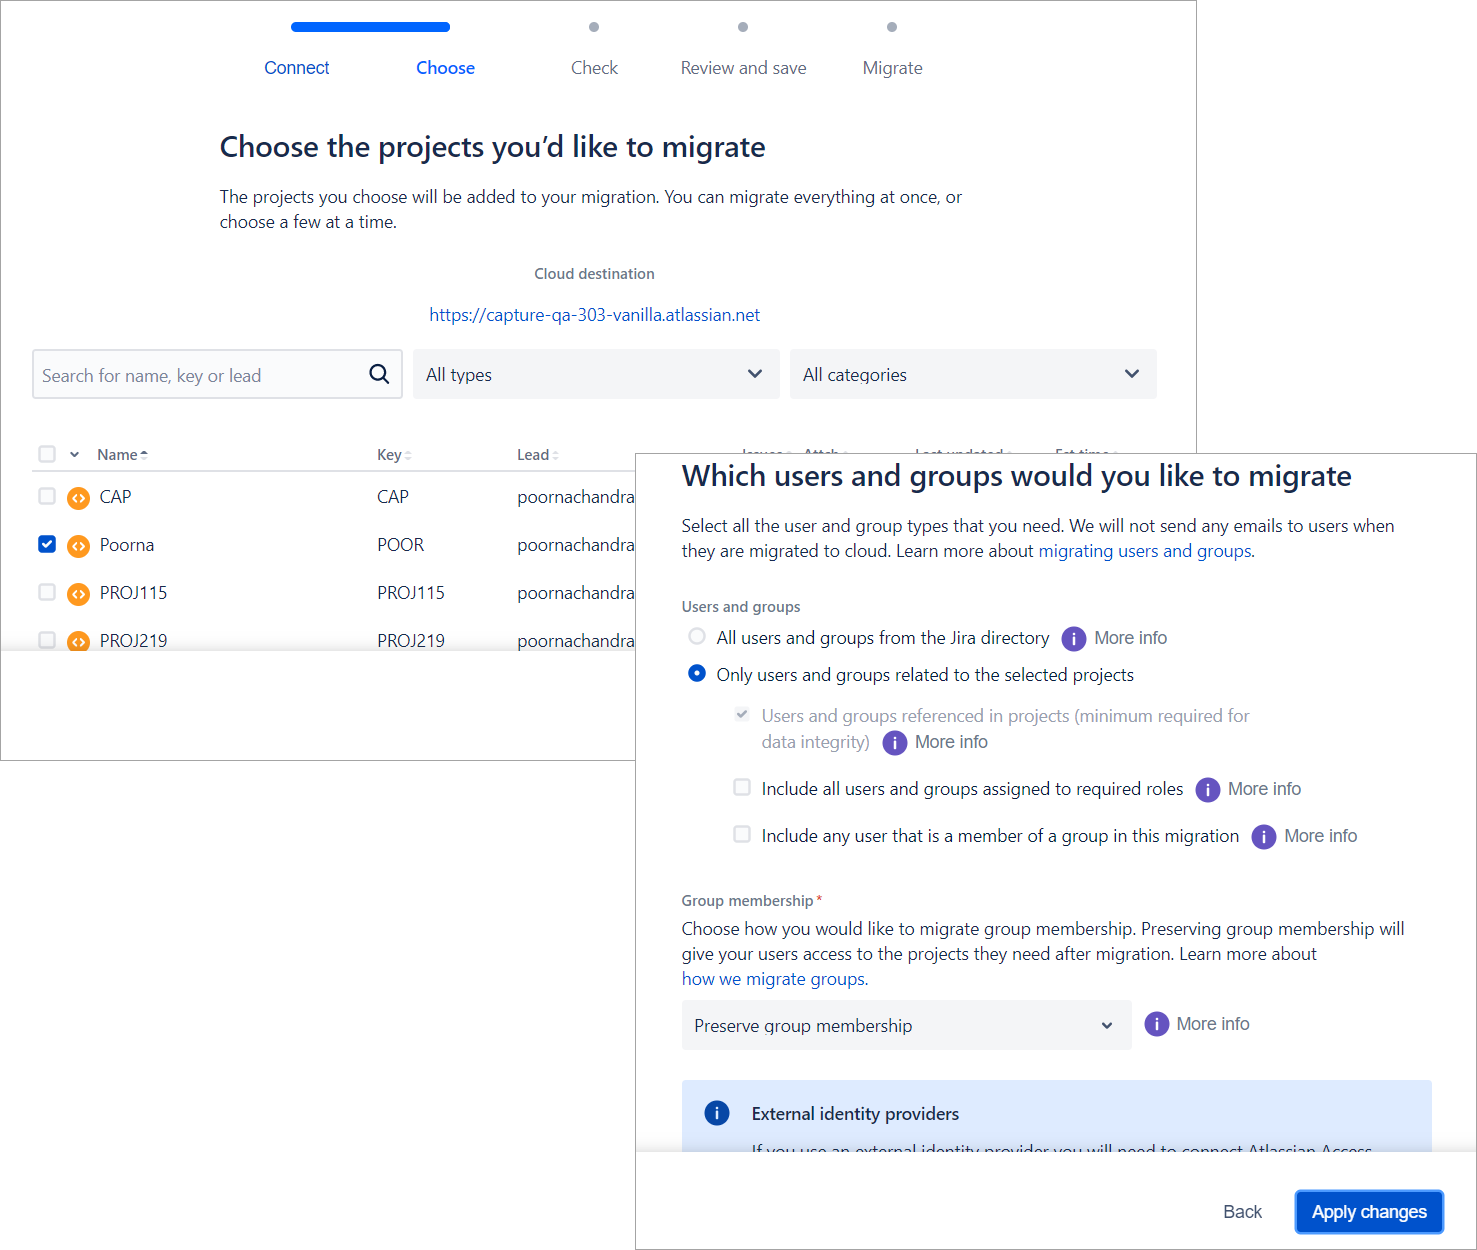
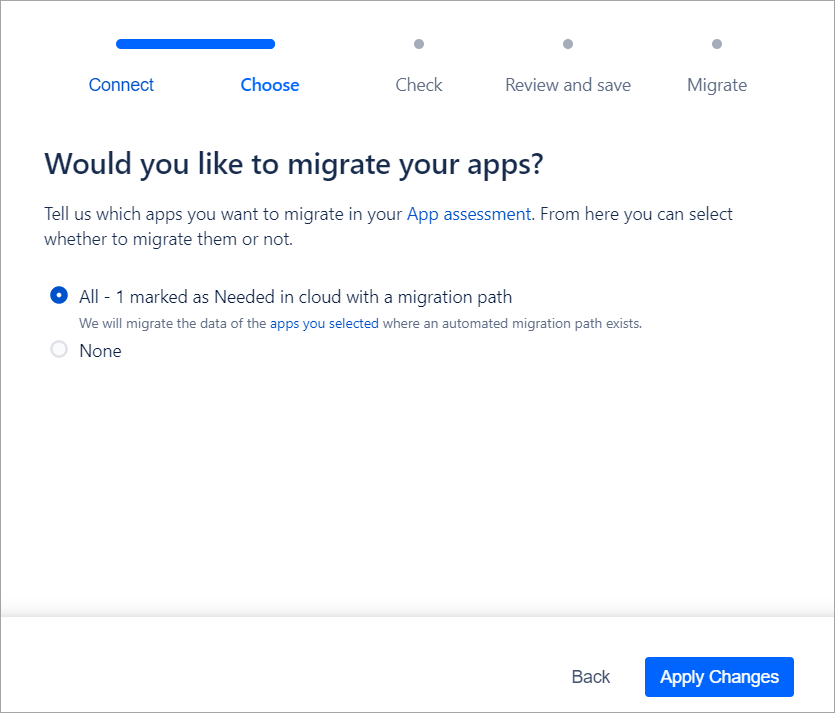
9. On the subsequent page, select Projects to choose the projects you want to migrate or Users and Groups to specify which users to migrate:
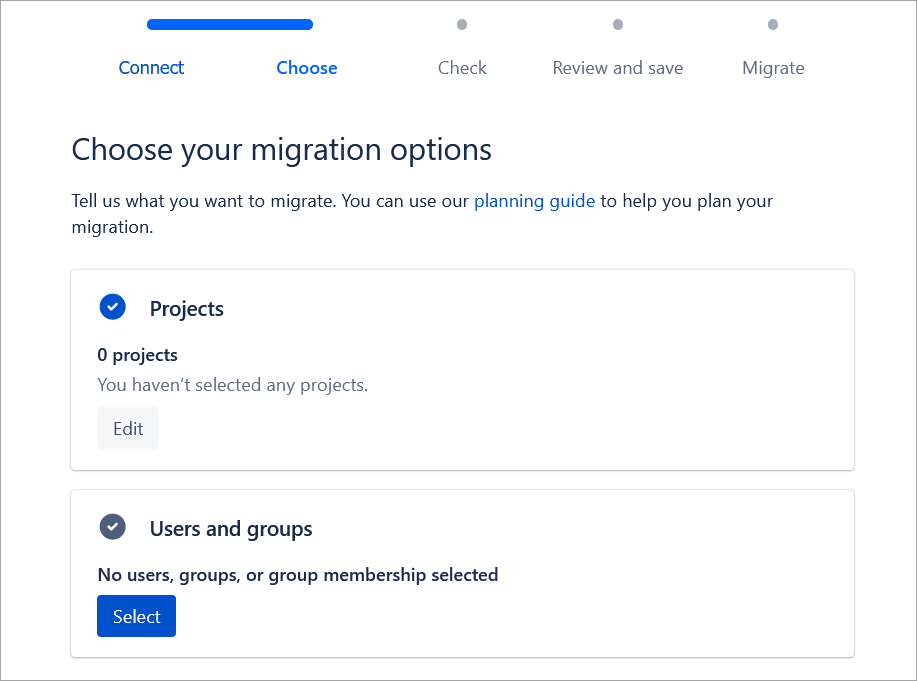
Once done, click Apply Changes:
10. Select the applications you want to migrate and click Apply changes:
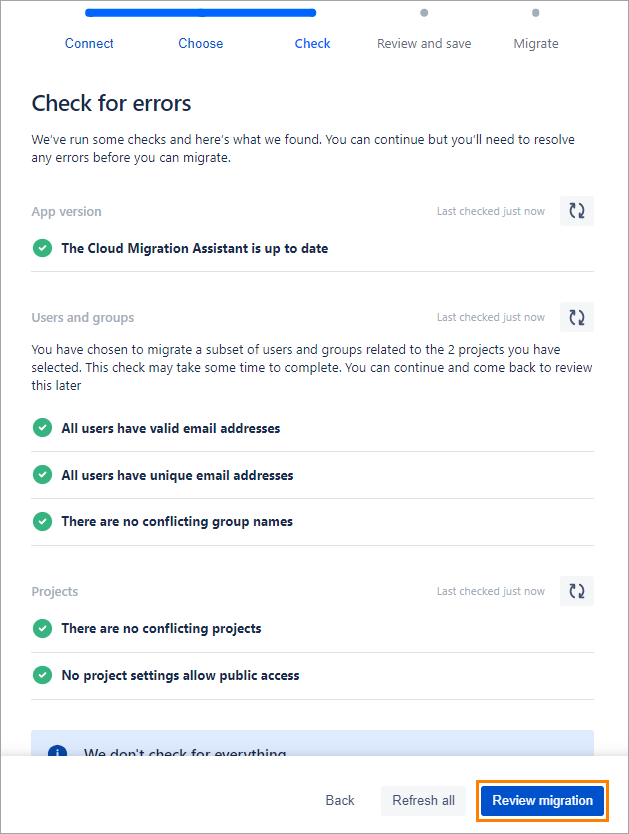
11. On the subsequent page, click Review migration:
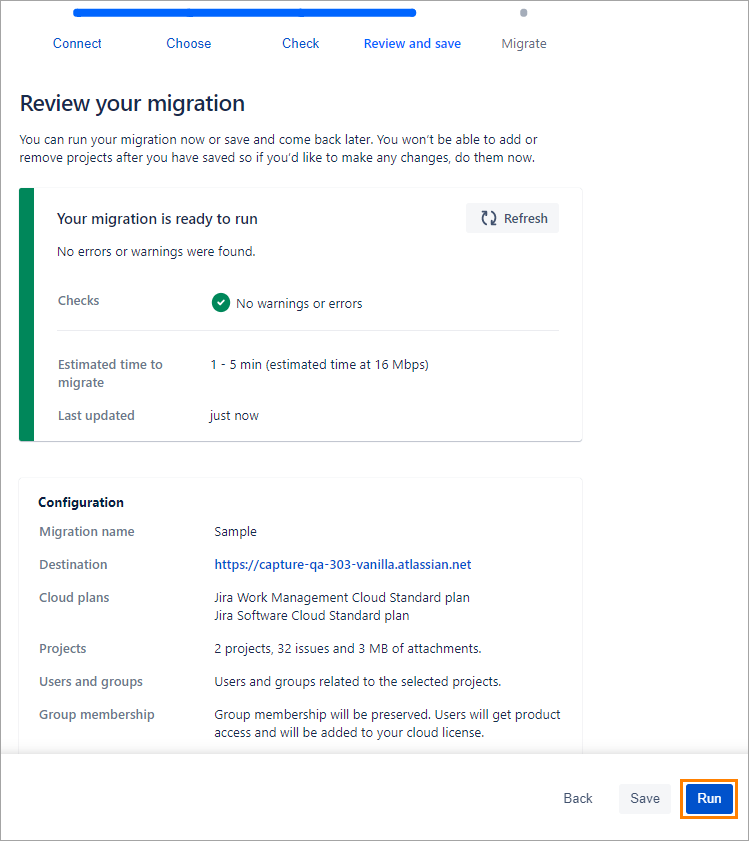
12. If there are no warnings or errors, click Run:
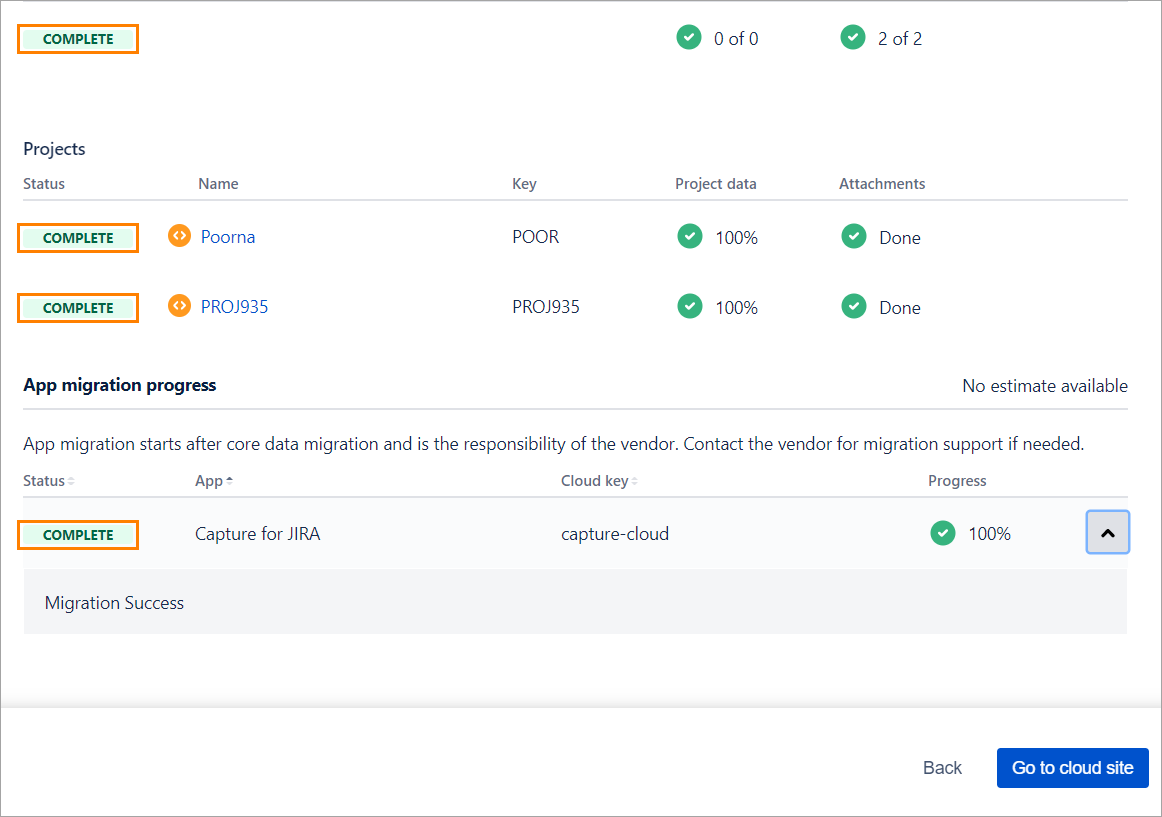
13. Make sure to wait until the migration completes (the status must be Complete):
Post-migration steps
| Anchor | ||||
|---|---|---|---|---|
|
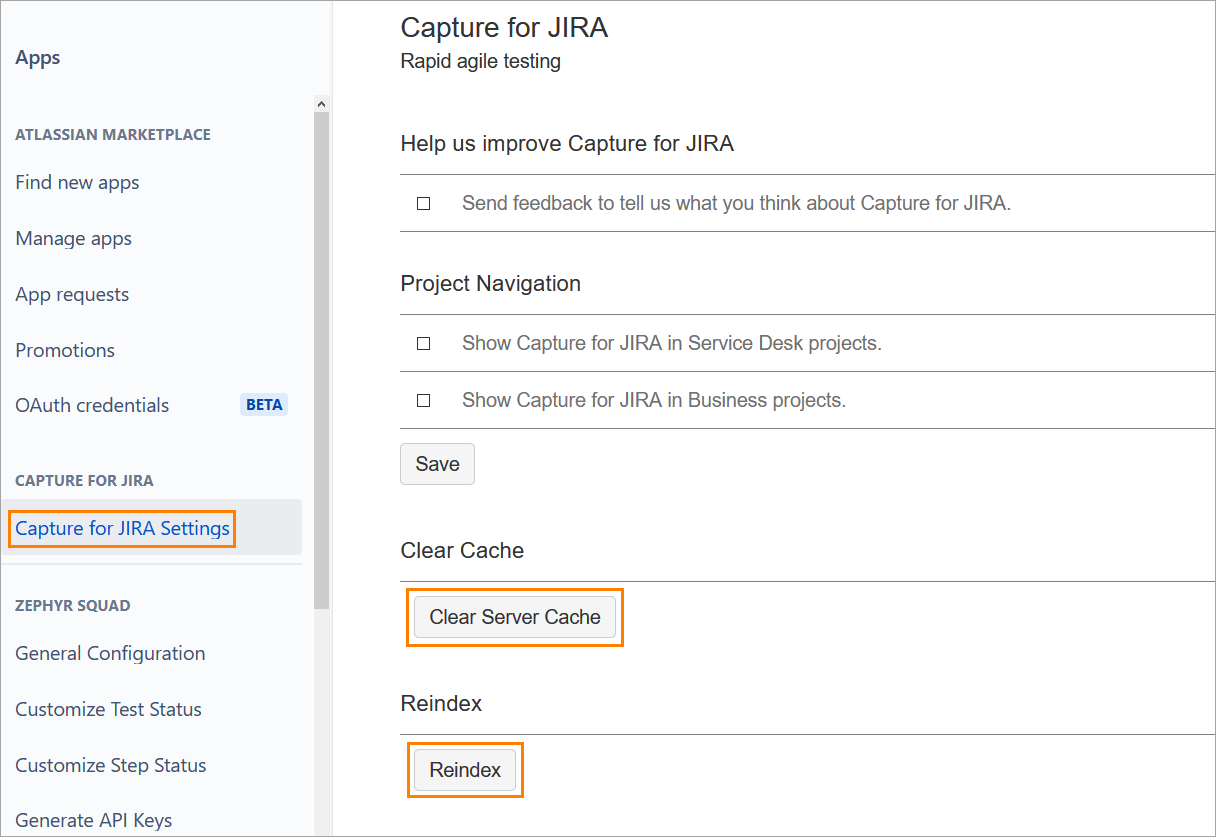
Once the migration status is Success, you need to clear cache and reindex data in your Jira Cloud instance. To do that, navigate to Apps > Manage Apps > Capture for Jira Settings and click Clear Server Cache, and then Reindex:
Once done, you can open Capture for Jira in your Jira Cloud instance and validate the migrated data. If no issues are found, you can start working with it.
| Info |
|---|
After migrating data to Jira Cloud, you will have to use an access token to log in to Capture for Jira. For information about access tokens, see Manage API tokens for your Atlassian account. |
Known issues & limitations
| Anchor | ||||
|---|---|---|---|---|
|
For the common JCMA issues and limitations, see the Atlassian documentation:
➡ JCMA known issues and troubleshooting
➡ What gets migrated with the Jira Cloud Migration Assistant
The following limitations are specific to the Zephyr Capture for Jira migration.
If you have issues linked to issues in another project, you need to migrate the dependent project before migrating the project in which Capture for Jira is used.
Example: You have Project A used for development and Project B in which Capture for Jira is used. A Project B issue is linked to a Project A issue. In this case, you need to migrate Project A first.The migrated Capture for Jira variables belong only to the project adminwho migrated the data from Capture for Jira Server to Capture for Jira Cloud.
The favorite templates flag is not migrated. You will have to mark favorite templates again after migration.After migrating data to Jira Cloud, you will have to use an access token to log in Capture for Jira. For information about access tokens, see Manage API tokens for your Atlassian account.
Support and troubleshooting
| Anchor | ||||
|---|---|---|---|---|
|
Should you have any questions, please visit our Support Portal where you can search for an answer or contact our Customer Care team.