| Table of Contents |
|---|
Capture for JIRA
's browser extension allows you to take screenshots/videos of the web application you are on, annotate the screenshots/videos, and add files from your computer before submitting them to an issue in JIRA.
Take a Screenshot and Video
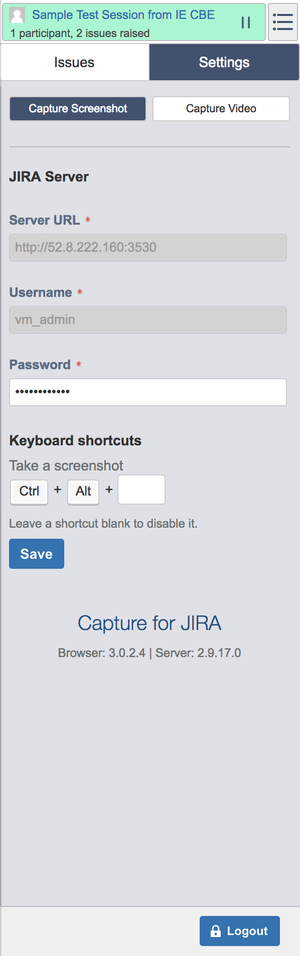
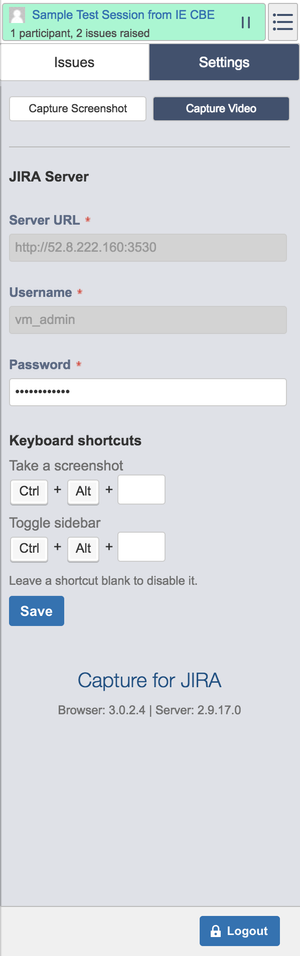
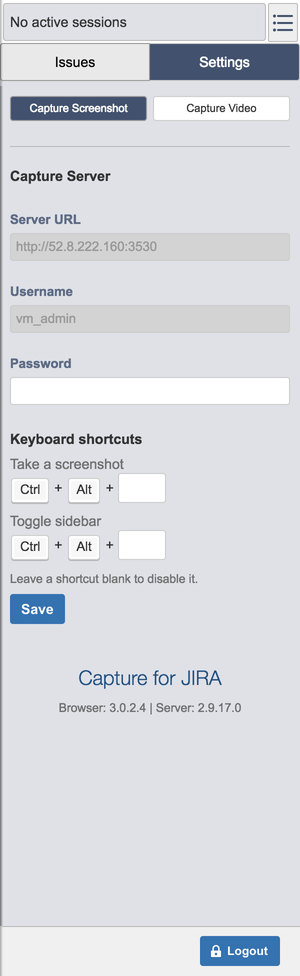
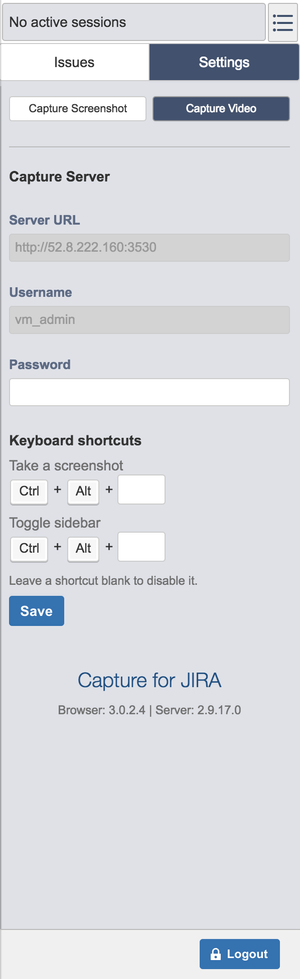
To capture screenshots or videos, you can select either the "Capture Screenshot" or "Capture Video" settings which enables you to either take a screenshot or video when you click the icon for the browser extension. The option to switch between taking a screenshot or video will always be available and can be changed at any moment in the Settings option of browser extension.
To take a screenshot or video, you can click on the browser extension icon to open up the menu to either take a screenshot or video.
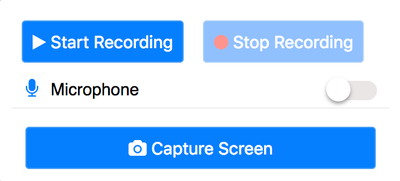
- To take a screenshot, click on the 'Capture Screen' button and this will capture the current window as a screenshot that you can annotate.
- To take a video, click on the 'Start Recording' button and this will begin recording and this will allow you to start recording
- You can choose to record your microphone while taking the video.
- While record, you can have the option to annotate using the following annotative options.
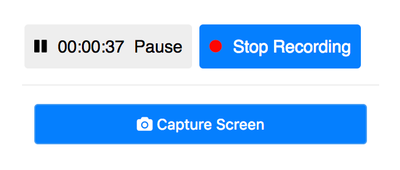
- To stop recording, click on the 'Stop Recording' button and this will stop the recording.
| Note |
|---|
Video recording is only available in the Chrome extension. The file size limit for the video recording cannot exceed past the Jira file size limit.
|

Attaching Screenshots and Files
This section describes the different ways that you can attach screenshots, videos and files to new or existing issues.
Attaching screenshots to a new issue
- Capture
- for JIRA allows you to attach screenshots or videos of your web application to
- a new issue

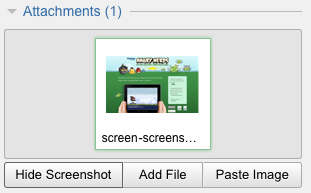
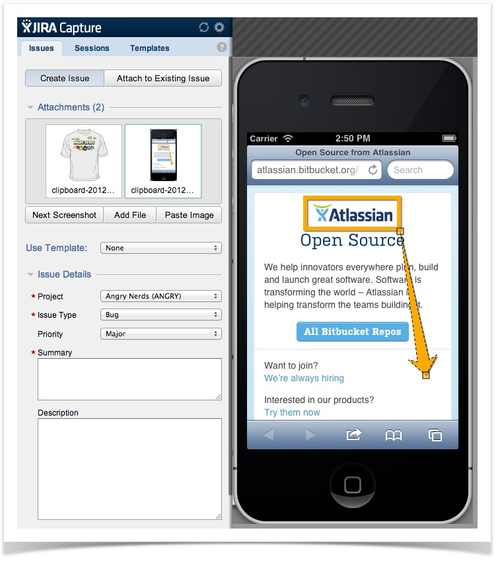
Once attached, the create issue form will also show a live thumbnail preview of what the screenshot will look like. When a screenshot is attached, the right hand panel of your browser window becomes your screenshot annotation tool.
To return to your web application, click the "Hide Screenshot" button, then click "Take Screenshot" again to add another screenshot.
- .

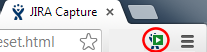
- As Chrome and Safari don't have a permanent sidebar, we've added an indicator to the Capture for JIRA
- icon to show that issue creation is still in progress. You can click this icon at any time to add another screenshot.

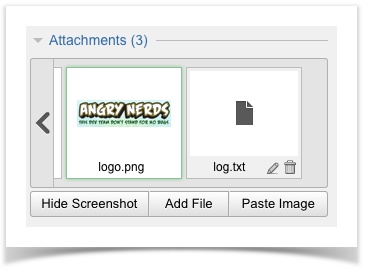
- To download an attachment, hover over the thumbnail and click the download icon in the bottom middle of the interface.
- To remove an attachment, hover over the thumbnail and click the delete icon in the bottom
- middle of the interface.
- To view an attachment in full screen mode to have more room for annotating, hover and click the expand icon in the bottom middle of the interface.


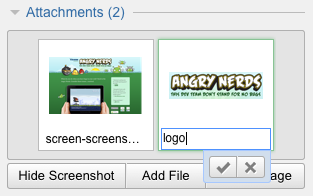
To change the name of an attachment, click the
pencil icon to enter "edit mode" at the top of the interface, then
click the
icon again to save the new name.
Attaching files to a new issue
To add non-screenshot files from your computer, click the "Add File" button, which presents you with a file picker. You can select multiple files by shift-clicking or ctrl-/cmd-clicking.
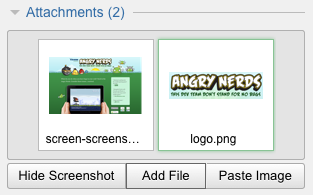
Image file attachments will show a thumbnail preview
.
All file attachments can also be renamed before sending
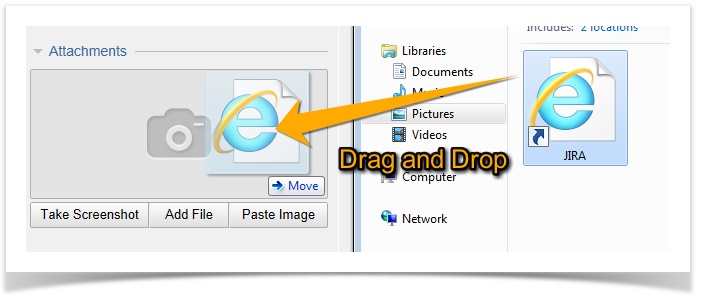
In Chrome, Safari 6 and Firefox, you may also drag and drop files into JIRA Capture to attach them.
to Jira using the title of the screenshot/video at the top of the image/interface.
Paste images from the clipboard
You can add image attachments directly from your computer's clipboard to Capture for JIRA
. This allows enormous flexibility in the process of quick issue creation, and provides a fast integration with native operating system screenshot-to-clipboard tools – great for teams using
Capture for JIRA for non-browser applications.
Simply copy a screenshot to the clipboard using your chosen method (e.g. Cmd+Shift+Ctrl+4 for Mac OS X, or Alt+Prt Sc for Windows), then press the "Paste" button in
Capture
for JIRA to add the attachment. This works with any image data in the clipboard (such as the "Copy Image" context menu option in a lot of browsers).
Attaching screenshots and files to an existing issue
You can also add attachments to an issue that already exists in JIRA. To do this, simply click on the
'Existing Issue' tab, which will give you the option to pick an issue
using the 'Issue Key'. Anything can be attached to an issue during
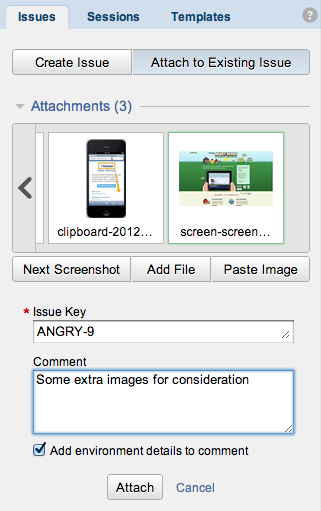
issue creation can also be added to an existing issue.
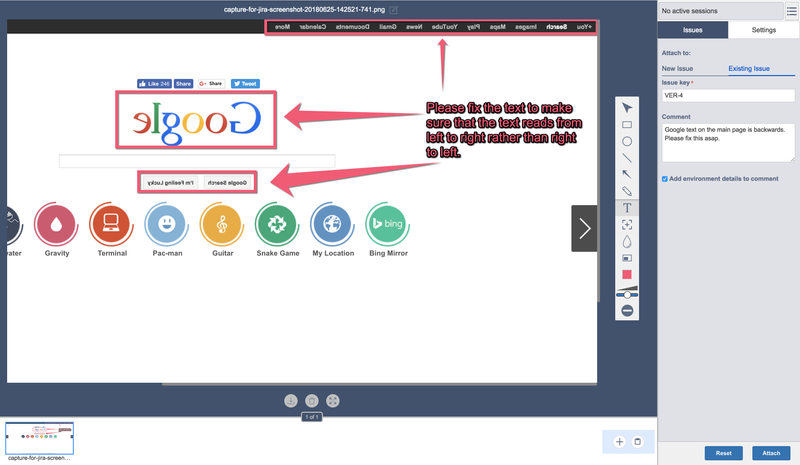
It is also possible to add a comment when attaching files to an existing issue.
You can also choose to have the browser's information (user agent string) added to the end of the comment for greater detail about the testing environment.
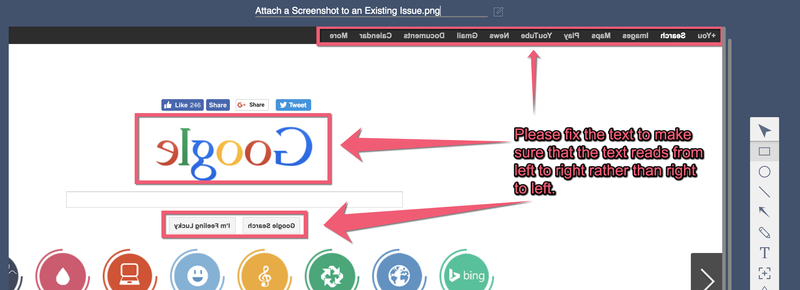
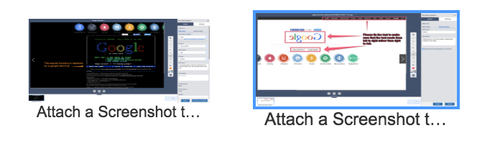
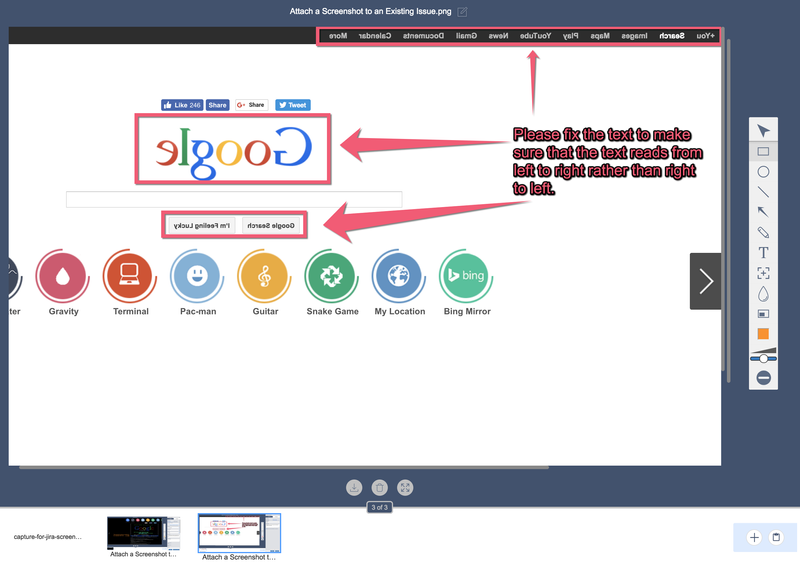
Annotate any attached image before submitting
You can add annotations to any image in your attachments list. This includes screenshots, pasted images and images attached
, and videos can be annotated while recording.
Just click on the thumbnail to start annotating. All annotations are remembered with the images, so you can go back and add/edit/remove annotations for any of your images before sending them to JIRA.
The image currently being annotated can be identified by a
blue border.
Keyboard shortcut
Capture
for JIRA allows you to configure a keyboard shortcut to take a screenshot or videos at any time. This allows you to capture bugs that might only occur during mouse interaction.
The configuration can be set in the
settings overlay in the browser extension's sidebar.
Annotations
Annotations are only available when you have selected to attach a screenshot to the current issue.
Capture
for JIRA provides you a range of annotation tools to mark up your screenshot.
The final annotated screenshot or video will be attached when you finalize the properties of the new issue or finish selecting an existing issue.
Tool | Description |
|---|

| Selection - Click to select any existing annotation. Click and drag to move an annotation. Once an annotation is selected it can also be resized (rectangle, ellipse, line, arrow, blur tools only) or edited (text tool only). Press Delete or Backspace with an annotation selected to remove it. |

| Rectangle - Click and drag to draw a rectangle. You can also hold shift while dragging to draw a square. |

| Ellipse - Click and drag to draw an ellipse. You can also hold shift while dragging to draw a circle |

| Line - Click and drag to draw a line. You can also hold shift to draw vertical, horizontal, or diagonal lines. |
| Arrow - Click and drag to draw an arrow shape. You can also hold shift to draw vertical, horizontal, or diagonal lines. |

| Pencil - Click and drag to draw a free-hand line. |

| Text - Click to insert text onto the screenshot. Press Escape or Ctrl+Enter to save the text. |

| Magnify - Click and drag to magnify a portion of the screenshot |

| Blur - Click and drag to blur out a portion of the screenshot. Useful for hiding sensitive information. (Not available for IE 7 & 8.) |

| Crop - Click and drag to crop the screenshot. Only the cropped section will be attached to the issue. (Not available for IE 7 & 8.) |

| Color - Pick the color you want to use for your annotation tools. Use with a selected annotation to change its color. |
| Line Width/Font Size - Changes the width of the line or the font of the text. Use with a selected annotation to change its size. |
| Clear - Clears all the annotations applied to the screenshot. |
...