| Anchor | ||||
|---|---|---|---|---|
|
| Table of Contents | ||||
|---|---|---|---|---|
|
Manage Dashboards
1. To manage dashboards, simply click on the "Dashboards" button located at the top-right of the interface and select "Zephyr Dashboard".

Adding a Dashboard
1. Click on ![]() button at the top right of the interface.
button at the top right of the interface.
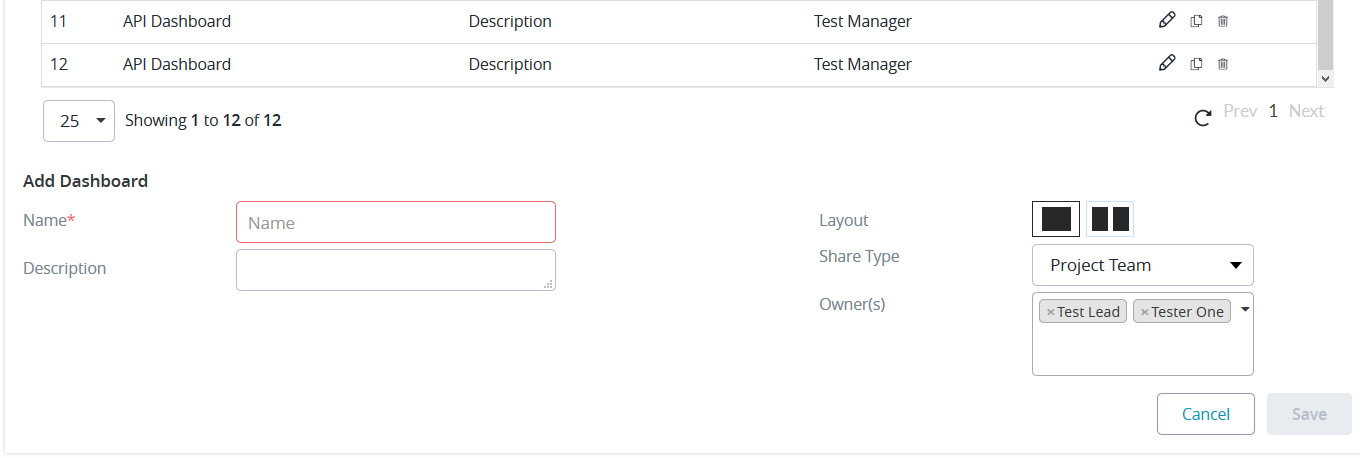
2. Fill in the required fields for adding a dashboard.
- Name - The name given to describe the dashboard. This field is required.
- Description - A body of text that explains or provides further information on the purpose of the dashboard.
- Layout - Allow gadgets in the dashboard to fill a single column in the page or sort into two adjacent columns
- Share Type - All the dashboard are made to be visible to a selection of users: Private, Project Users, All Users
- Owner(s) - Select the owner(s) of the dashboard which allows multiple users to be able to work on creating, updating, and maintaining the dashboard and its' gadgets.
- Having multiple dashboard owners is very useful at it avoids having a single user as the bottleneck for the dashboard. With multiple owners, it allows multiple people the ability to change/edit the contents of the dashboard in the scenario that the original isn't available.
| Info | ||
|---|---|---|
| ||
You can choose between the layout options to determine how gadgets are displayed. You are also able to configure the share type of the dashboard allowing you to essentially give certain users the ability to view the dashboards.
|
3. Simply click "Save" to create the new dashboard.
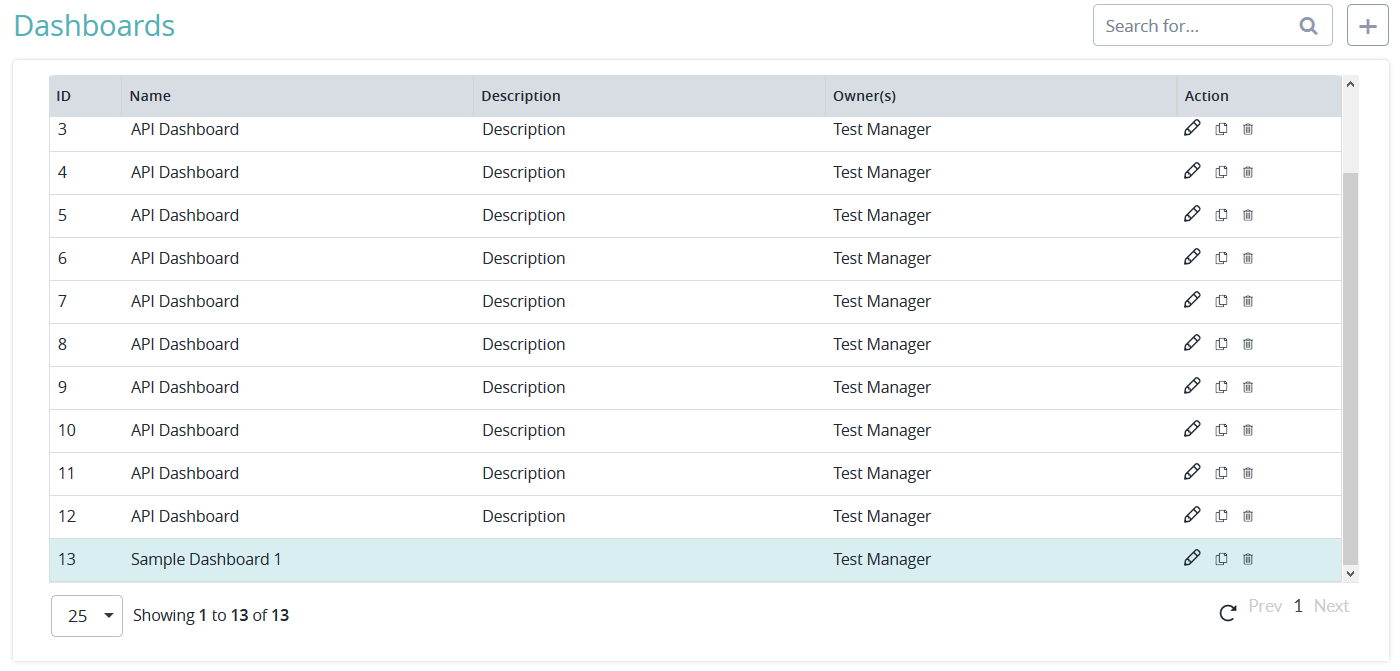
- After the dashboard is created, it will be displayed in the dashboards table with the name of the dashboard, the description of the dashboard, and the owner(s) of the dashboard.
Editing a Dashboard
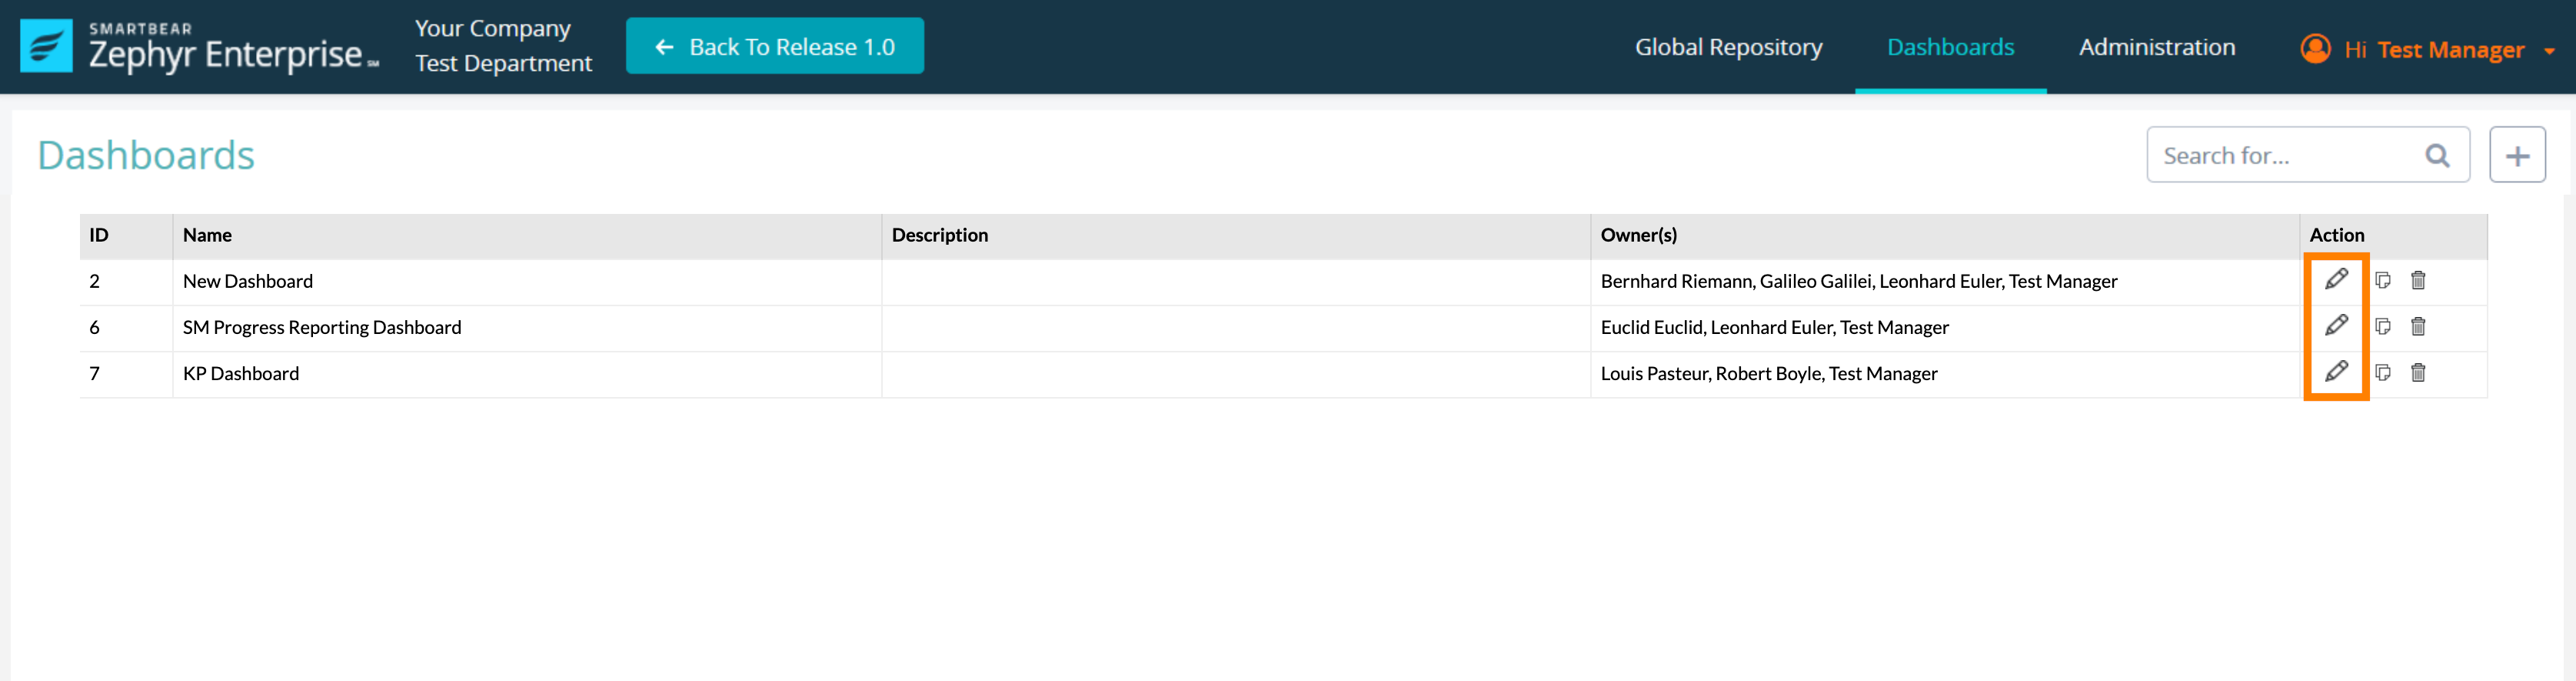
1. Click on ![]() button at the right side of the dashboard table.
button at the right side of the dashboard table.
2. Change/Edit in the required fields for a dashboard.
- Name is a mandatory field.Name - The name given to describe the dashboard. This field is required.
- Description - A body of text that explains or provides further information on the purpose of the dashboard.
- Layout - Allow gadgets in the dashboard to fill a single column in the page or sort into two adjacent columns
- Share Type - All the dashboard are made to be visible to a selection of users: Private, Project Users, All Users
- Owner(s) - Select the owner(s) of the dashboard which allows multiple users to be able to work on creating, updating, and maintaining the dashboard and its' gadgets.
- Having multiple dashboard owners is very useful at it avoids having a single user as the bottleneck for the dashboard. With multiple owners, it allows multiple people the ability to change/edit the contents of the dashboard in the scenario that the original isn't available.

| Info | ||
|---|---|---|
| ||
You can choose between the layout options to determine how gadgets are displayed. You are also able to configure the share type of the dashboard allowing you to essentially give certain users the ability to view the dashboards.
|
3. Simply click "Save" to finalize the changes to the dashboard.
Cloning a Dashboard
1. Click on clone button at the right side of the dashboard table.


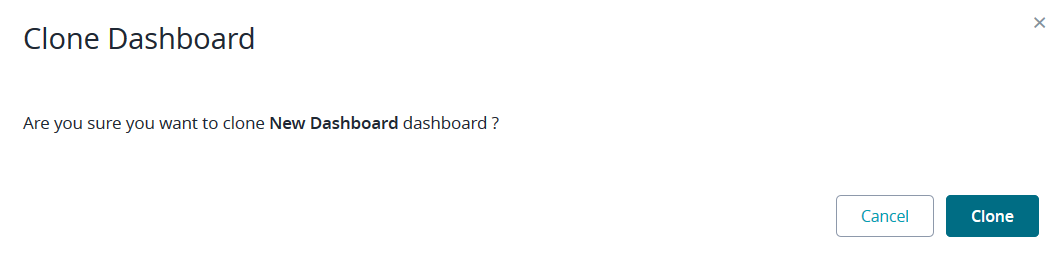
2. You will be prompted with a module that asks you to confirm cloning the dashboard.
You can simply click the 'Clone'Simply click Clone to proceed.
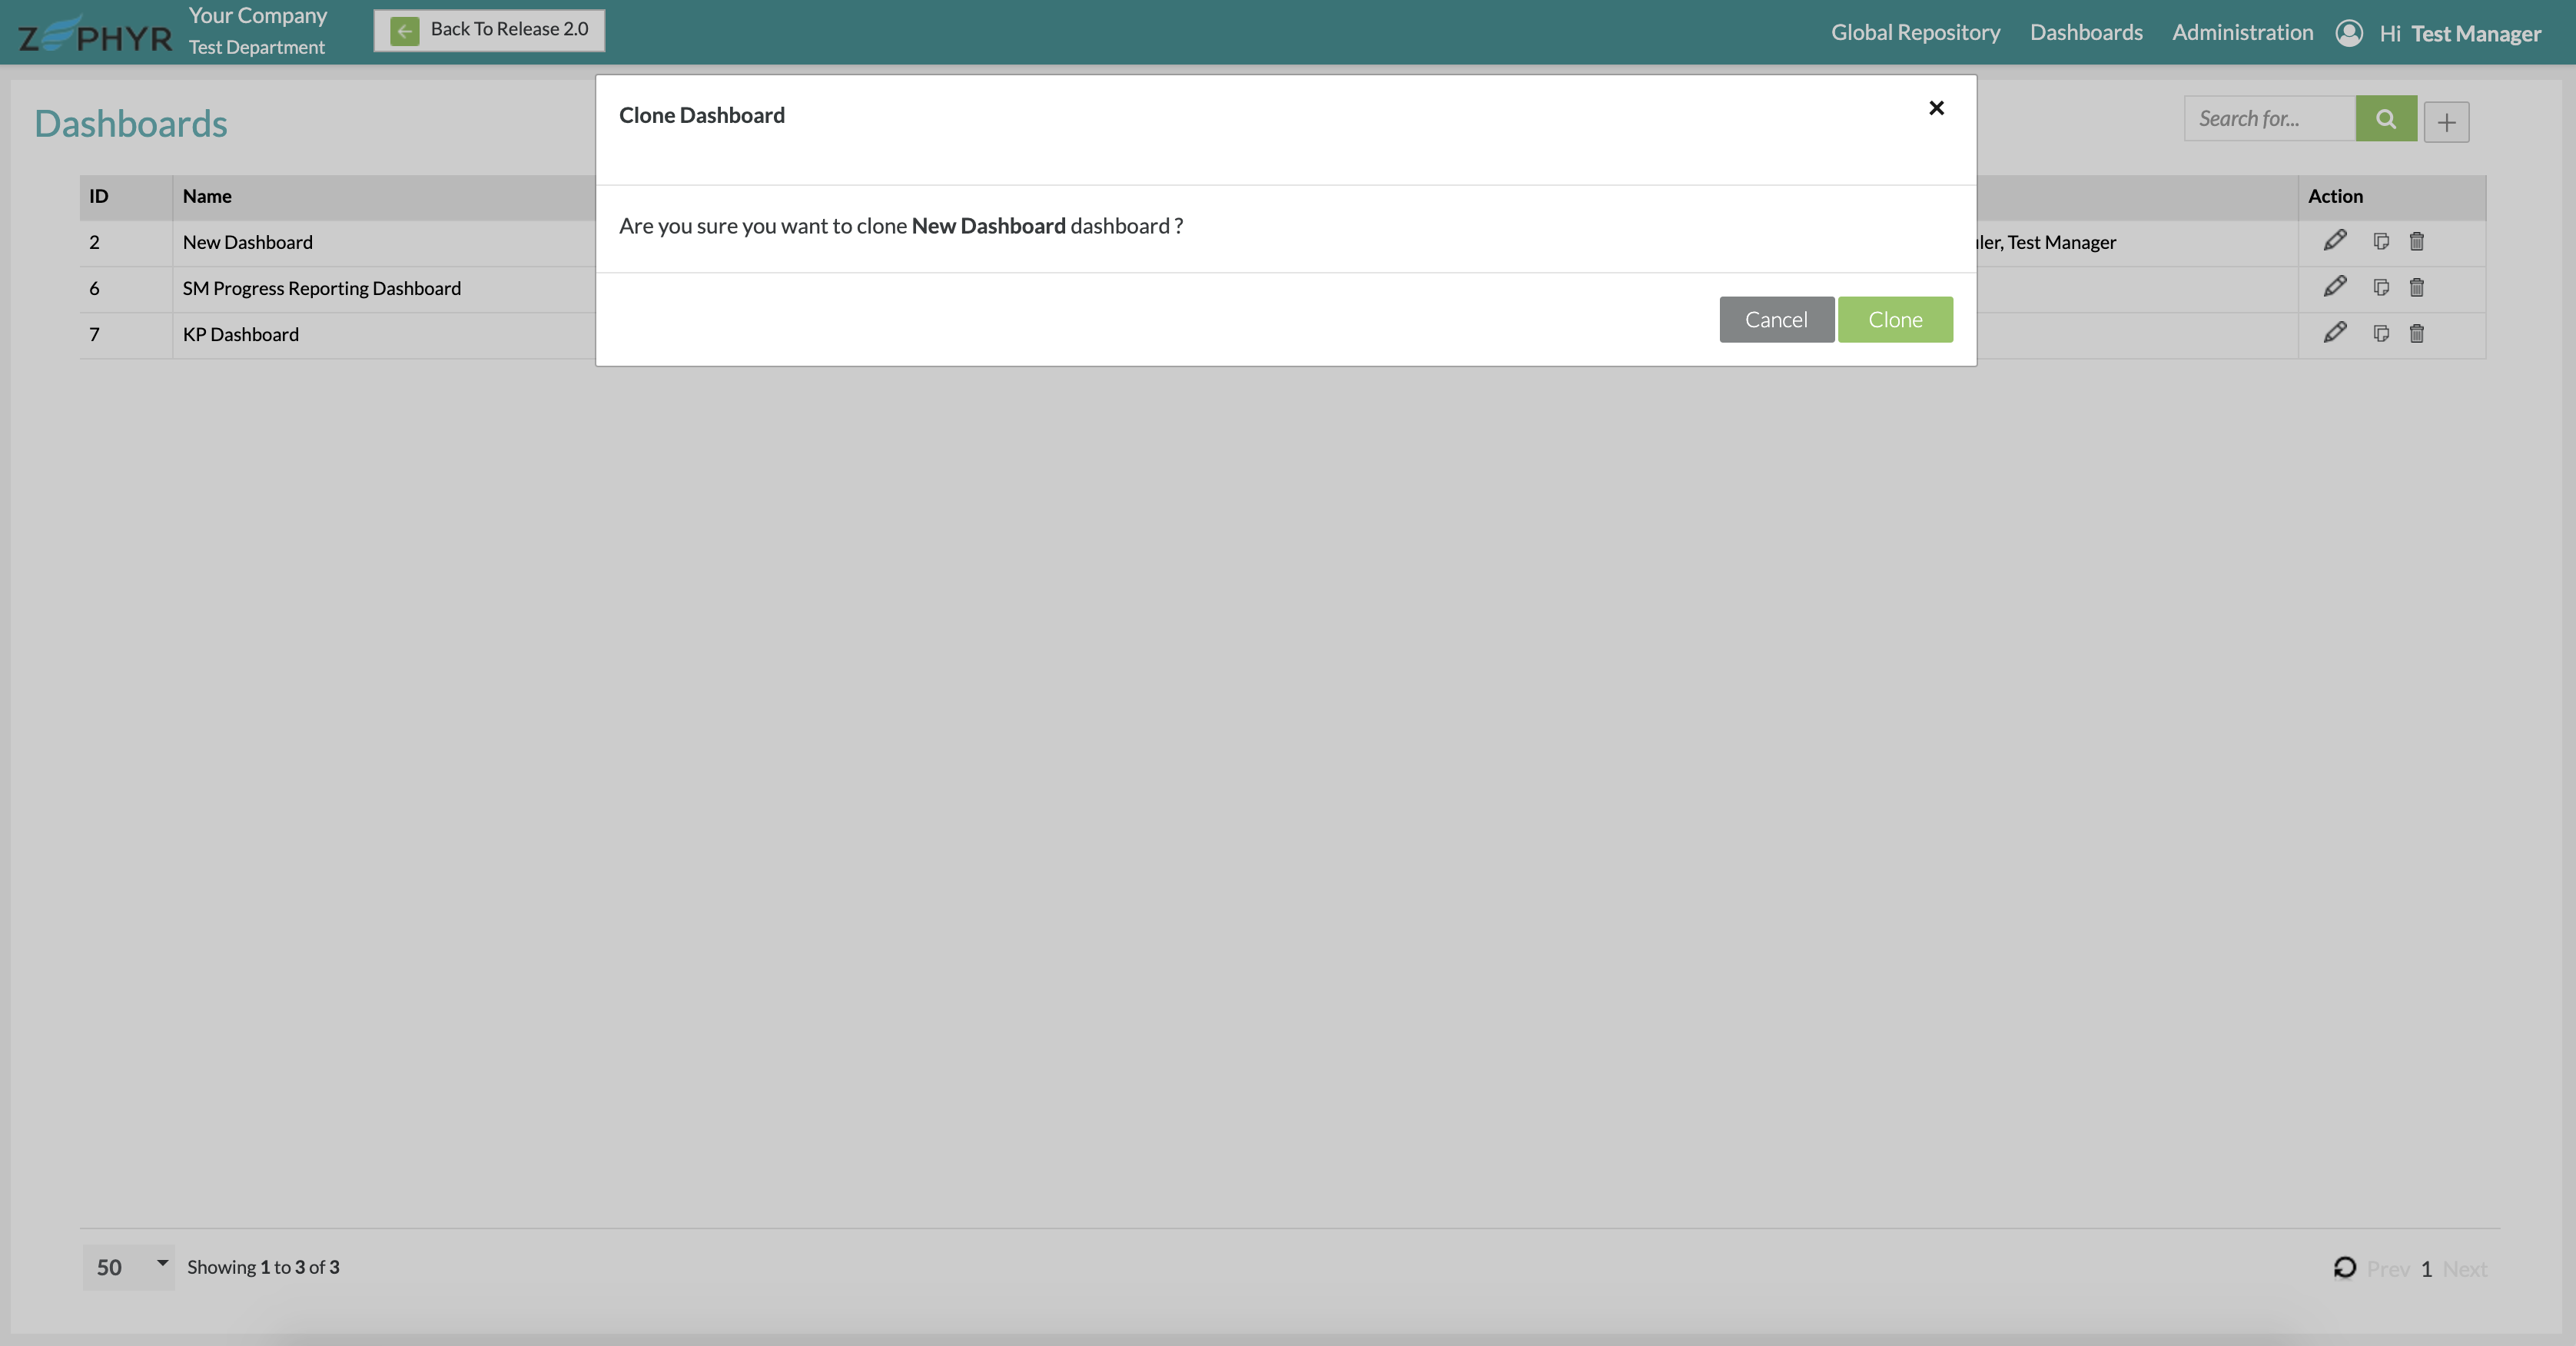
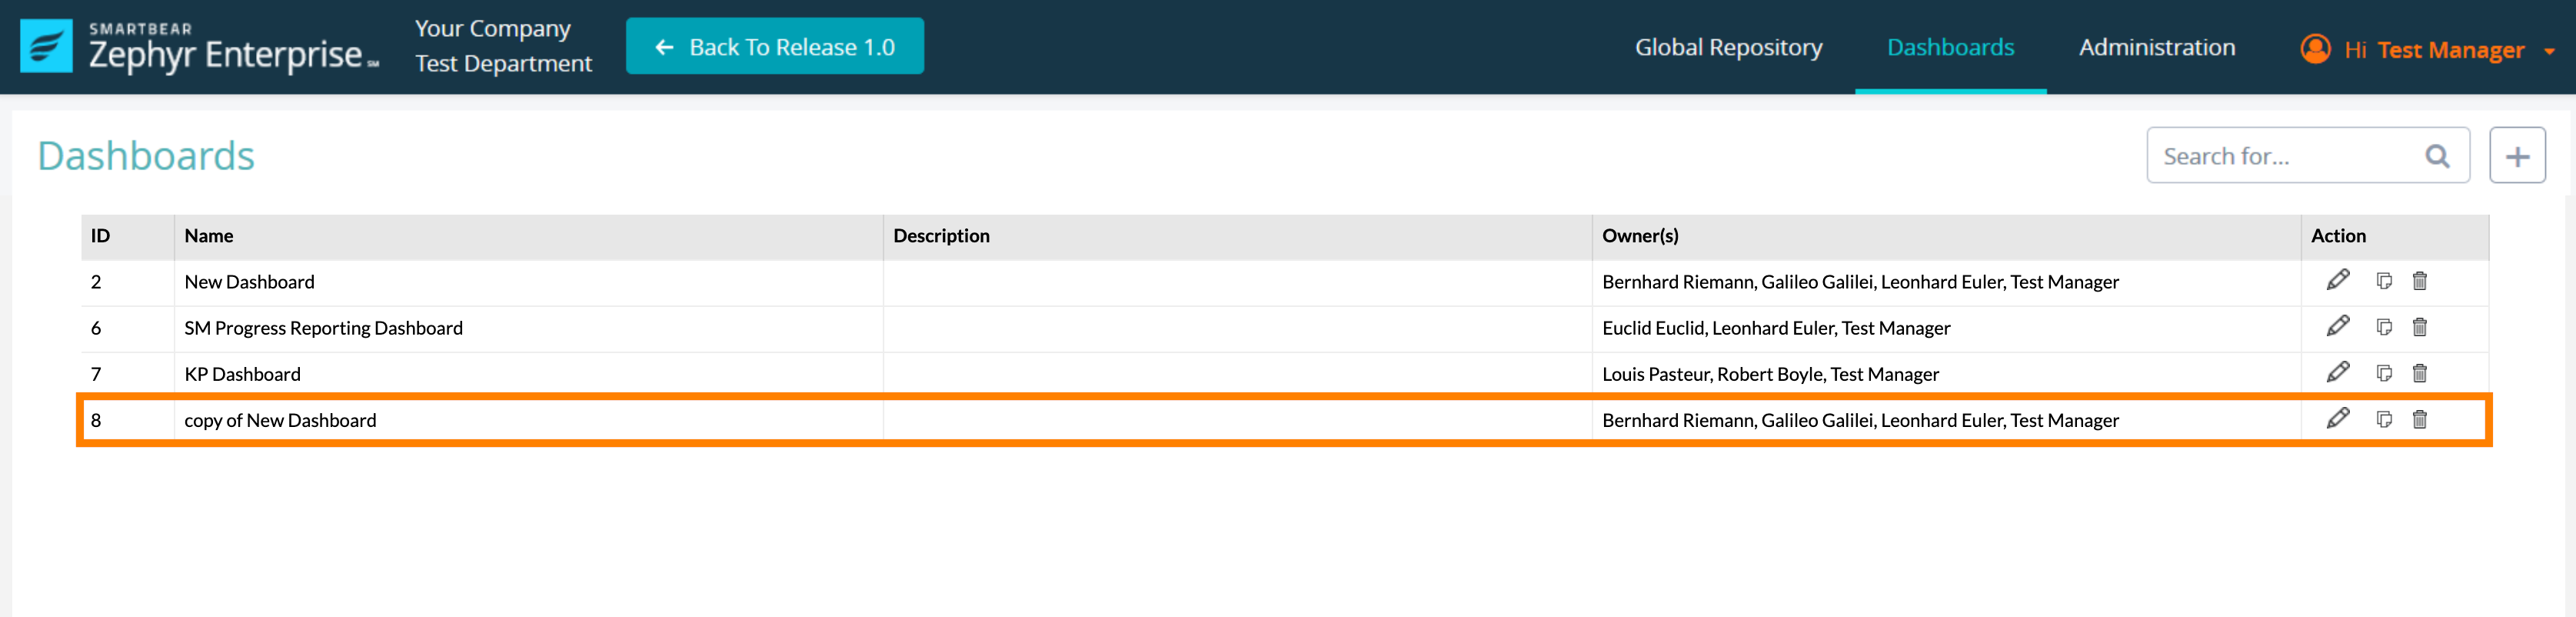
Afterwards, we can see that the newly cloned dashboard was created in the dashboard table. The cloned dashboard will have the same name of the dashboard but appends "copy of" to the beginning of the dashboard name, the same description, the same owner(s), and the same existing gadgets within the dashboard. The dashboard gadgets can then be modified for any future releases without having the set up the whole dashboard from scratch.

Deleting a Dashboard
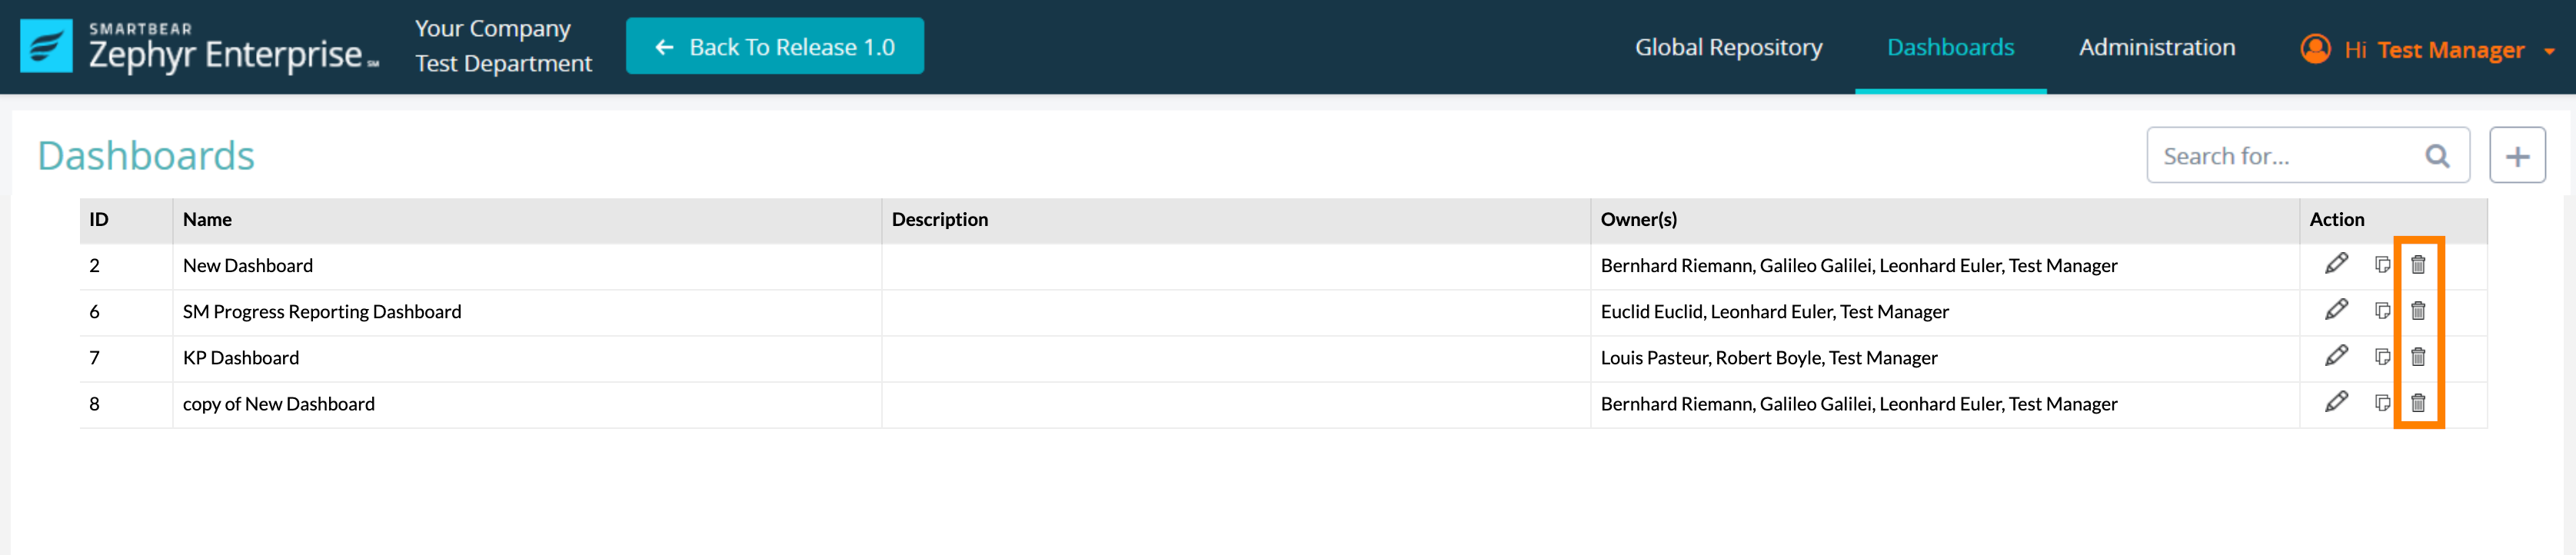
1. Click on ![]() button at the right side of the dashboard table.
button at the right side of the dashboard table.
- A pop-up /modal will appear asking, "Are you sure you want to delete?"


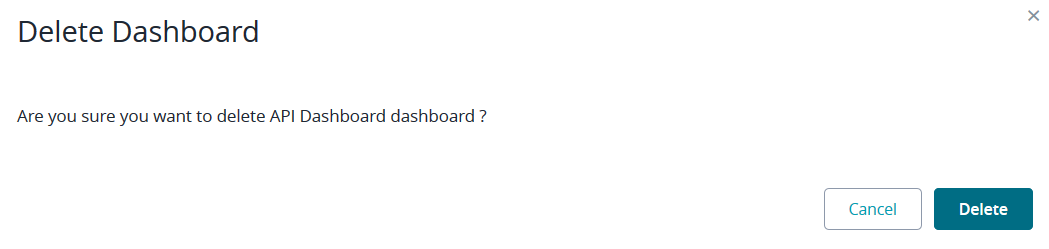
2. Simply click "Delete" to remove the dashboard.
- Afterwards, we can see that the dashboard has been deleted and removed from the dashboard table.


Adding a Gadget to the Dashboard
1. Click on dashboard that you want to add a gadget to in the table.
2. Click on the "Add a New Gadget" section of the page.
- Here you can view the different types of gadgets that are available.
3. Simply click on the "Add" button to the right of the gadget that you want to add.
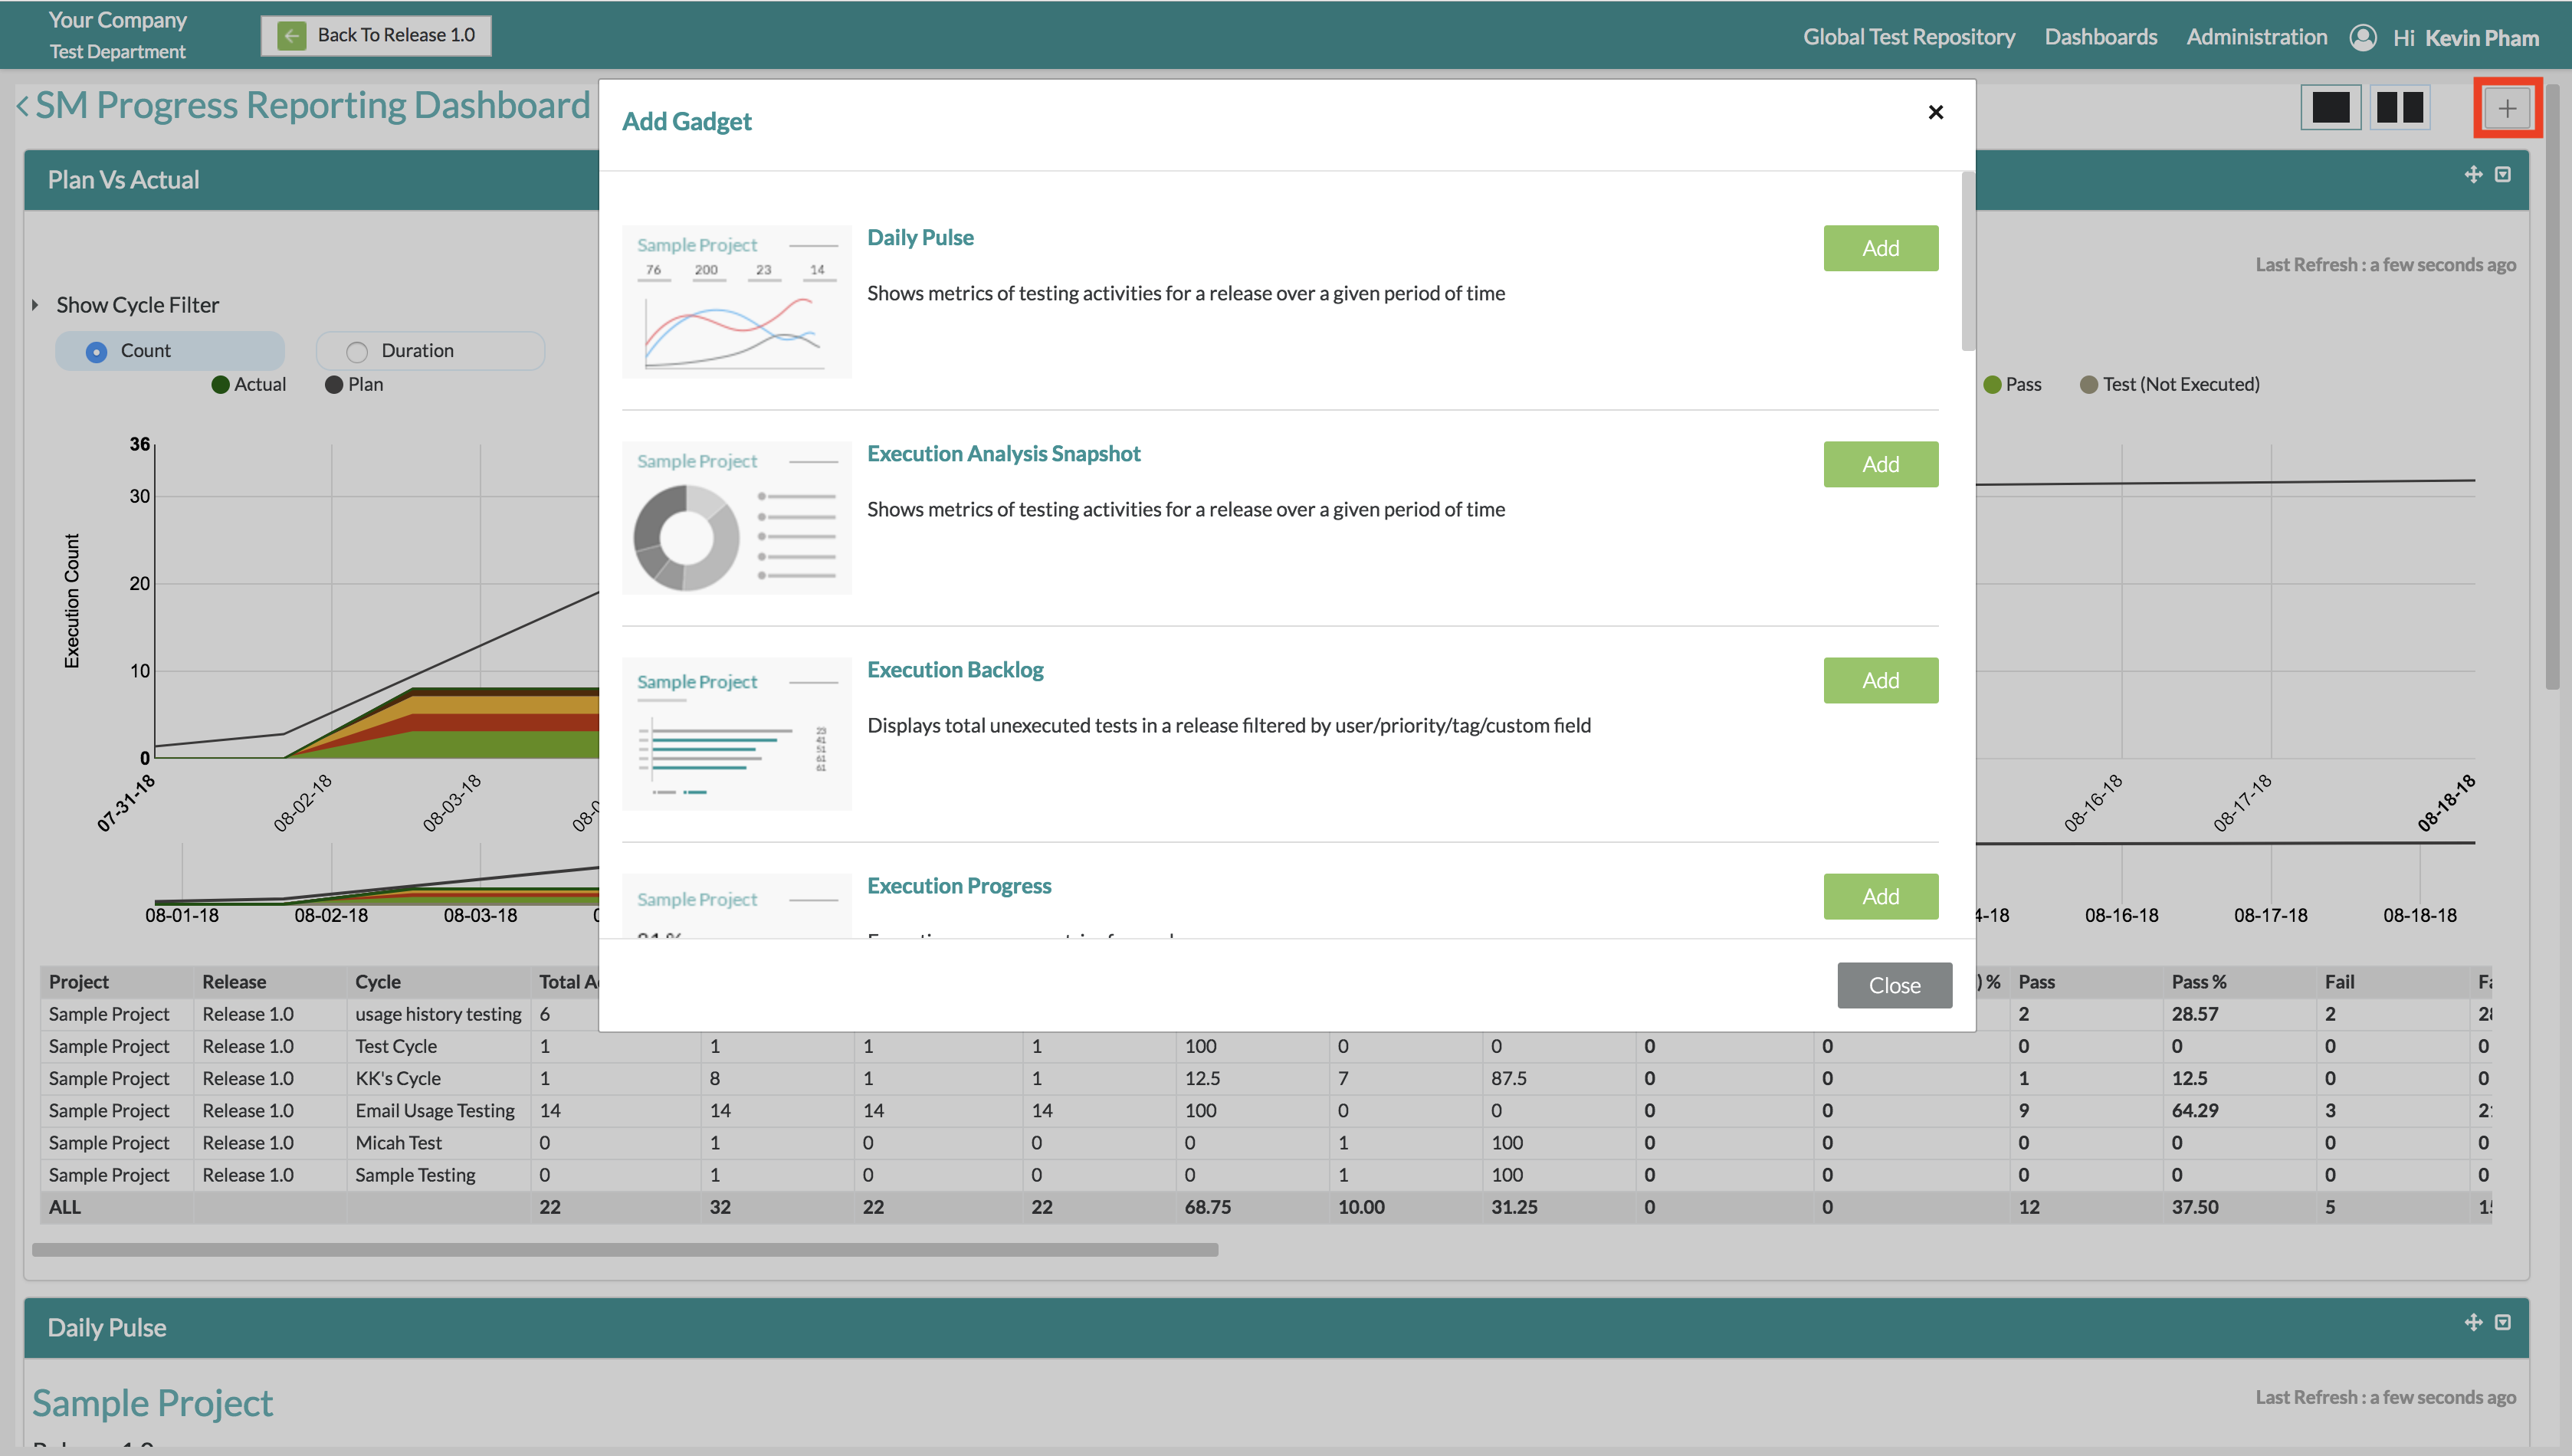
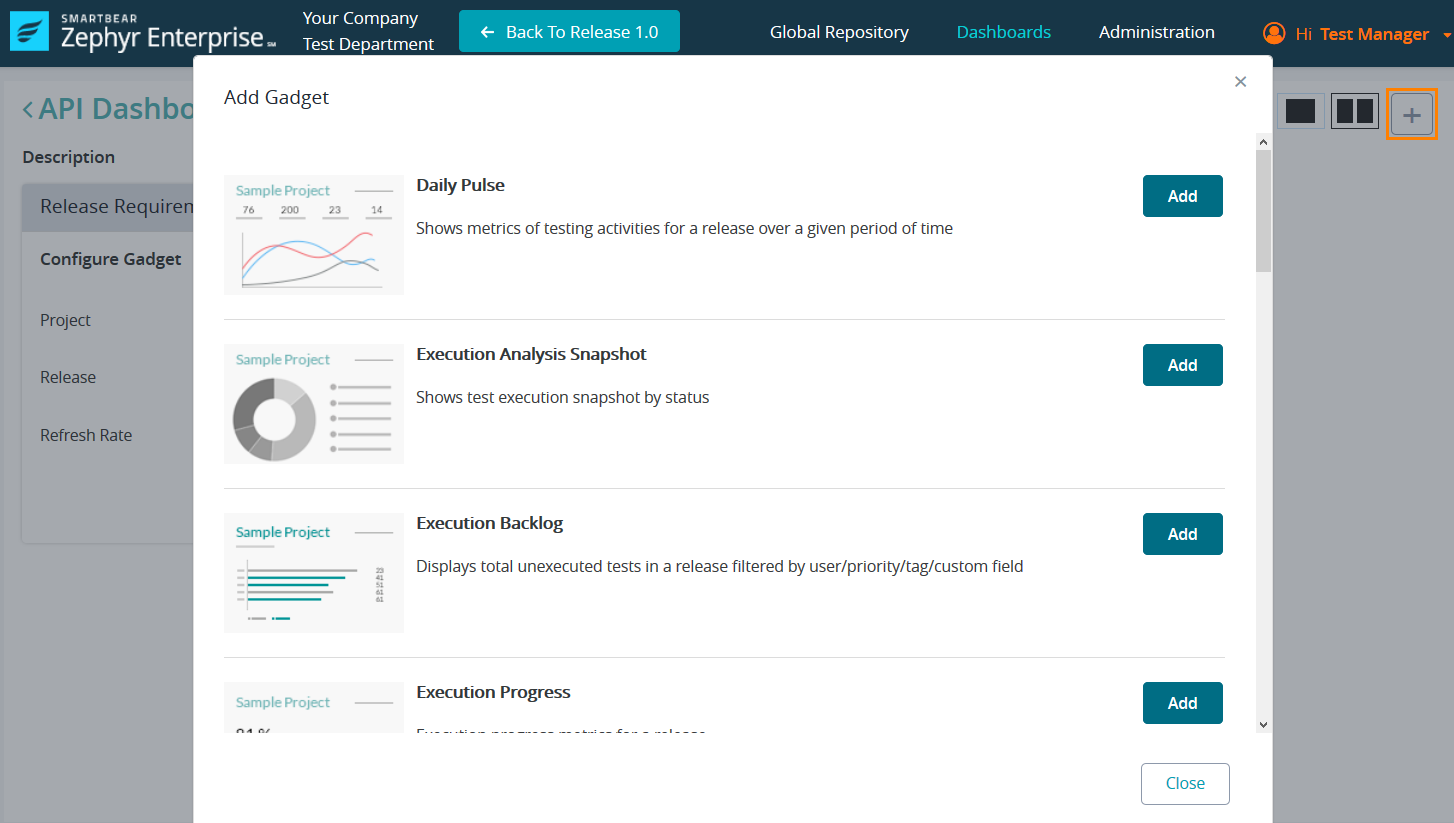
4. You can then configure the gadget using the options available when configuring the specific gadget.