| Anchor | ||||
|---|---|---|---|---|
|
Create a Sub-task
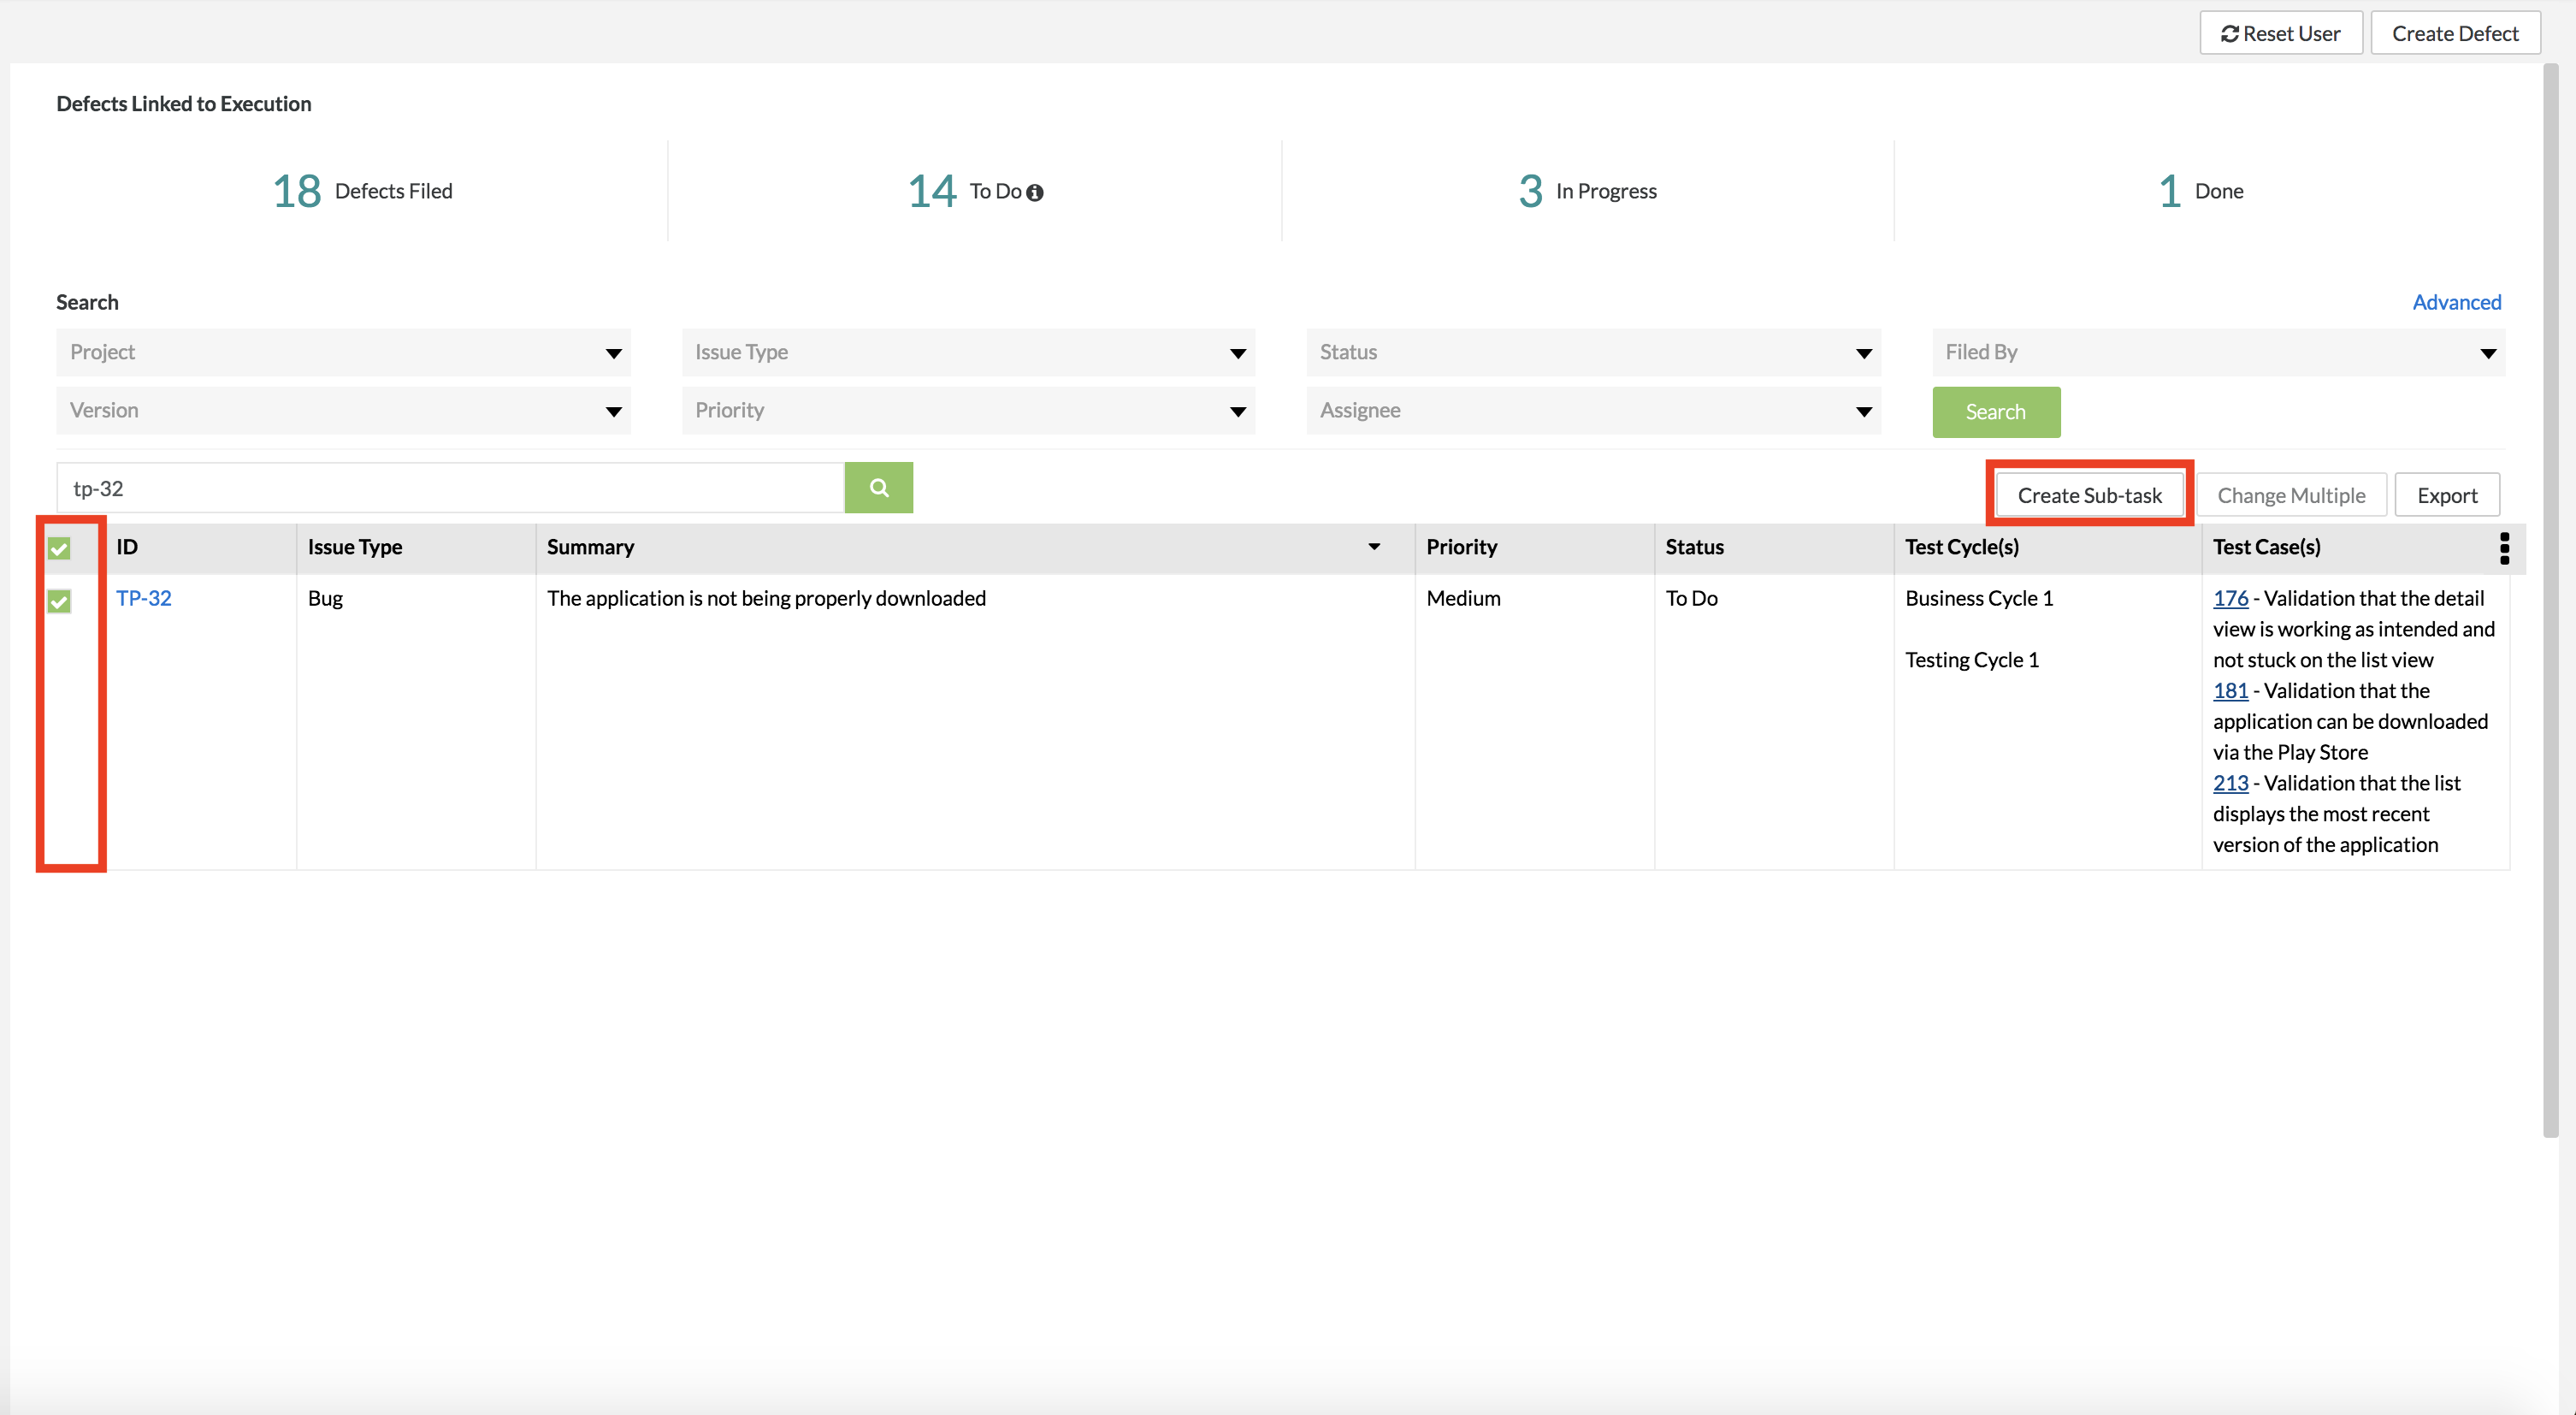
1. Select the defect that you want to add a sub-task to by using the check boxes on the left-hand side of the defect table.
2. Click on the  button at the top right of the table.
- A pop-up/modal will appear prompting you to select the issue type.
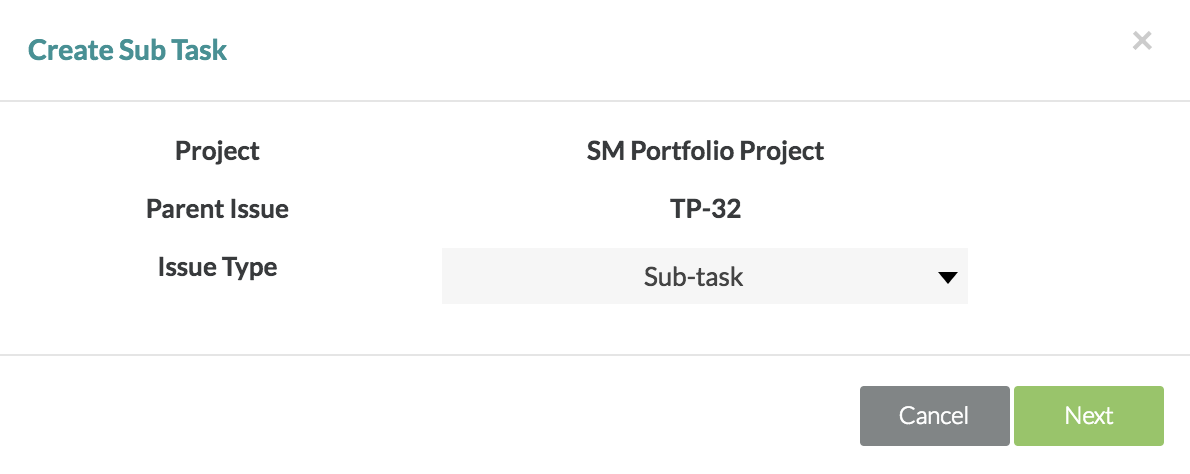
3. Simply click on the issue type drop-down list, select "Sub-task" and then click the "Next" button.
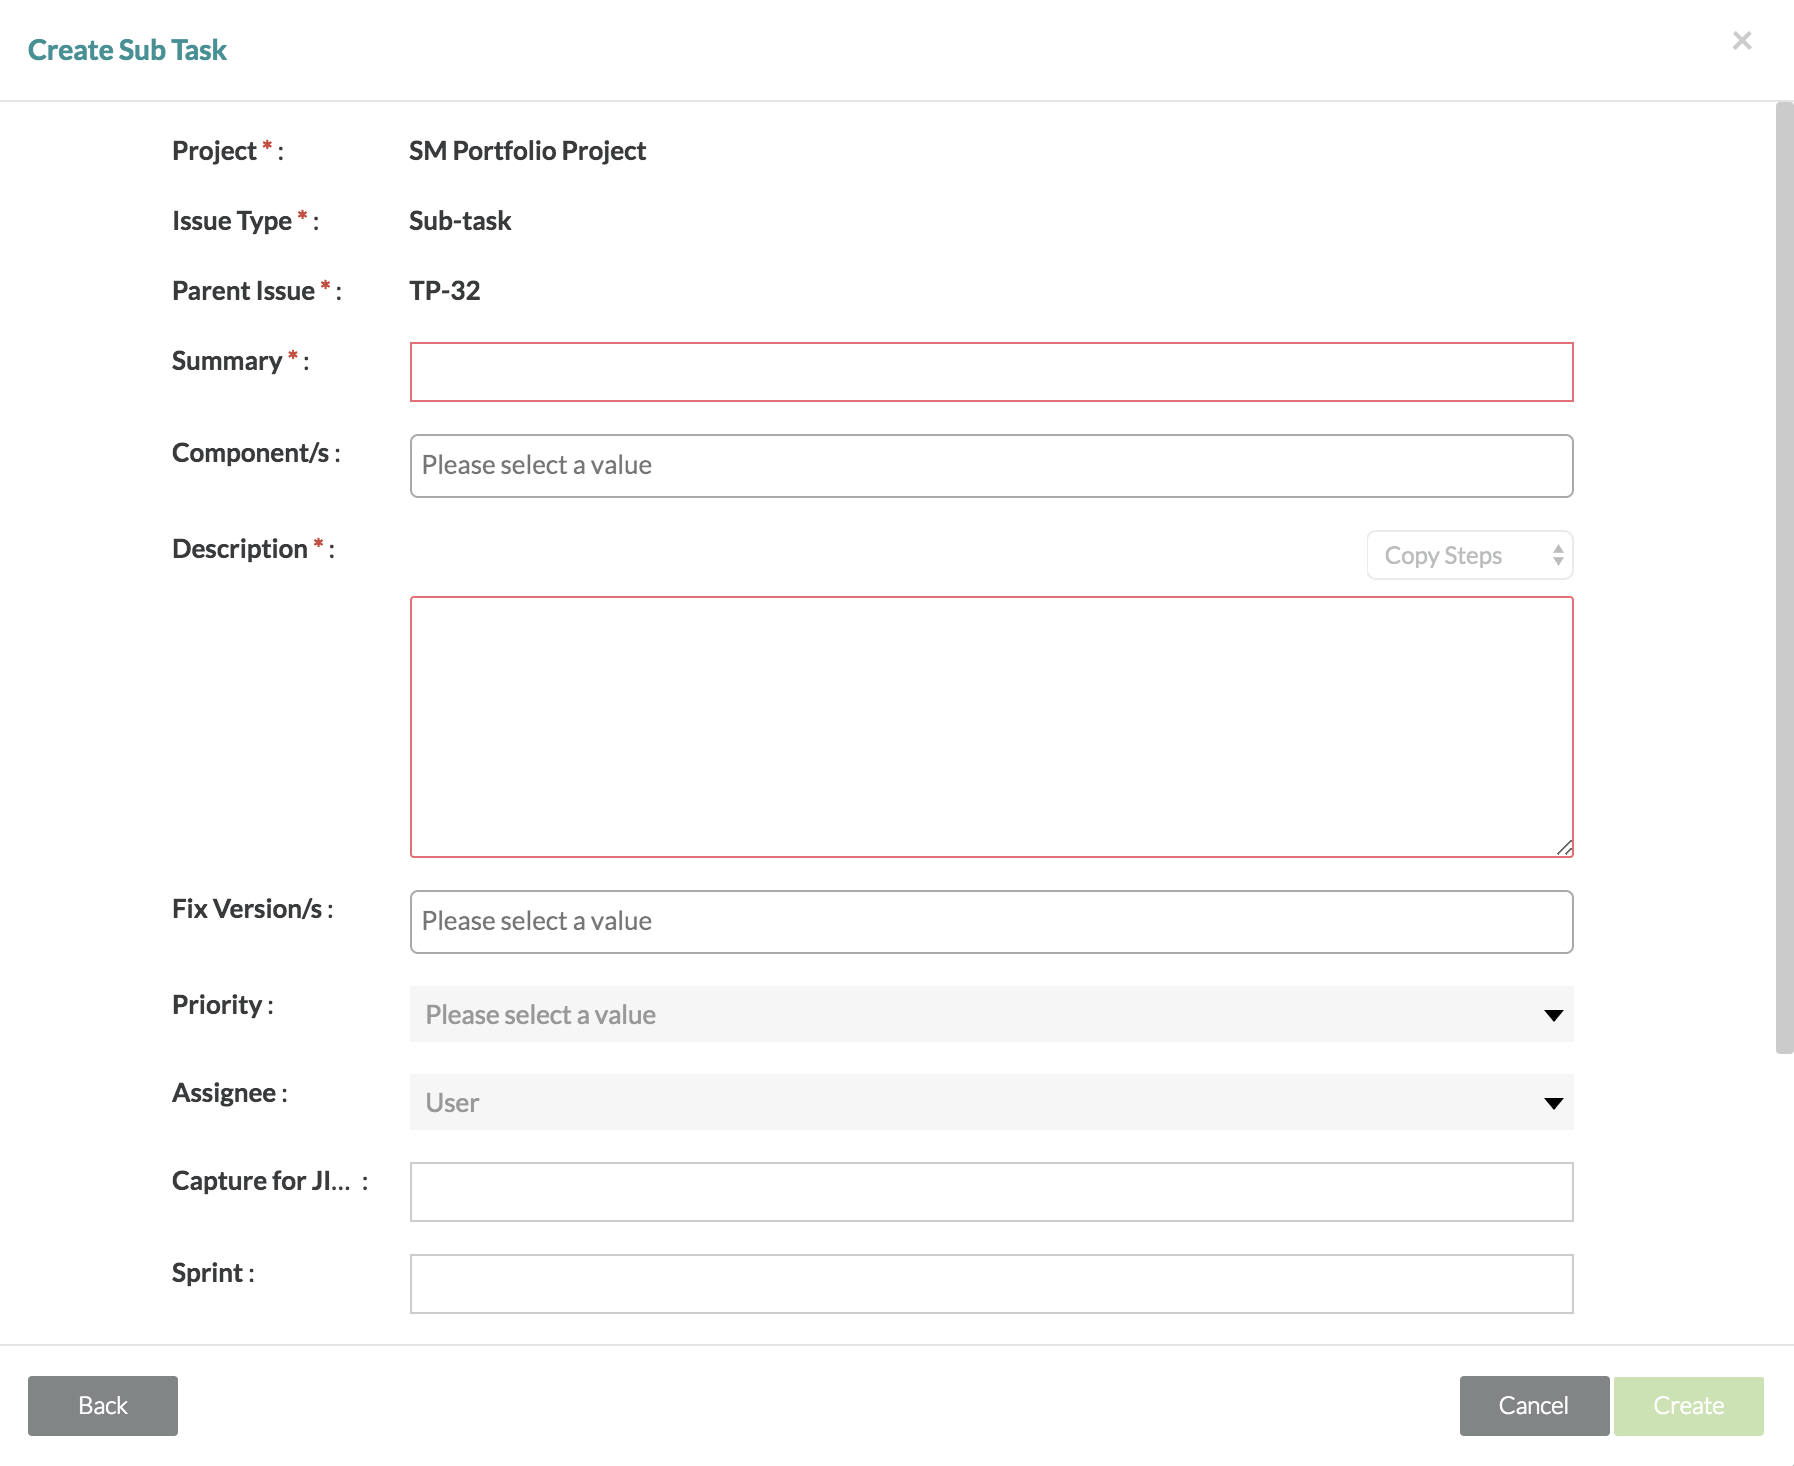
4. Fill in the following mandatory fields for creating a sub-task:
- Summary and Description
5. Fill in any of the following optional fields if necessary:
- Component, Fix Version(s), Priority, Assignee, Sprint, Label, and Links (etc.)
6. After you've completed filling in the fields for the sub-task, click on the "Create" button to finalize creating a new sub-task for the selected defect.