| Table of Contents |
|---|
About the Plugin
Zephyr Enterprise Zephyr Standalone Test Management Plugin for Jenkins integrates Jenkins and Zephyr Enterprise Zephyr Standalone Edition / Zephyr Community Edition. This plugin creates test cases and publishes test results in Zephyr Enterprise Zephyr Standalone for JUnit test cases in Jenkins.
This guide will cover how to create and execute test cases automatically in Zephyr Enterprise Zephyr Standalone using this plugin; this includes
- Downloading and installing the plugin
- Adding Zephyr Severs in the Jenkins global settings.
- Configuring a standard Jenkins Job.
- Configuring Zephyr Enterprise Zephyr Standalone Test Management Plugin as a post-build action.
- Triggering the job and publishing results in Zephyr
Requirements
- Zephyr Enterprise Zephyr Standalone 4.7.X, 4.8.X, 5.0.X or higher
- Jenkins installation
Downloading and installing the plugin
You can download the plugin from Jenkins repository or from Zephyr utilities repository. To install the plugin follow the instructions on Jenkins portal – How to install plugins.
Adding Zephyr Servers in Jenkins global settings
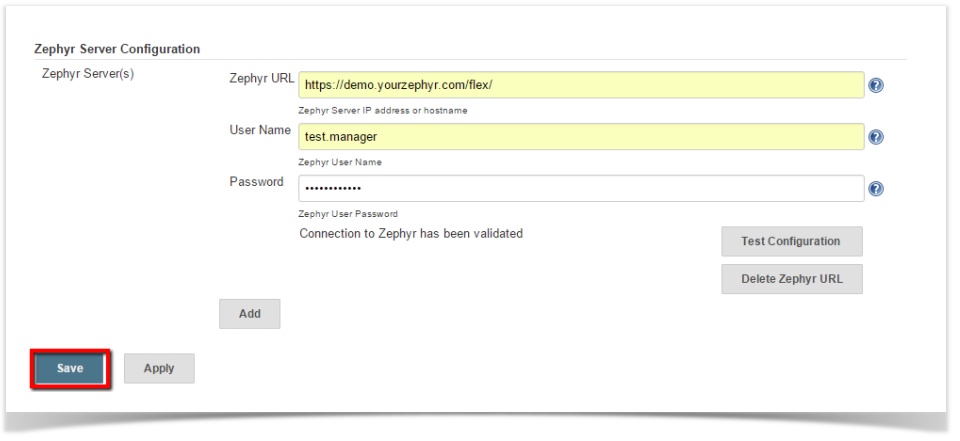
After installation configure Jenkins global settings to establish connection with Zephyr Server(s). Follow the below steps
...
- Click on "Save" button to save the configuration changes
Configuring a standard Jenkins job
A job in Jenkins defines a sequence of tasks for Jenkins to perform. When a job is triggered, Jenkins looks for an Ant script or Maven build file and runs it. It also provides options to define post-build tasks. Follow the example below to configure a standard job and add a post build action:
...
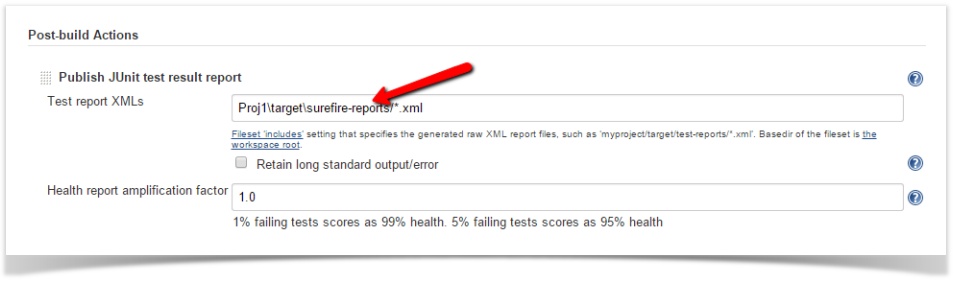
- Enter the path to the test report. In the example below the location is "Proj1\target\surefire-reports/*.xml" where Proj1 is the target project
Configuring
...
Zephyr Standalone Test Management plugin as a post-build action
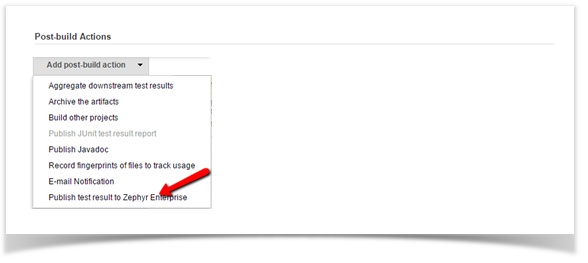
In order to publish results in Zephyr, define another post-build action.
- Select "Publish test result to Zephyr EnterpriseStandalone" from "Add post-build Actions" dropdown
- Configure Zephyr plugin job
...
- Select the Zephyr URL from the dropdown. (Servers configured in the Jenkins global configuration are available here to select). This automatically pulls in Zephyr projects, releases and cycles
- Select the Project Name from the dropdown. This re-populates the releases
- Select the Release from the dropdown. Selecting a release fetches all its cycles
- Select either an existing Cycle from the dropdown or create a new cycle
- For existing Cycle the default Cycle Duration will be that of existing cycle in Zephyr and Cycle Name Prefix will be of the format "Automation_<Date><Time>" stamp
- For new cycle you have option to select Cycle Duration from the dropdown and to edit default cycle prefix name "Automation". In the absence of a cycle prefix name "Automation" is used for new cycles
- To create a package structure while creating and organizing the test cases, check the box "Create Package Structure"
- Click "Save"
Triggering the job and publishing results in Zephyr
To trigger a job manually, click "Build Now" link on the menu. This builds the project and publishes the JUnit result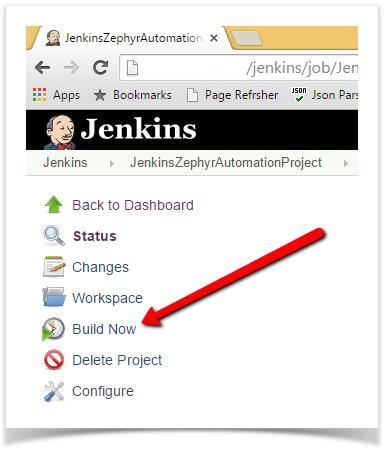
In Zephyr Enterprise Zephyr Standalone Jenkins creates a phase named "Automation" along with package structure of the JUnit test cases found in the project
Finally, Jenkins assigns this phase to the selected cycle and executes all the tests in Zephyr
License
This plugin is open source. It follows the Apache License version 2.0 (<http://www.apache.org/licenses/>).
It allows you to:
...
See License FAQ <http://www.apache.org/foundation/licence-FAQ.html> for more details.
Feedback
Please provide feedback at Jenkins JIRA or at Zephyr Community
For code questions, send an email to developer@getzephyr.com